Create AI Assistant and Connect it with z/OS through z/OSMF REST API
Taking advantage of the 30-day trial of IBM watsonx Orchestrate, I’m going to create an AI assistant and create a skill/extension connected to my z/OS. This way, from the assistant’s chat I will be able to see the information from the D IPLINFO command.
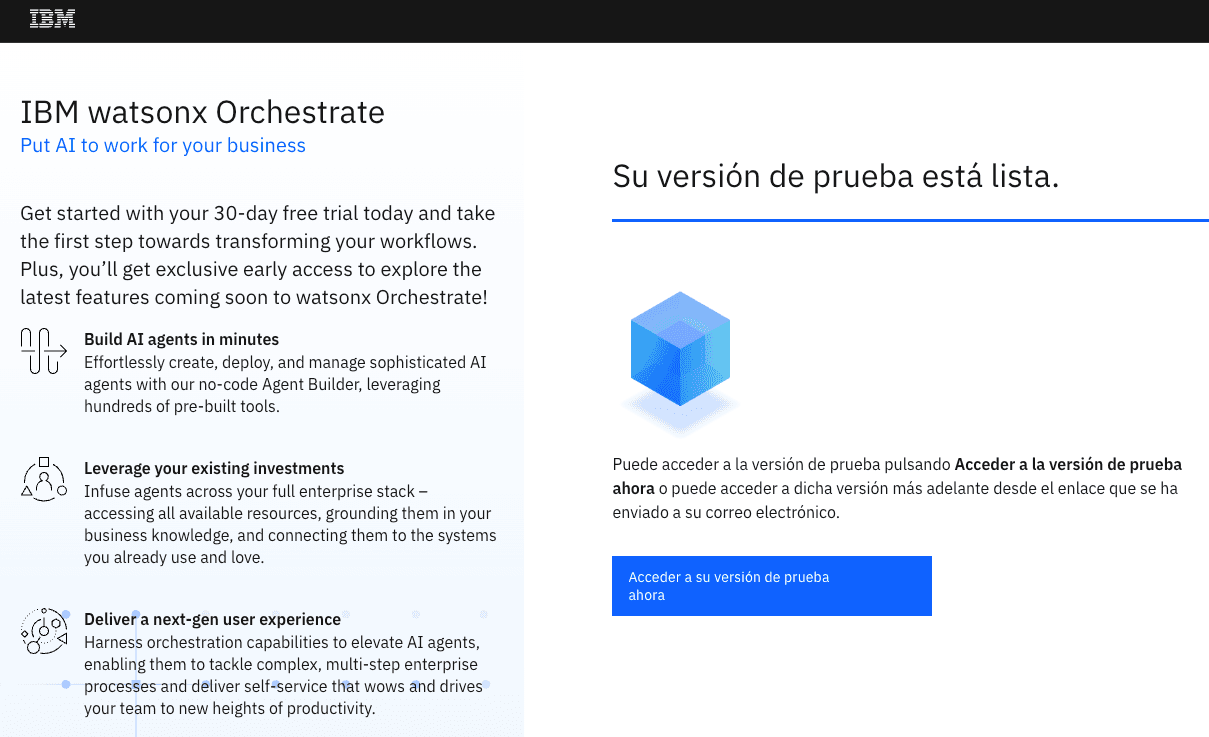
Link to the 30-day trial version:
https://www.ibm.com/account/reg/es-es/signup?formid=urx-52753
Create an AI Assistant
To register, you just need to follow the steps. Once we have registered, we wait for the trial version to be ready.
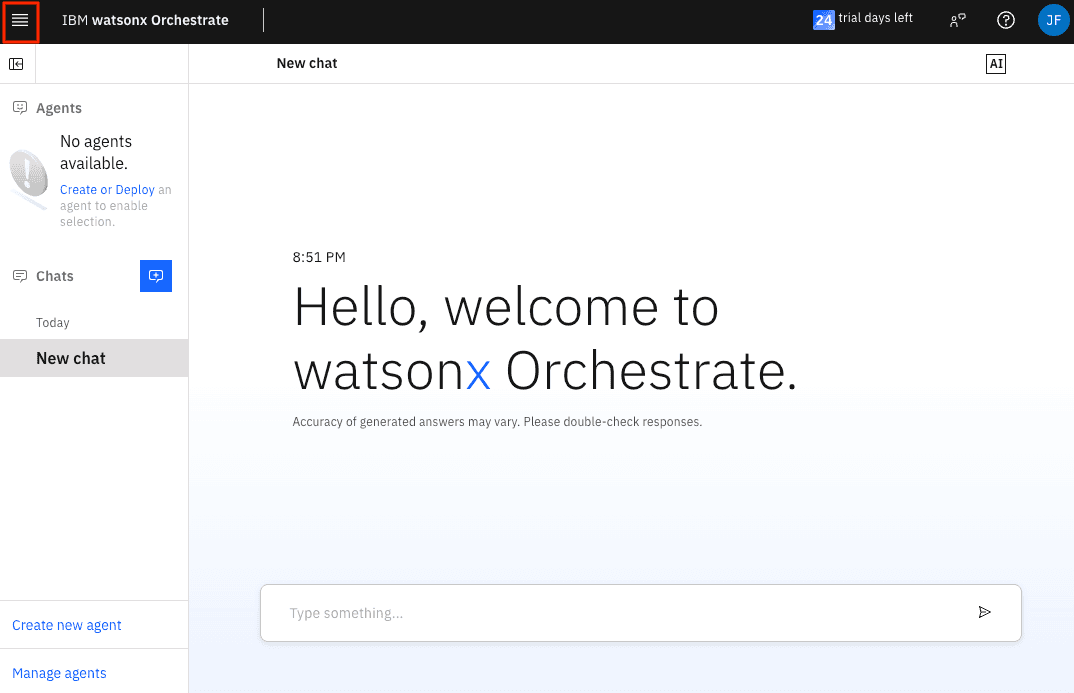
When accessing, click on the icon in the upper left corner to see the menu.
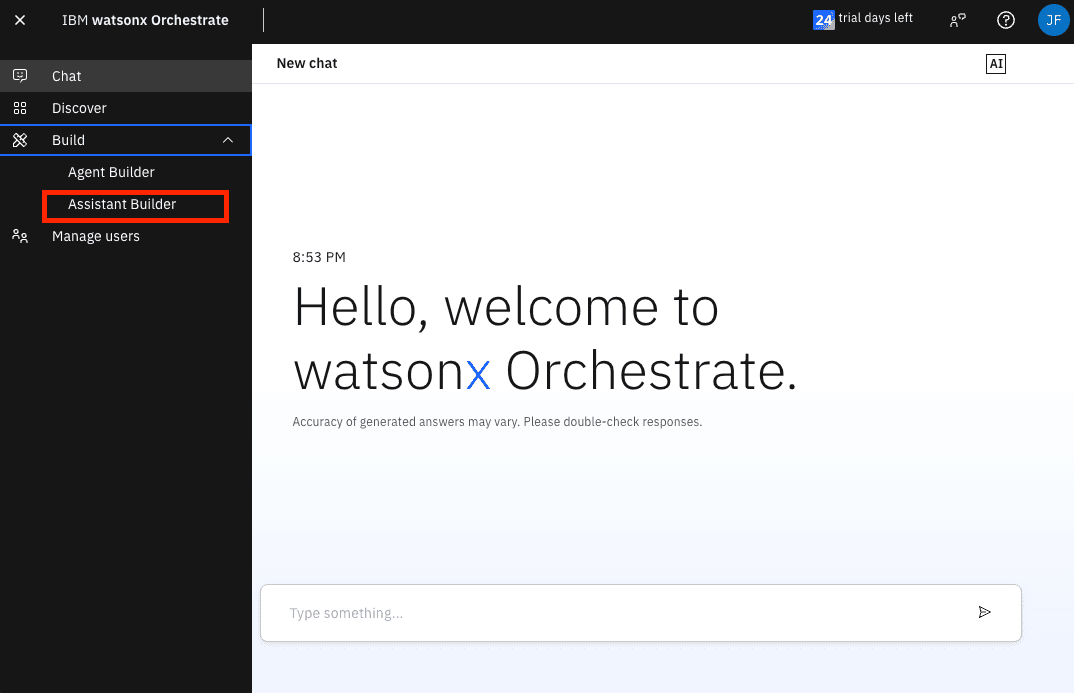
Expand the Build menu and click on Assistant Builder
Fill in the data to create our first assistant.
If we don’t make the window large enough, we may not see some form fields.
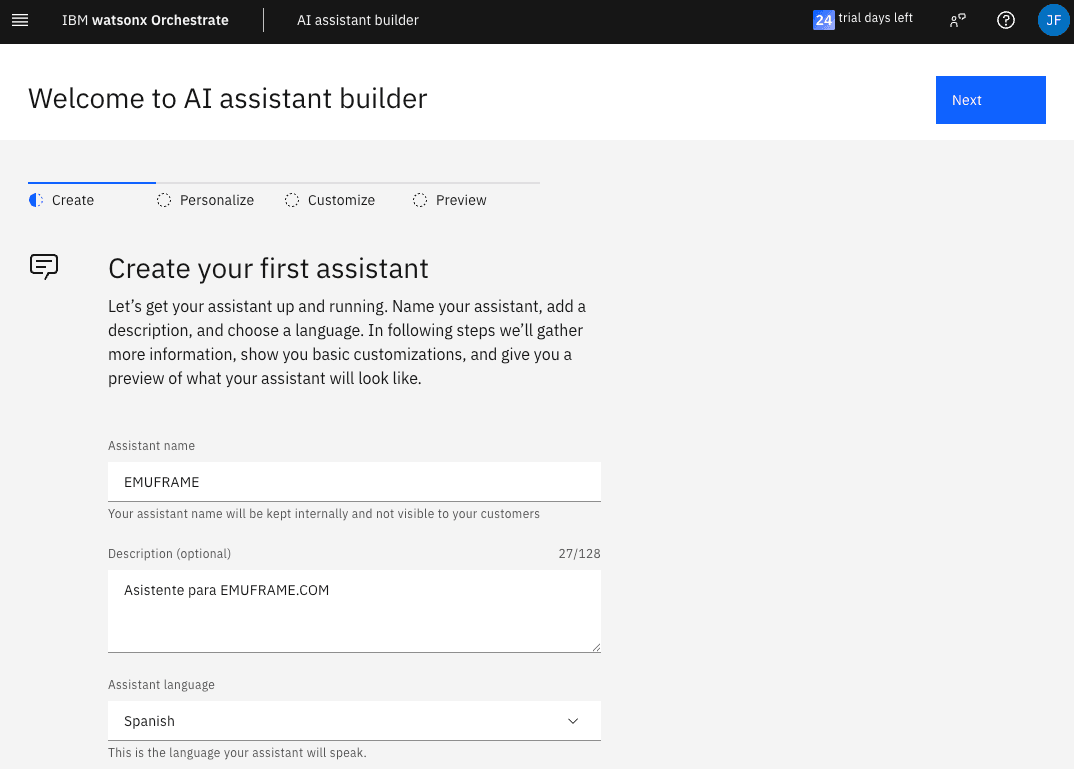
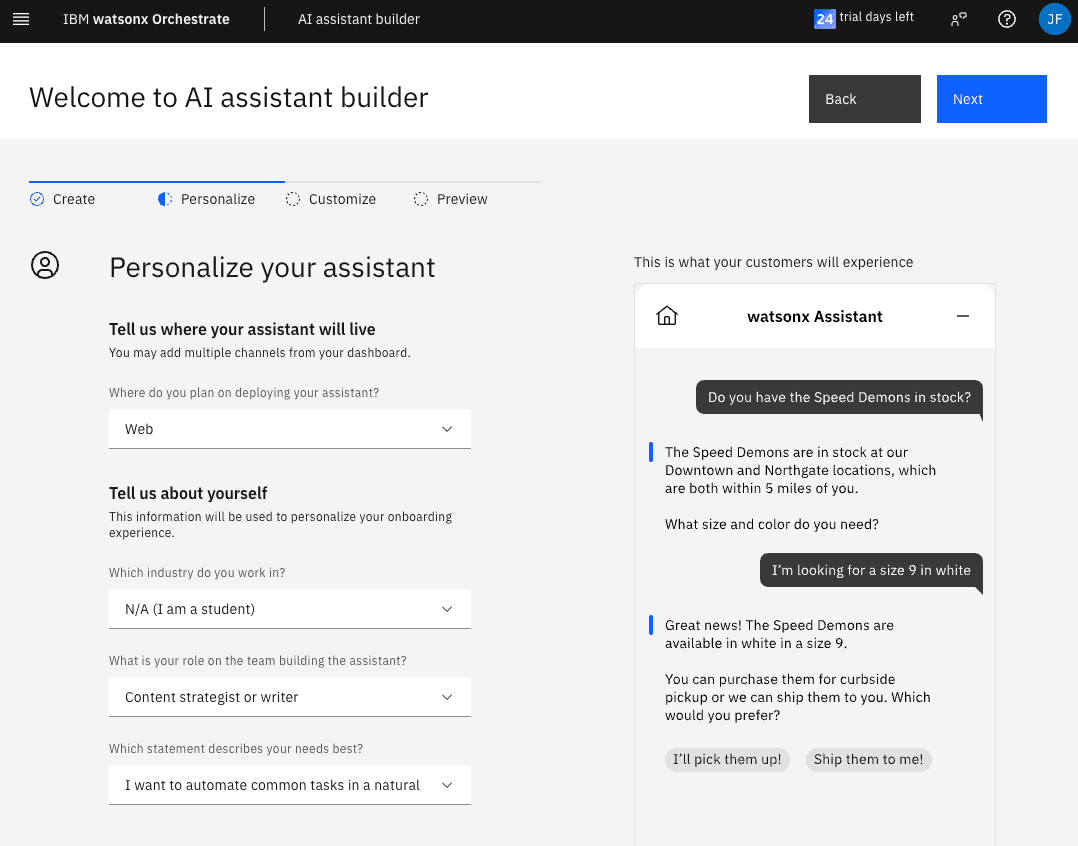
The assistant can be integrated in: Web, SMS, Slack, Facebook, Whatsapp… For this test, I will choose Web.
We can customize the user interface.
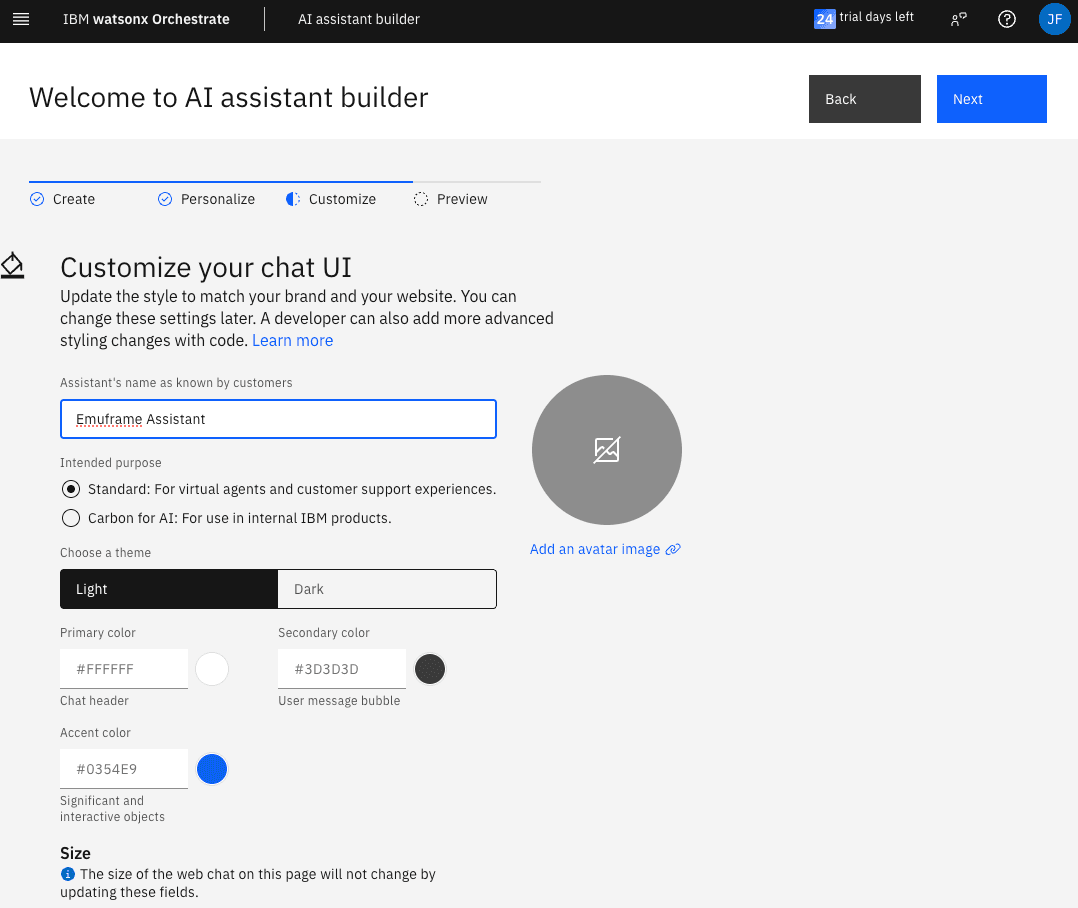
Click the Create button and the assistant will be defined.
Create AI Assistant Actions
Now we are going to create the first action. Click on Custom-built → Add
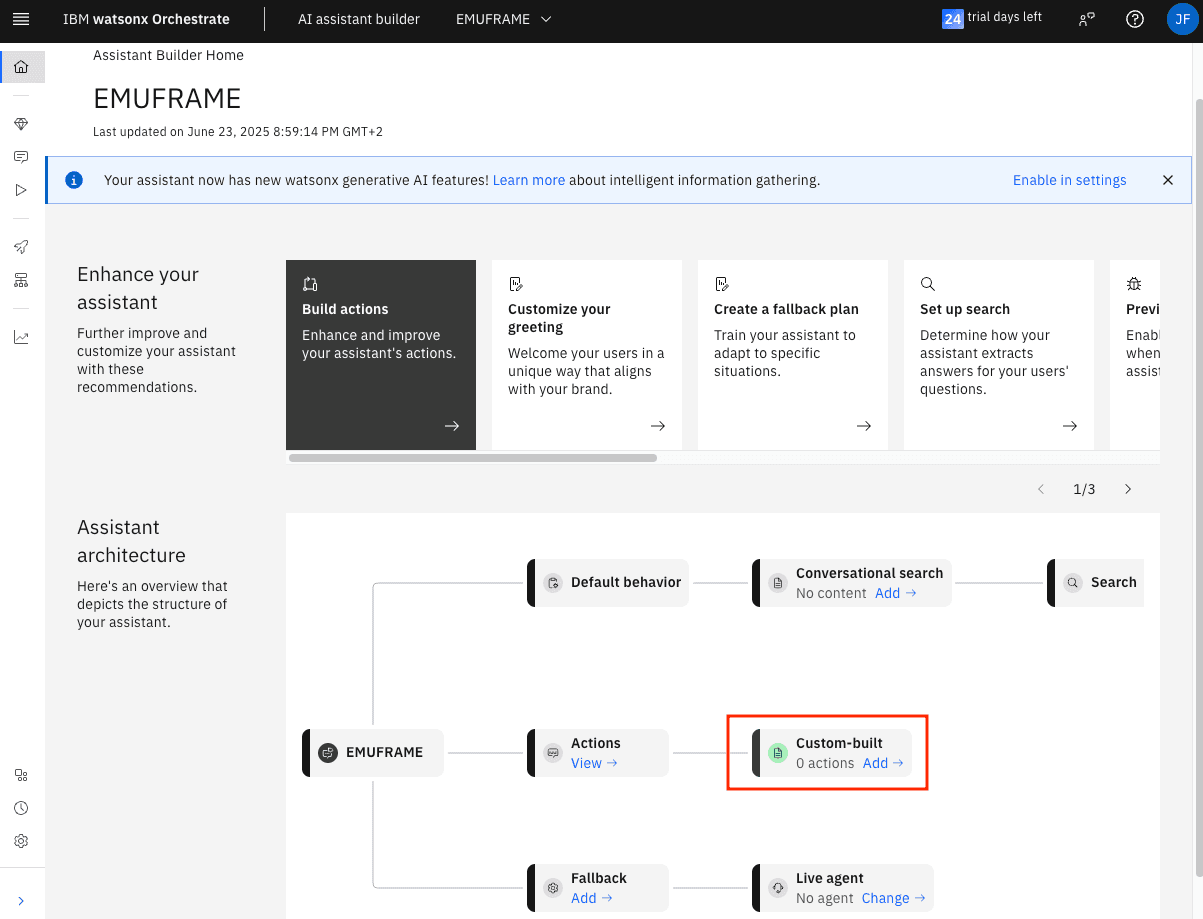
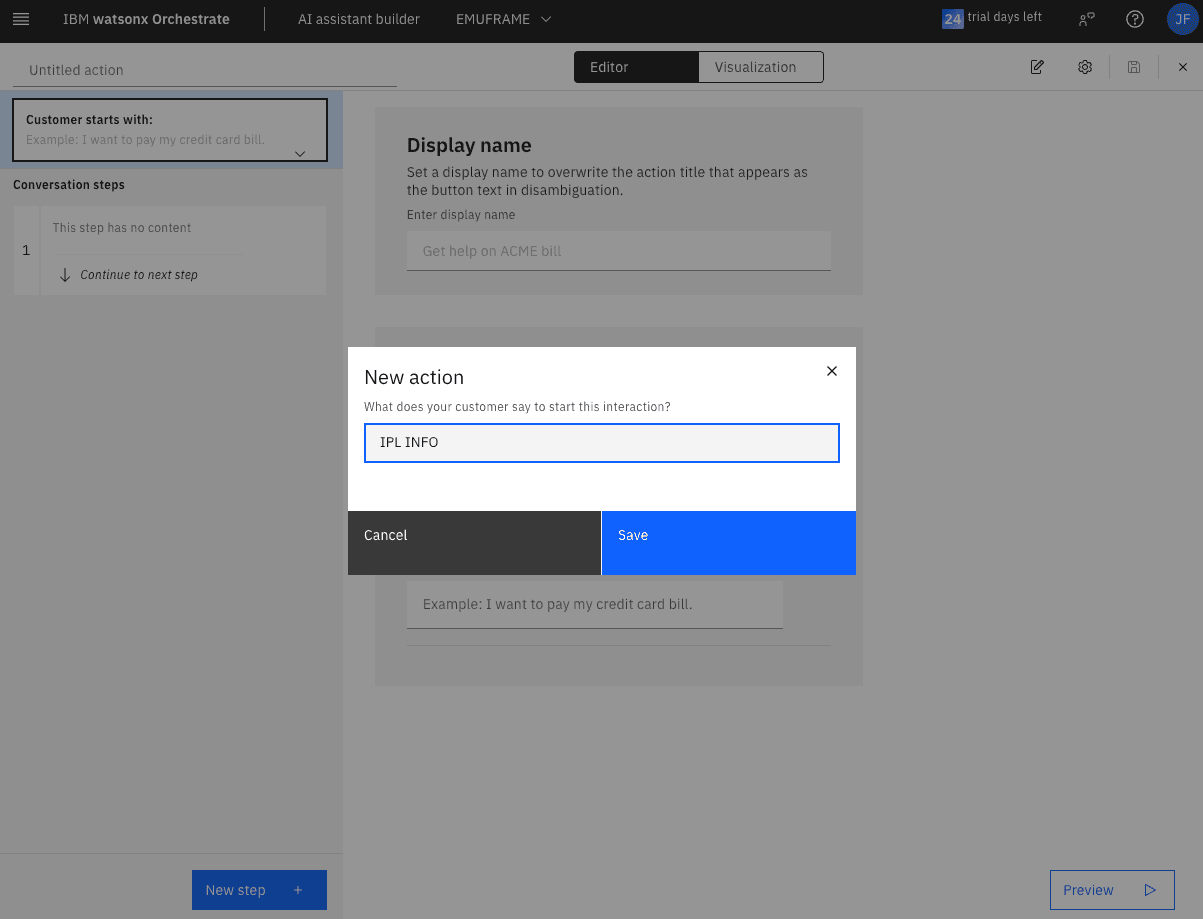
The action will be to display information about the last IPL.
This is what the user will have to type in the chat to display the information.
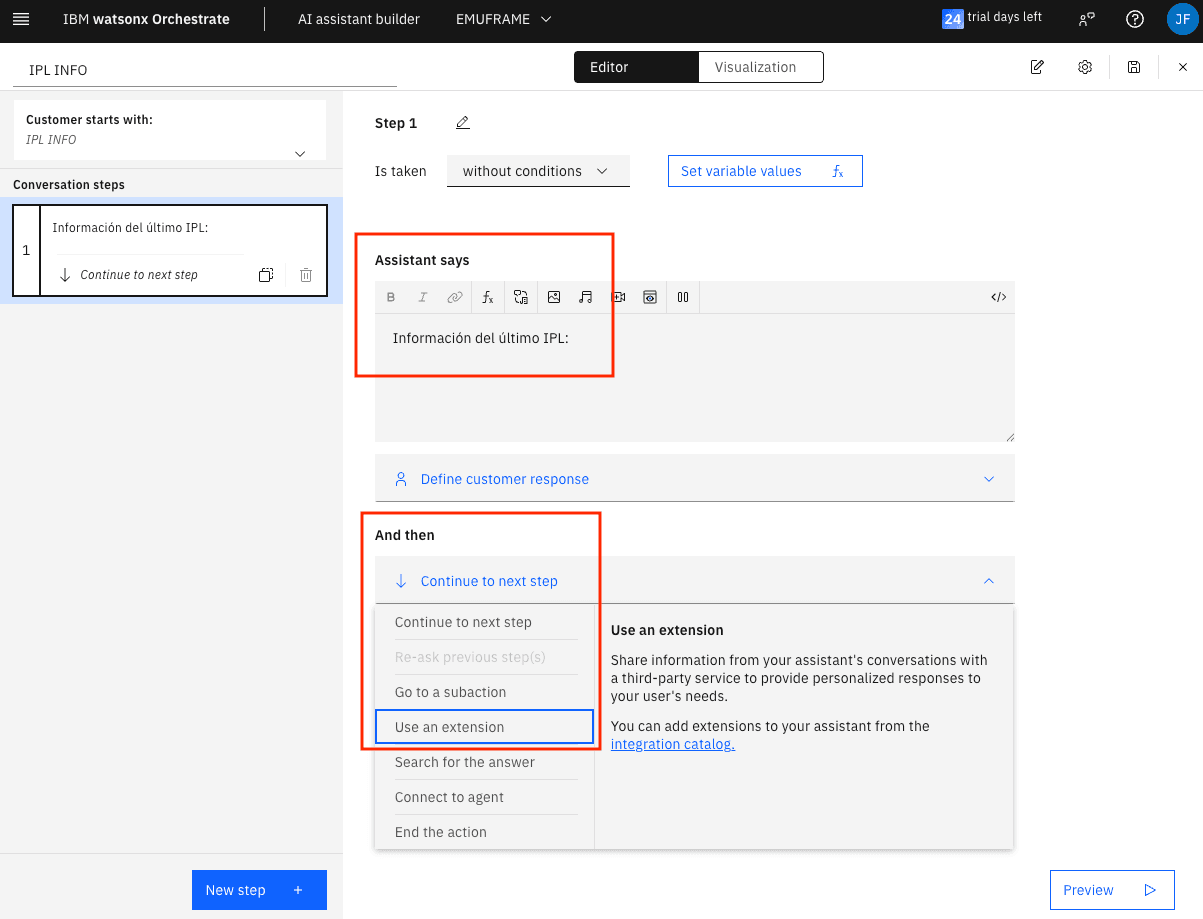
In the Assistant says field, we will write what we want the assistant to respond. In the And then field, we will choose the action it will perform next. I will choose Use an extension because it’s the way to call a skill/extension that executes the D IPLINFO command on z/OS.

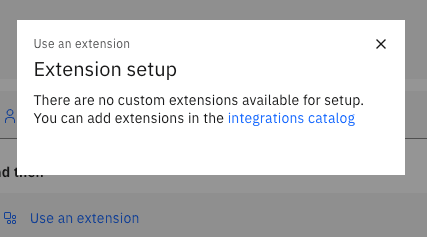
Create Skill/Extension for the Assistant
Since I don’t have any extension created, I will click on integrations catalog
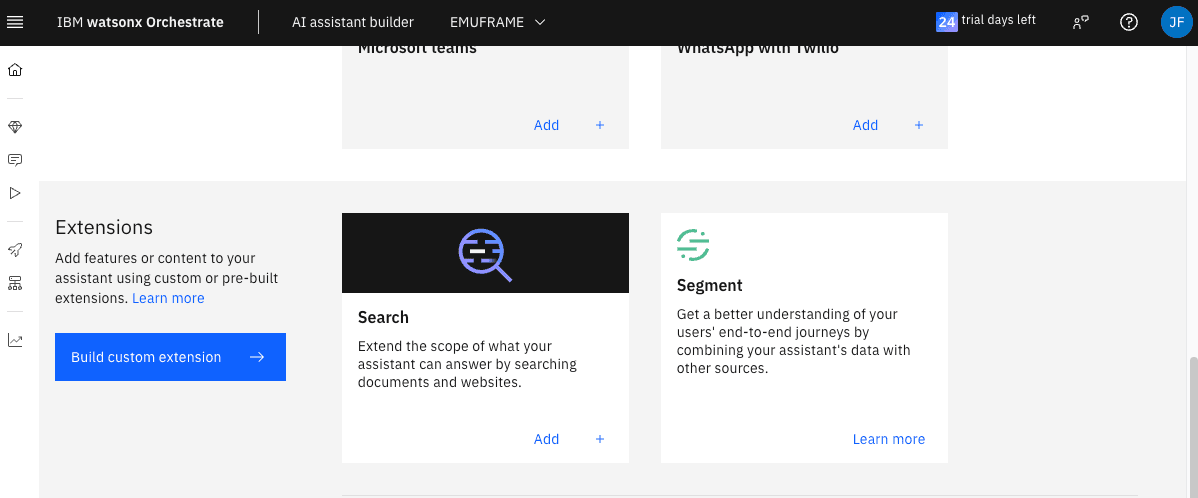
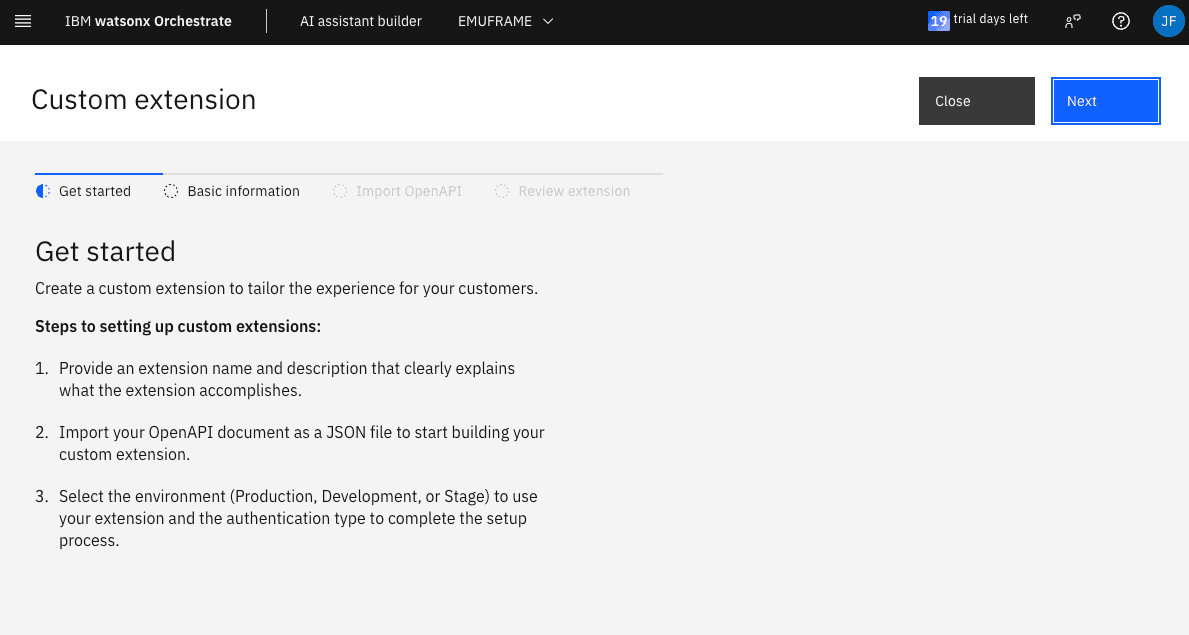
A new window will open. At the bottom, in the Extensions section, click the Build custom extension button
In the trial version, we need to import the skill/extension file we want to use in JSON format (based on OpenAPI).
In this documentation, the parameters that can be used are detailed.
In my case, what it does is connect to z/OS using z/OSMF REST API, specifically, Console Services. This way, we will send a command to the system and display the response.
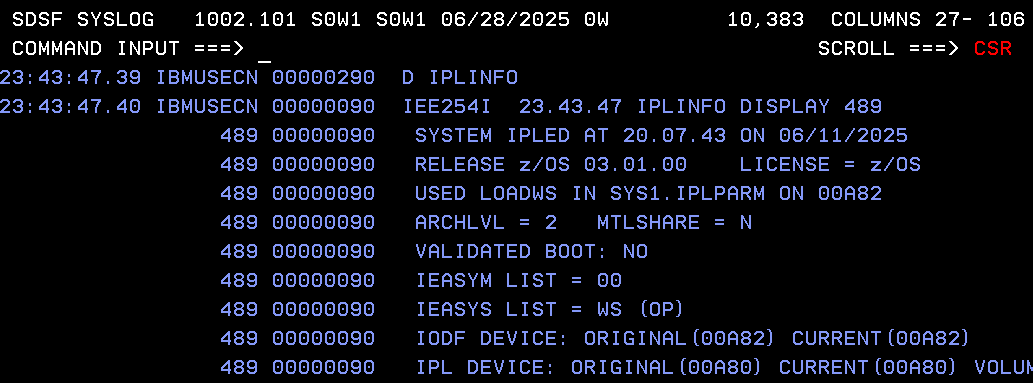
It can be any command, for example, D IPLINFO
In z/OSMF API Explorer, we find all the data we need for the JSON file parameters.
https://server:port/zosmf/api/explorer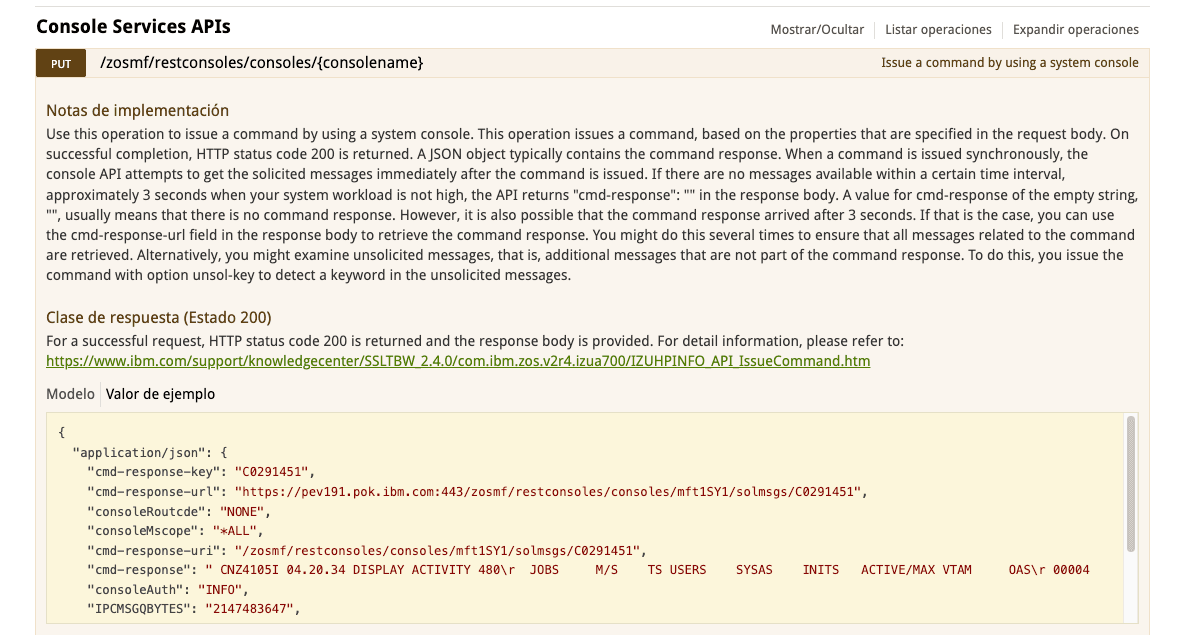
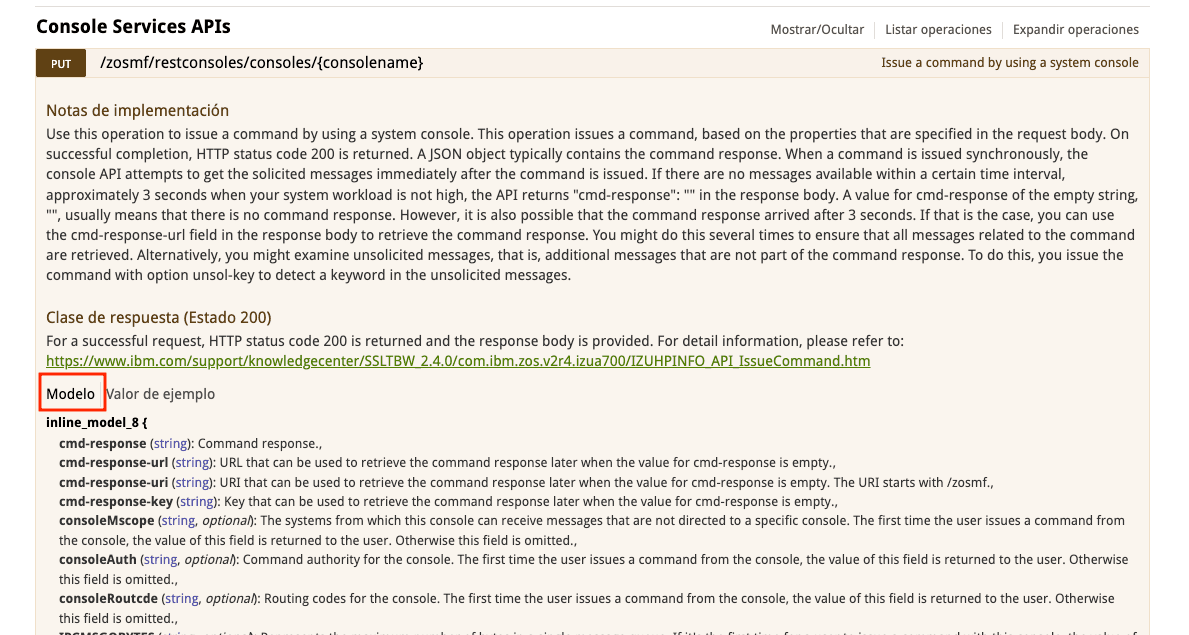
If we click on Model, we will see more details about the data type of each parameter.
On the IBM website, we can find more detailed information:
https://www.ibm.com/docs/en/zos/3.1.0?topic=services-issue-command-from-system-console
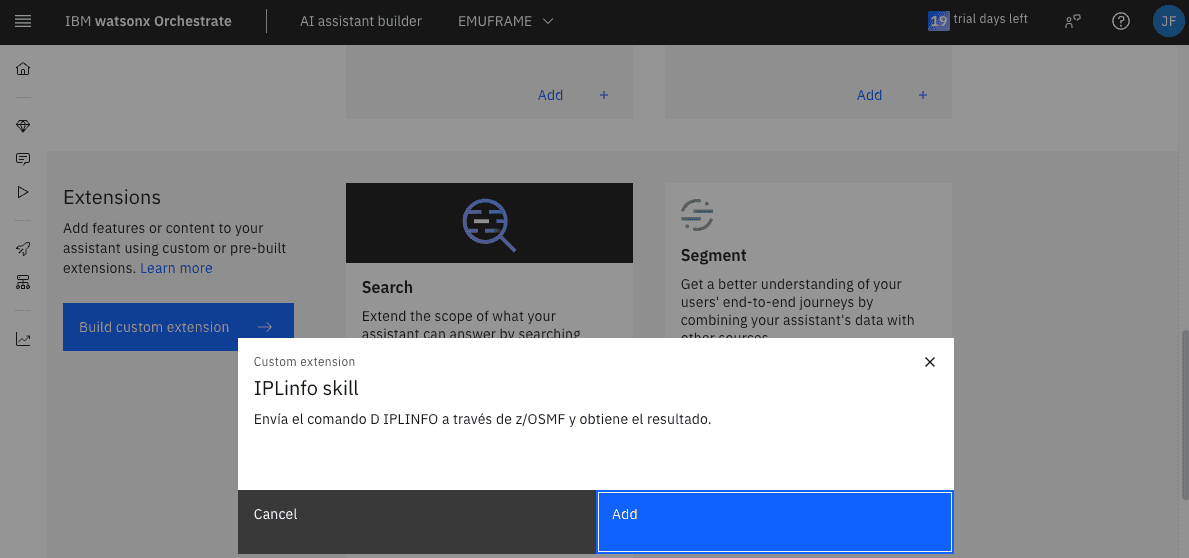
This is the file I will use. It is necessary to update the url parameter and the console name (data: IBMUSECN)
AI Skill / Extension Example - IPL INFO
{
"openapi": "3.0.3",
"servers": [
{
"url": "https://server:port"
}
],
"info": {
"description": "z/OS IPL info",
"version": "1.0.0",
"title": "z/OS IPL info",
"x-ibm-annotations": "1.0.0",
"x-ibm-application-name": "z/OS data",
"x-ibm-application-icon": "",
"x-ibm-application-id": "zos-data",
"x-ibm-skill-subtype": "public",
"x-ibm-skill-type": "imported",
"x-ibm-disable-default-server-url": "true"
},
"tags": [
{
"name": "zOS data"
}
],
"paths": {
"/zosmf/restconsoles/consoles/{consoleName}": {
"put": {
"summary": "z/OS IPL Information",
"description": "z/OS IPL Information",
"operationId": "zosIplInfo",
"parameters": [
{
"name": "consoleName",
"in": "path",
"required": true,
"schema": {
"type": "string",
"default": "IBMUSECN"
},
"description": "EMCS console on z/OS"
}
],
"responses": {
"200": {
"content": {
"application/json": {
"schema": {
"type": "object",
"properties": {
"cmd-response-key": {
"type": "string"
},
"cmd-response-url": {
"type": "string"
},
"cmd-response-uri": {
"type": "string"
},
"cmd-response": {
"type": "string"
},
"sol-key-detected": {
"type": "boolean"
},
"sol-key-timeout": {
"type": "boolean"
}
}
}
}
},
"description": "D IPLINFO - OK response"
},
"400": {
"content": {
"application/json": {}
},
"description": "Bad Request"
},
"403": {
"content": {
"application/json": {}
},
"description": "Forbidden"
},
"404": {
"content": {
"application/json": {}
},
"description": "Not Found"
}
},
"requestBody": {
"required": true,
"content": {
"application/json": {
"schema": {
"type": "object",
"required": ["cmd", "sol-key"],
"properties": {
"cmd": {
"type": "string",
"default": "d iplinfo"
},
"sol-key": {
"type": "string",
"default": "JES"
}
}
}
}
},
"description": "{\n \"cmd\": \"d iplinfo\",\n \"sol-key\": \"JES\"\n}"
},
"x-ibm-nl-intent-examples": ["Display IPL info", "IPL info"],
"x-ibm-next-actions": [],
"x-ibm-nl-entities": {
"entities": []
},
"x-ibm-conversational-skill": true
}
}
},
"components": {
"securitySchemes": {
"basicAuth": {
"type": "http",
"scheme": "basic"
}
}
},
"security": [
{
"basicAuth": []
}
]
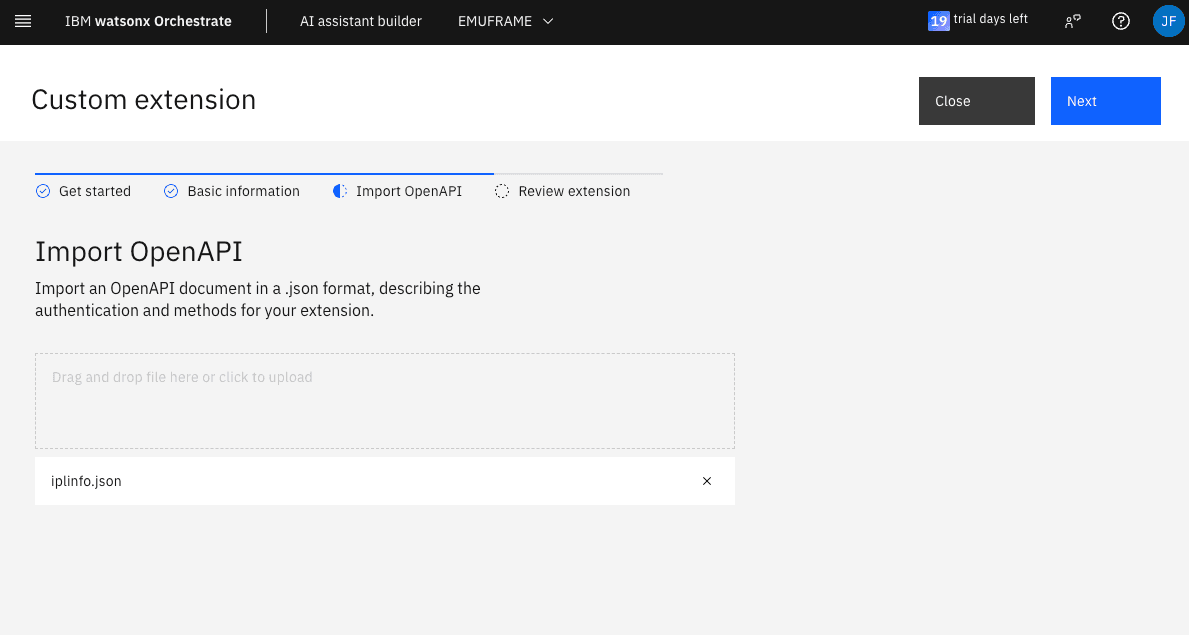
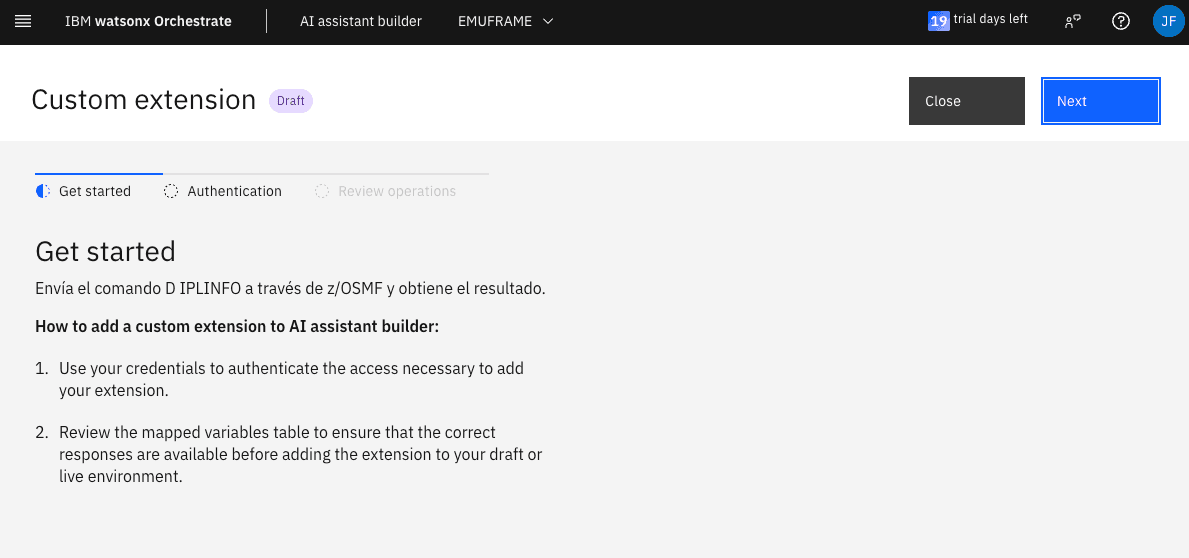
}Now, we import the file. Click Next.
Fill in the data.

Browse for the JSON file.
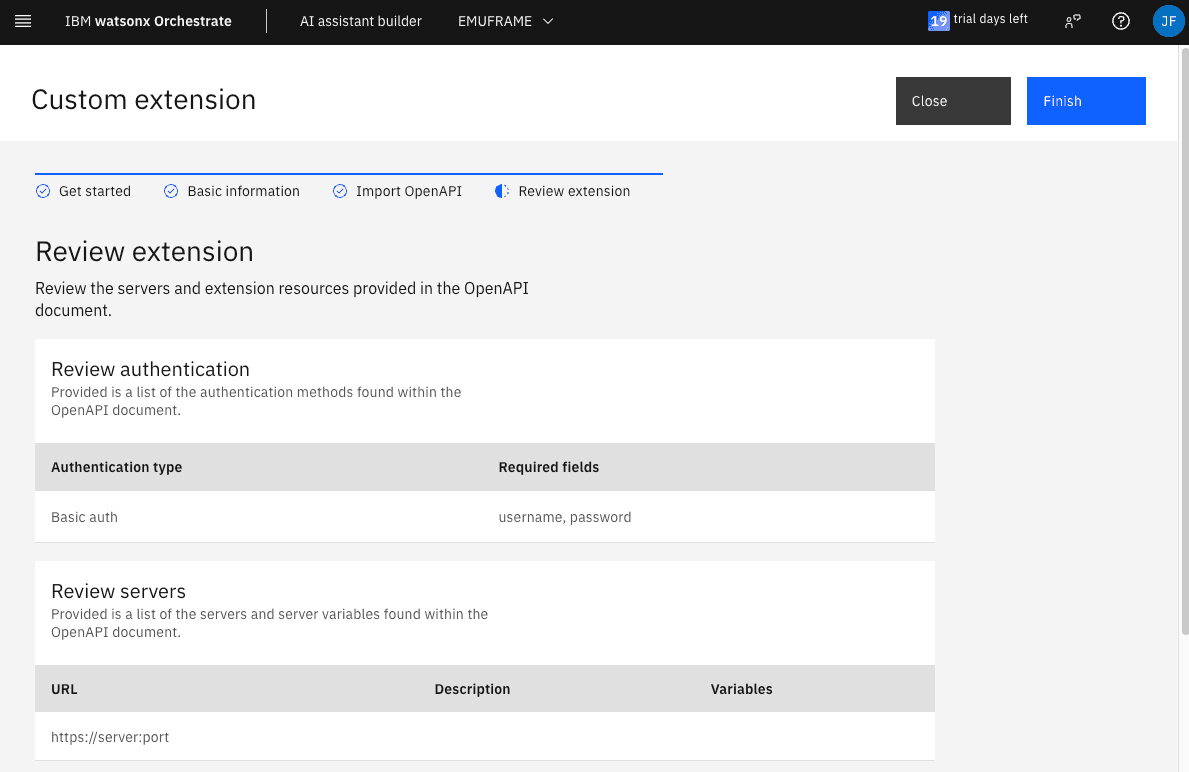
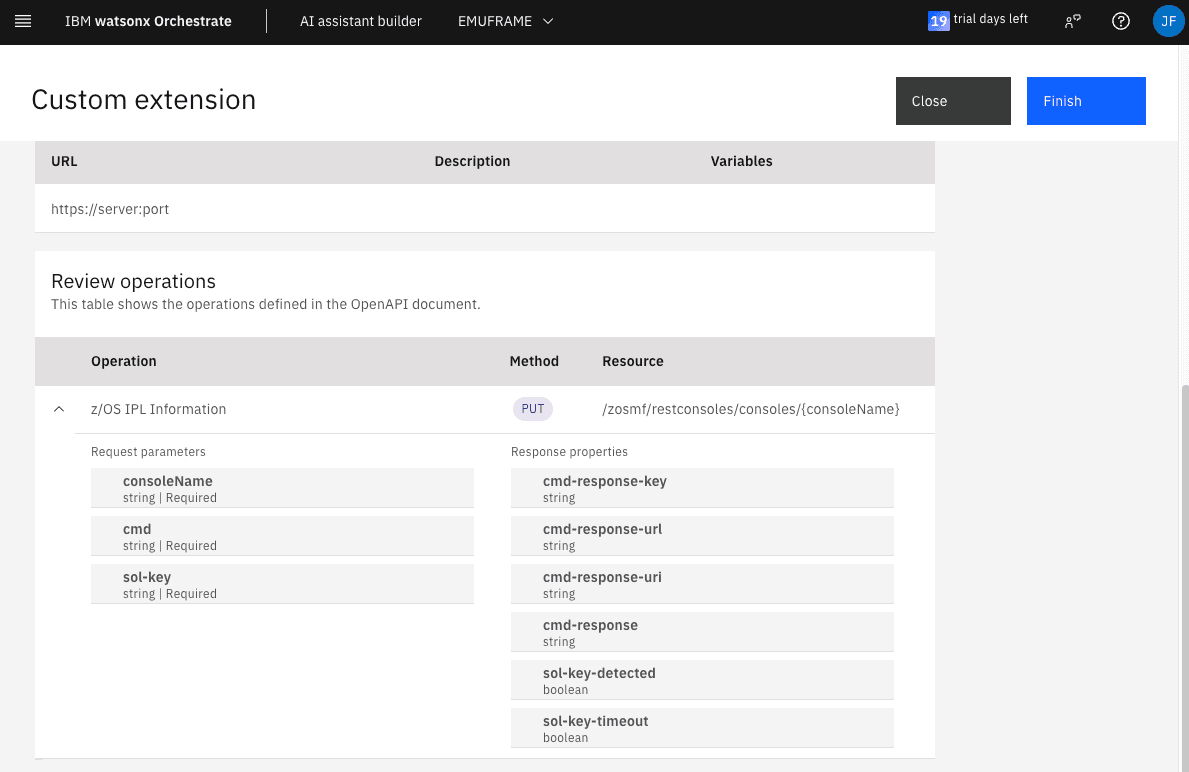
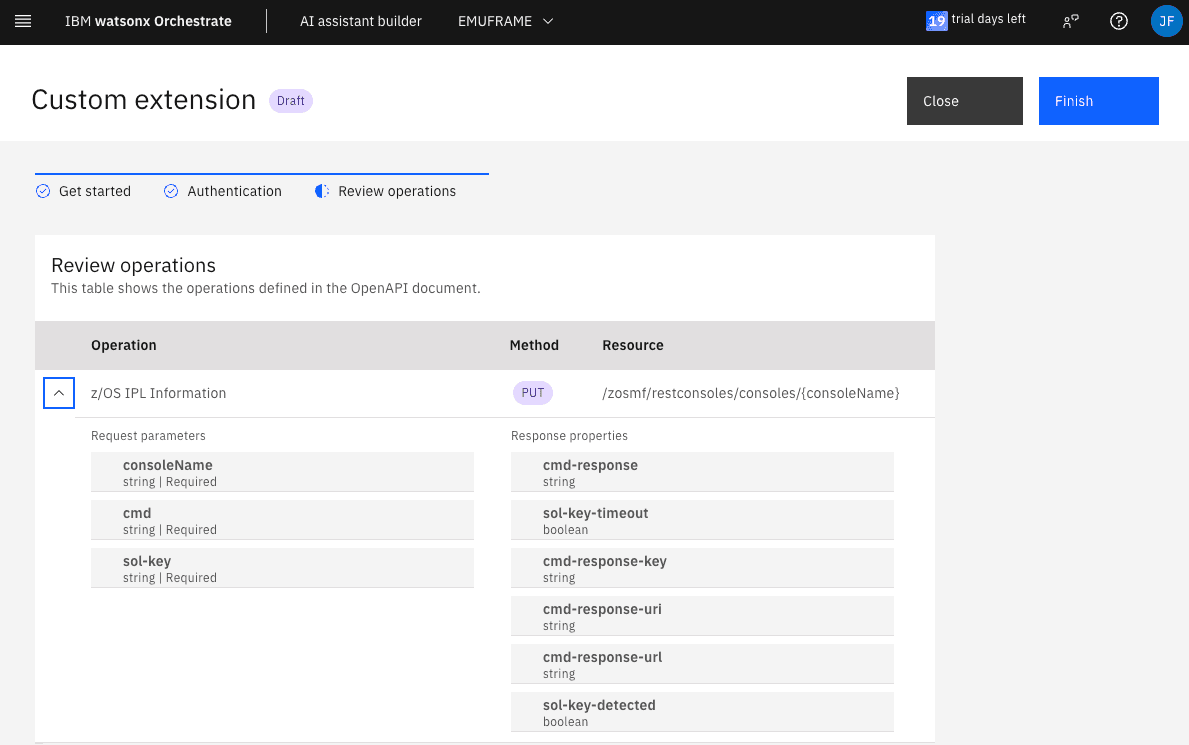
Review the data and, if everything is correct, click Finish.
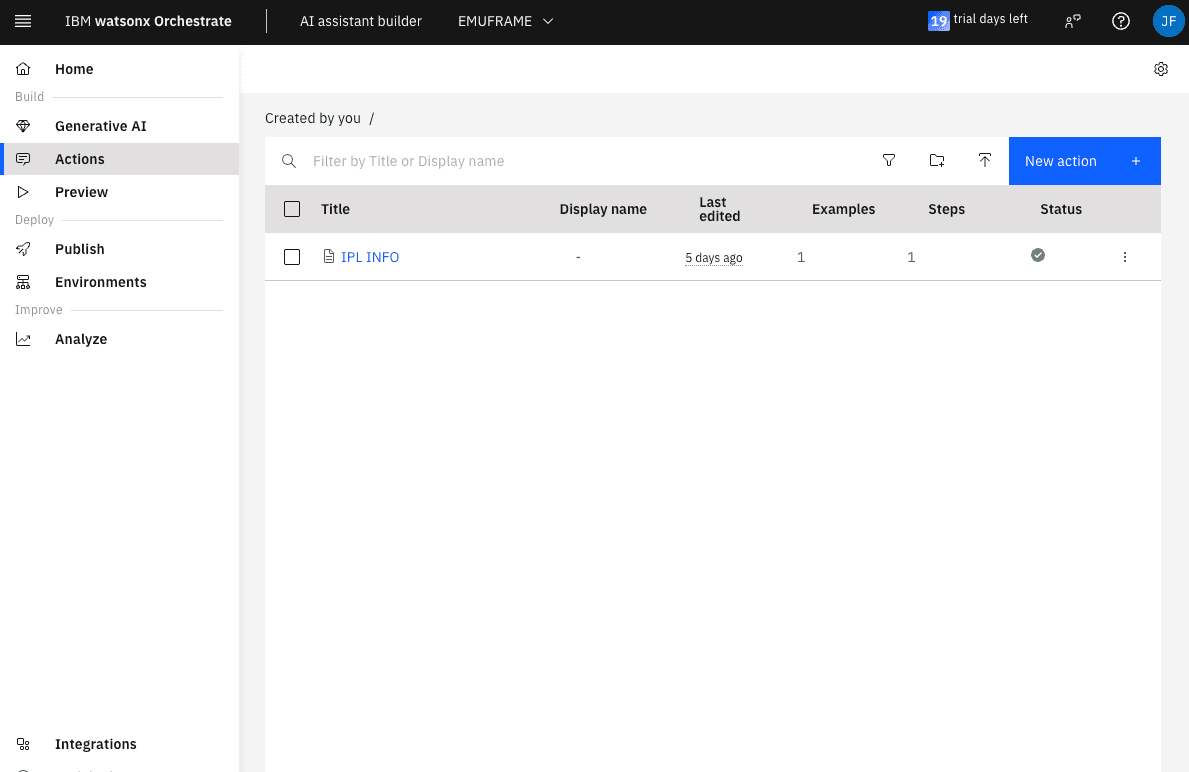
Go back to the Actions menu to continue editing the assistant. Enter IPL INFO.
Go to the first step and fill in the information. In And then, choose Use an extension
Go to integrations catalog again.

Now it’s possible to add the Skill/Extension we imported.

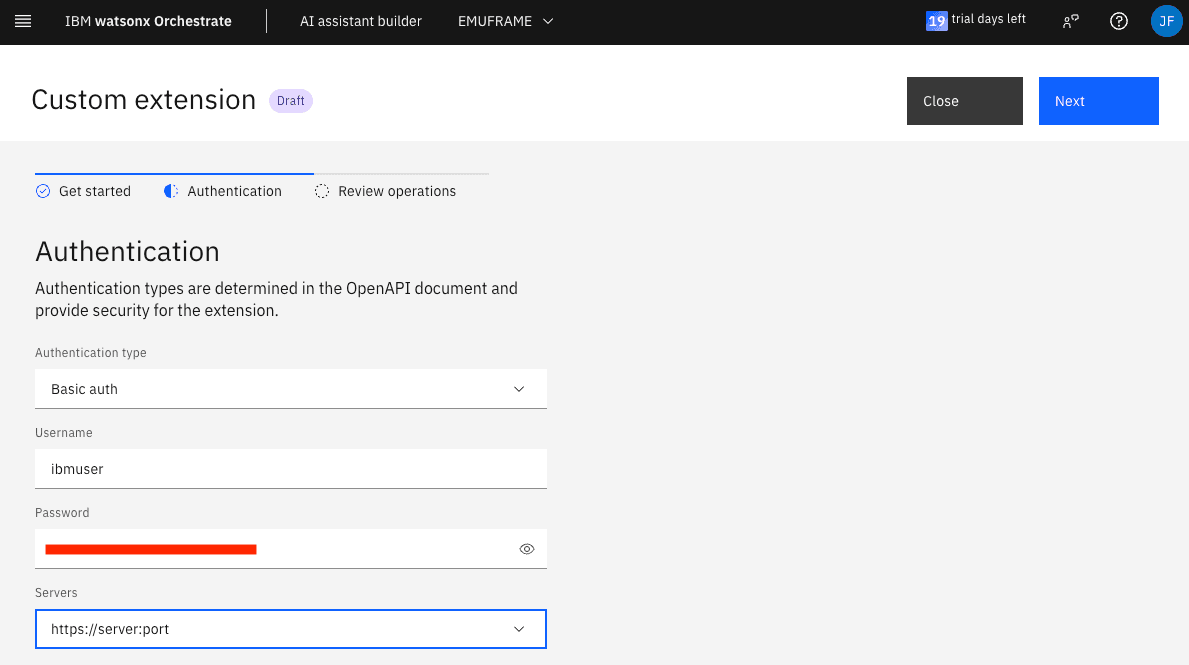
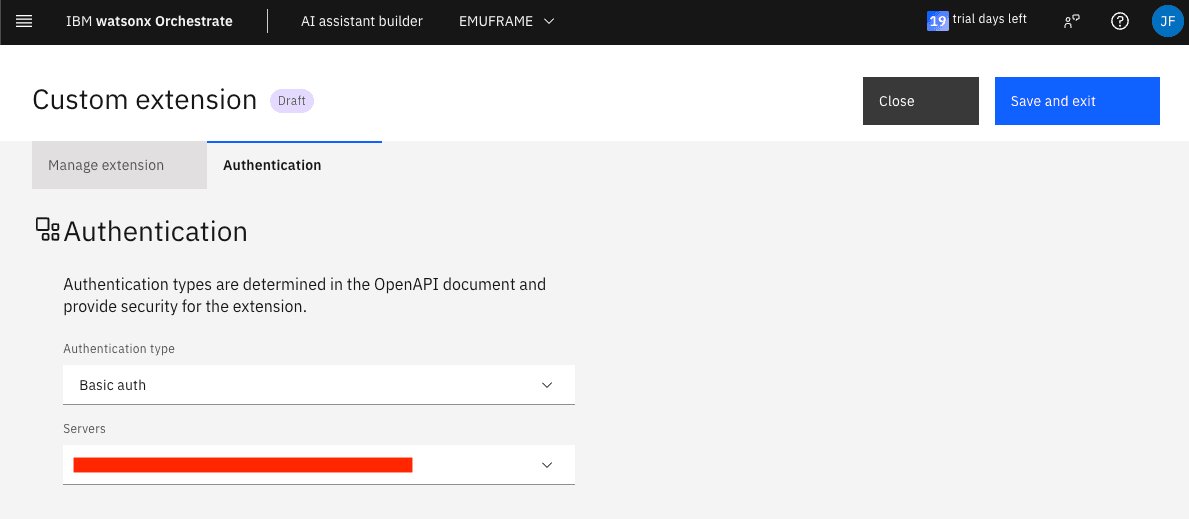
Since I use basic authentication type, I need to specify the user we will use to connect via z/OSMF. It must be a user that exists in z/OS and has permissions in z/OSMF.
Every time we edit the skill, we need to update the authentication information again.
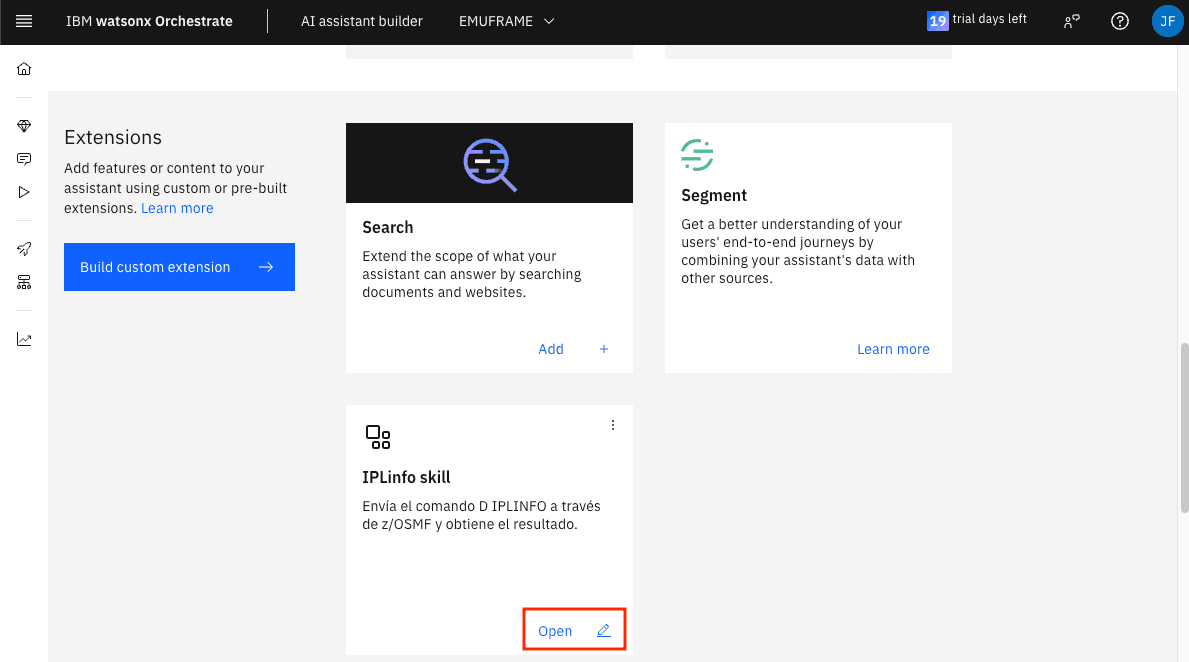
Edit Skill/Extension
If we want to edit a skill because we made a mistake and need to upload a new JSON, click Open.
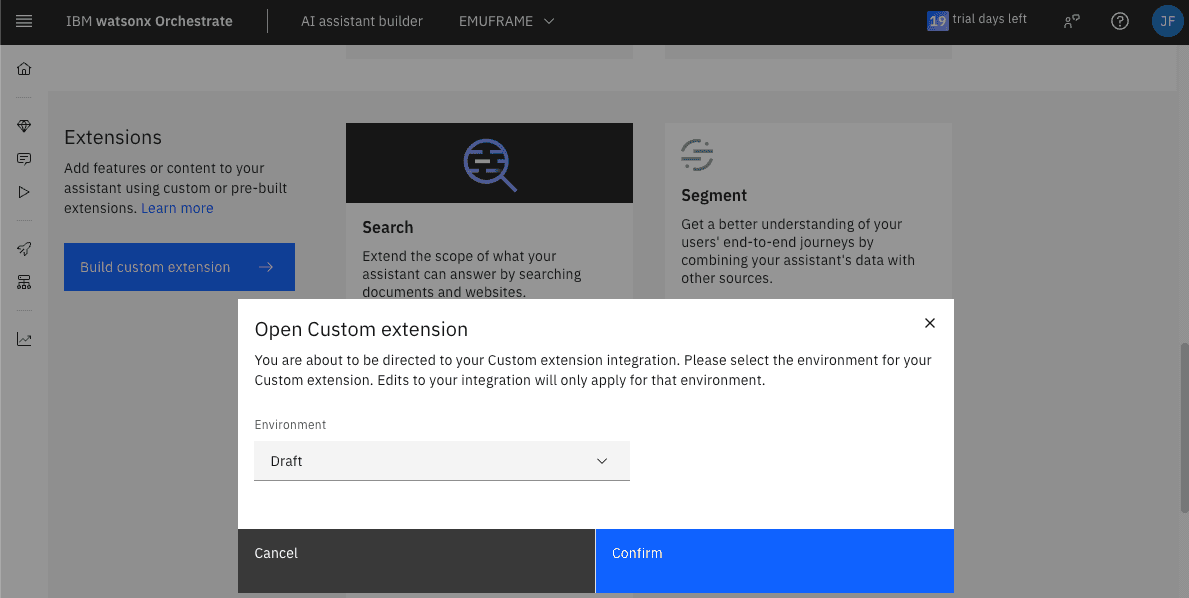
In my case, in Environment I select Draft.
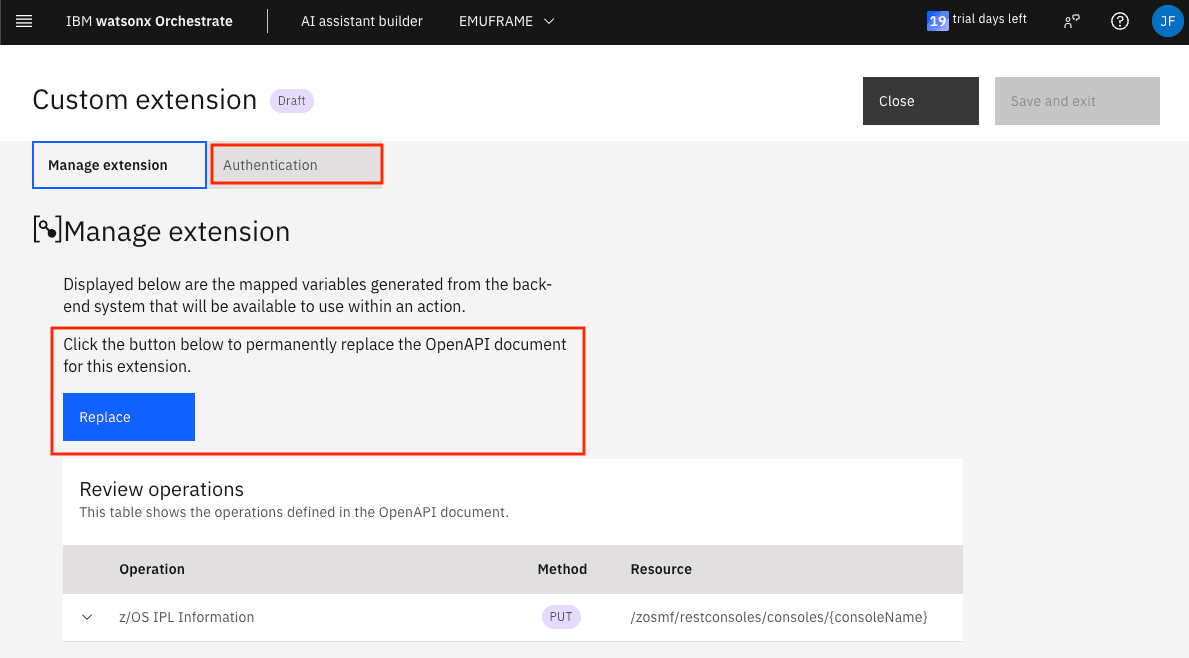
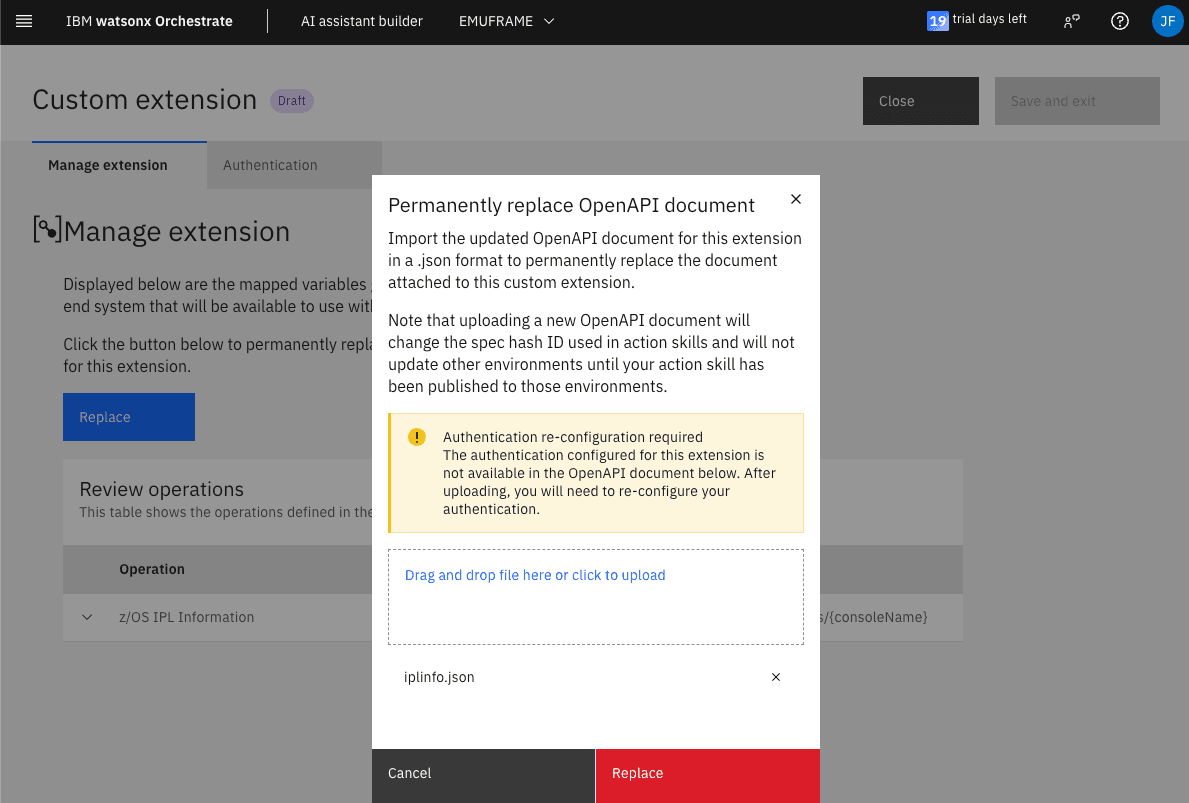
Click Replace to upload the new JSON file.
Afterwards, we must go to the Authentication tab and re-enter the z/OS user credentials.
At the time of these tests, the website doesn’t work correctly and doesn’t show the username and password fields. We need to change the Authentication type field to No authentication and change it back to Basic auth so that it shows both fields. You need to re-enter the password.
Assign Skill/Extension to the Assistant
Go back to Actions and continue editing IPL INFO.

In the And then field, choose Use an extension again.

Now we can choose the extension.
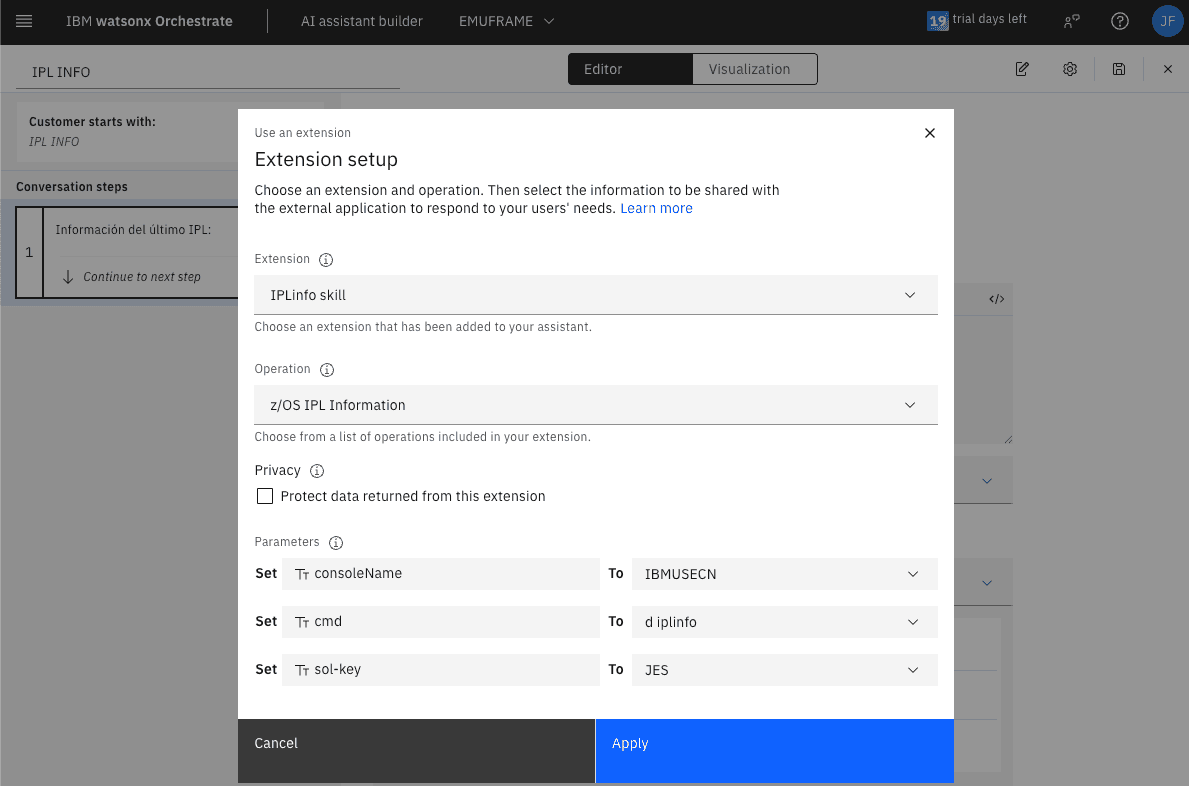
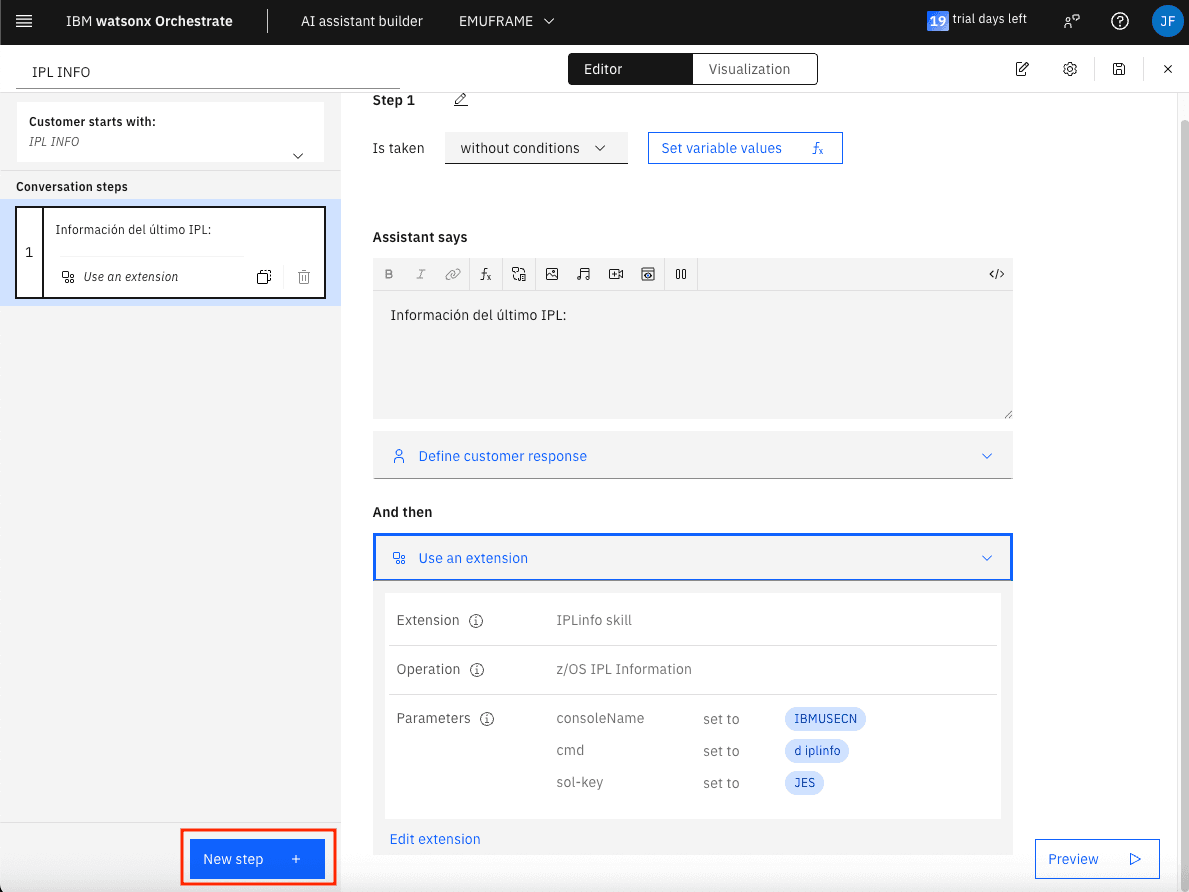
We have completed the first step which consists of calling the extension that launches the command against z/OS using z/OSMF.
Now we need to create a second step that displays the received information. To do this, click on New step.
In this step, we can set an entry condition, for example, that the previous step executed successfully. I won’t do this to avoid making the example too complicated.
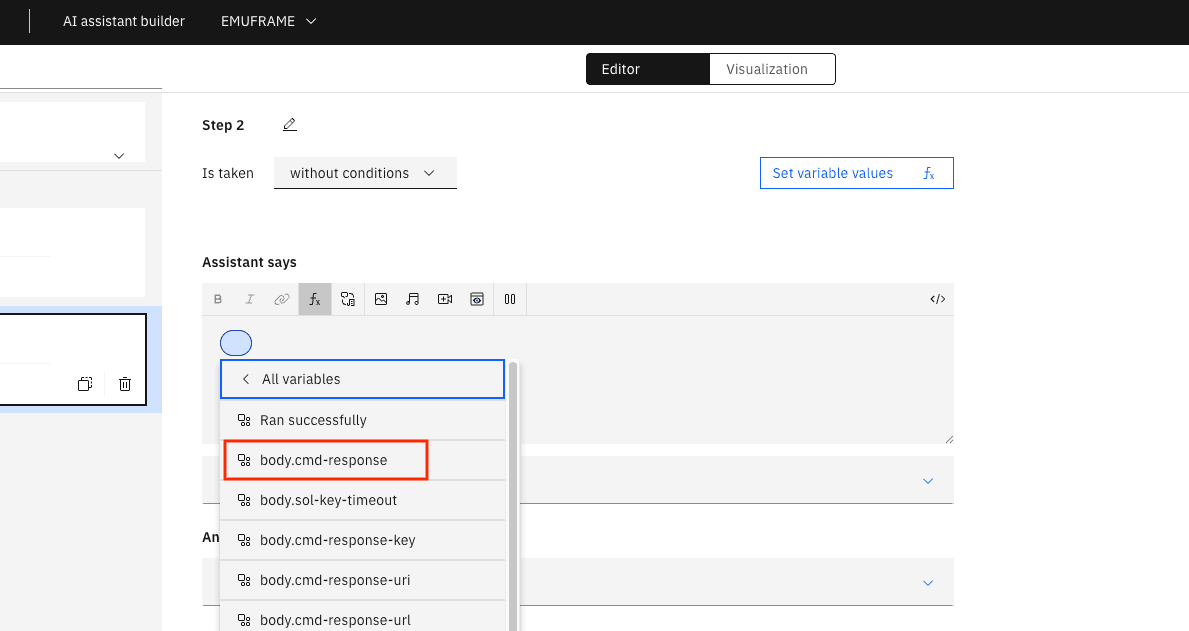
To display the result of the previous step, we need to choose the fx button. In my case, I select step 1.
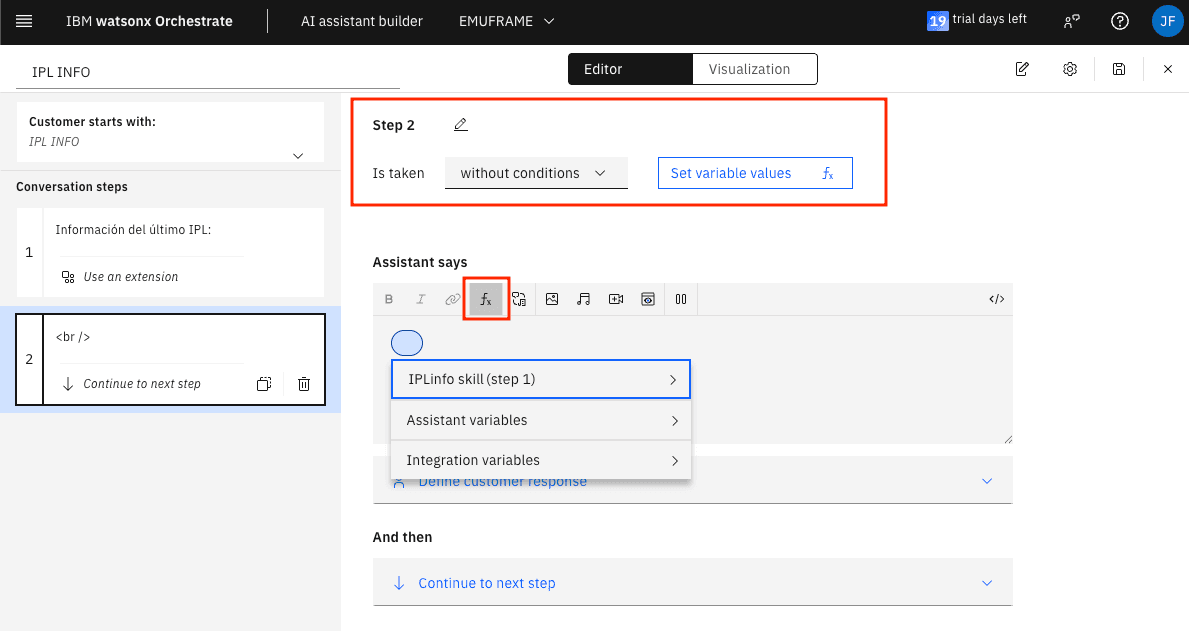
The variable that contains the command result is cmd-response.
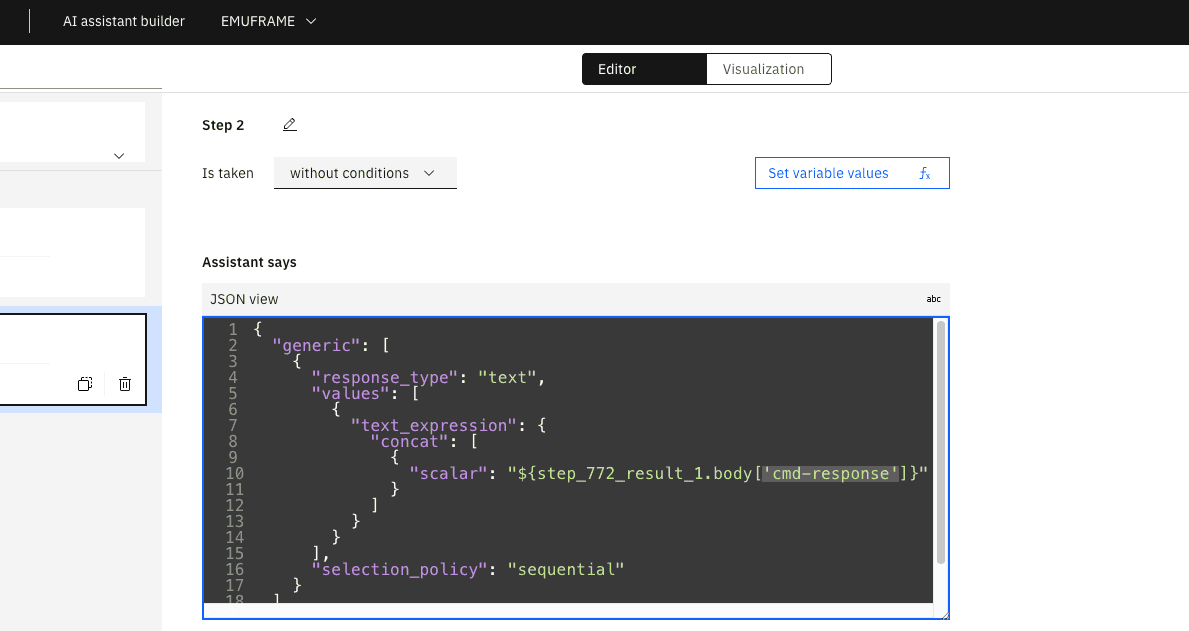
The following needs to be modified to display the result correctly because the editor writes the code in a way that is not valid for this z/OSMF API.
To find out what we should put, we can search Google for JSON path finder. For example: https://jsonpathfinder.com/
We should put the result returned by the API (we can get it from the z/OSMF API Explorer) inside a body tag, as shown in the image.
On the right, when expanding the body tag and selecting cmd-response, it will tell us the path and how we should write it. In this case:
body['cmd-response']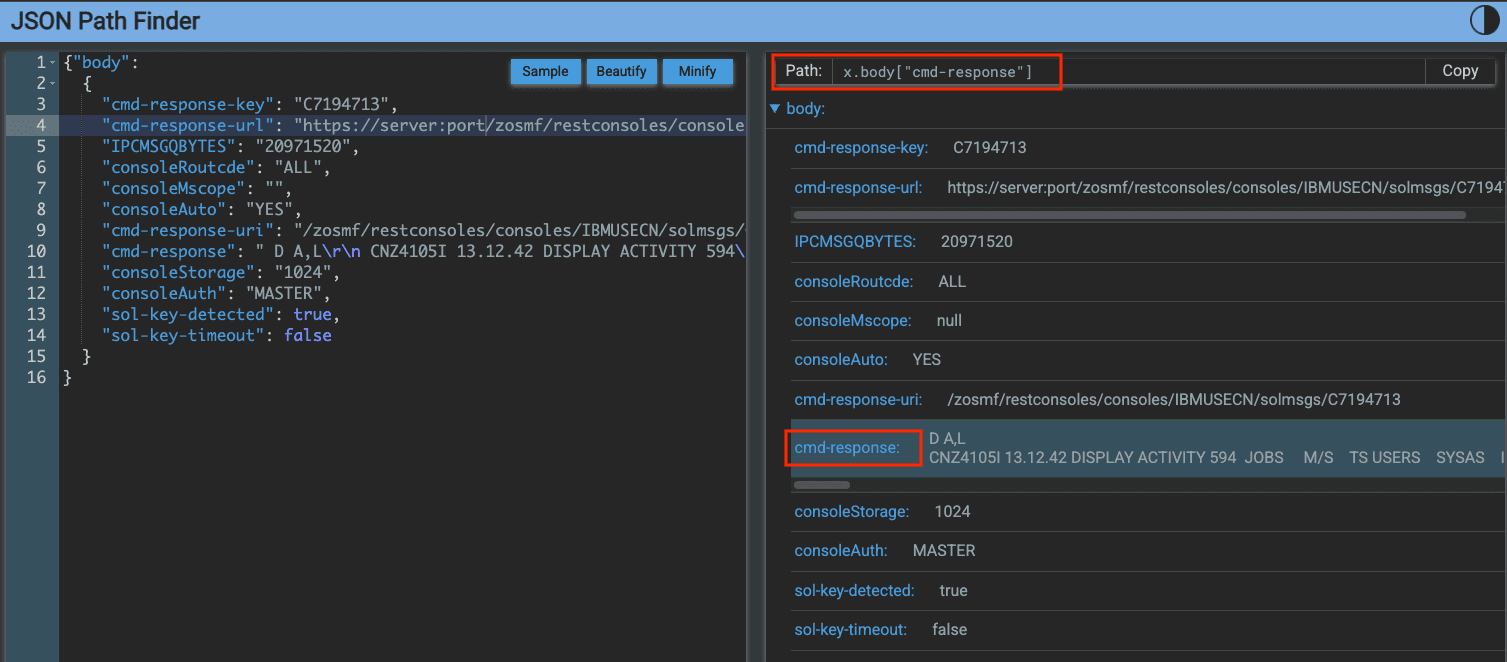
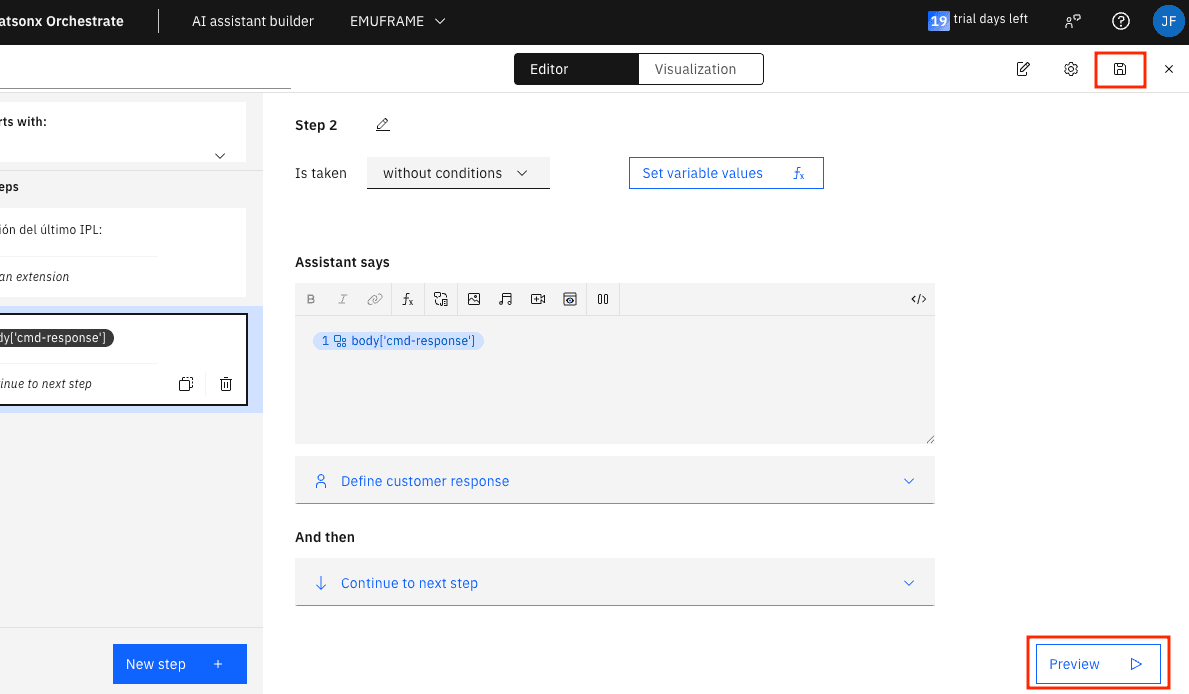
With the </> button, we switch to code editor mode.
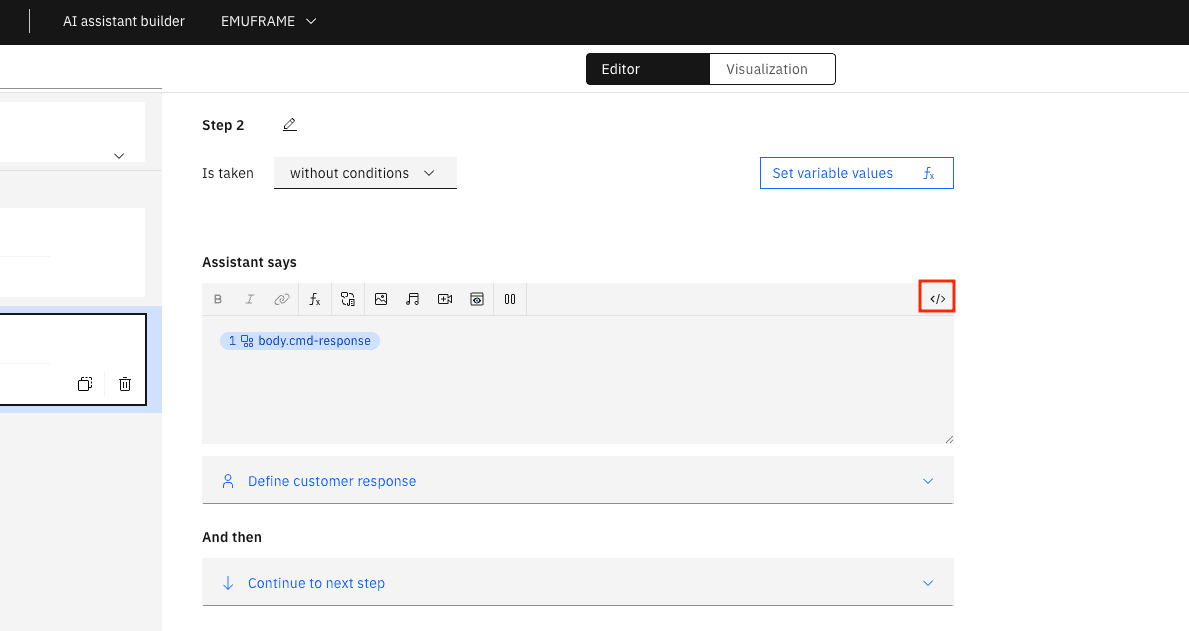
We need to change body.cmd-response to body[‘cmd-response’].
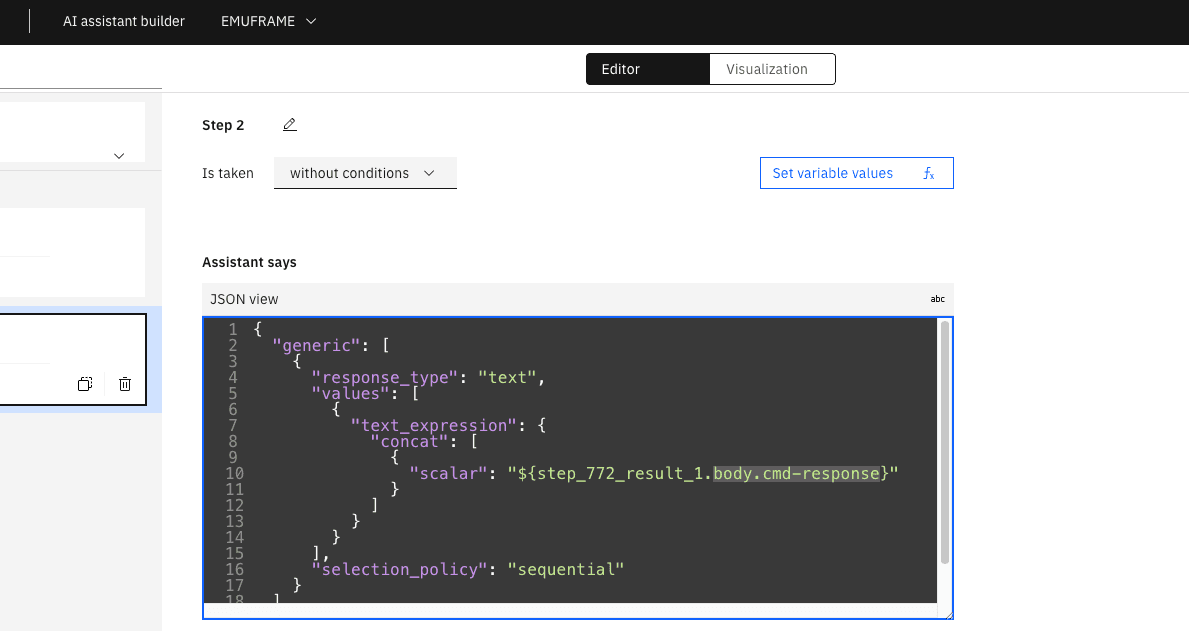
Save the changes and click on Preview.
When typing ipl info in the chat, it fails. In Inspect, we can see the error. In my case, it’s due to using self-signed certificates in z/OS.
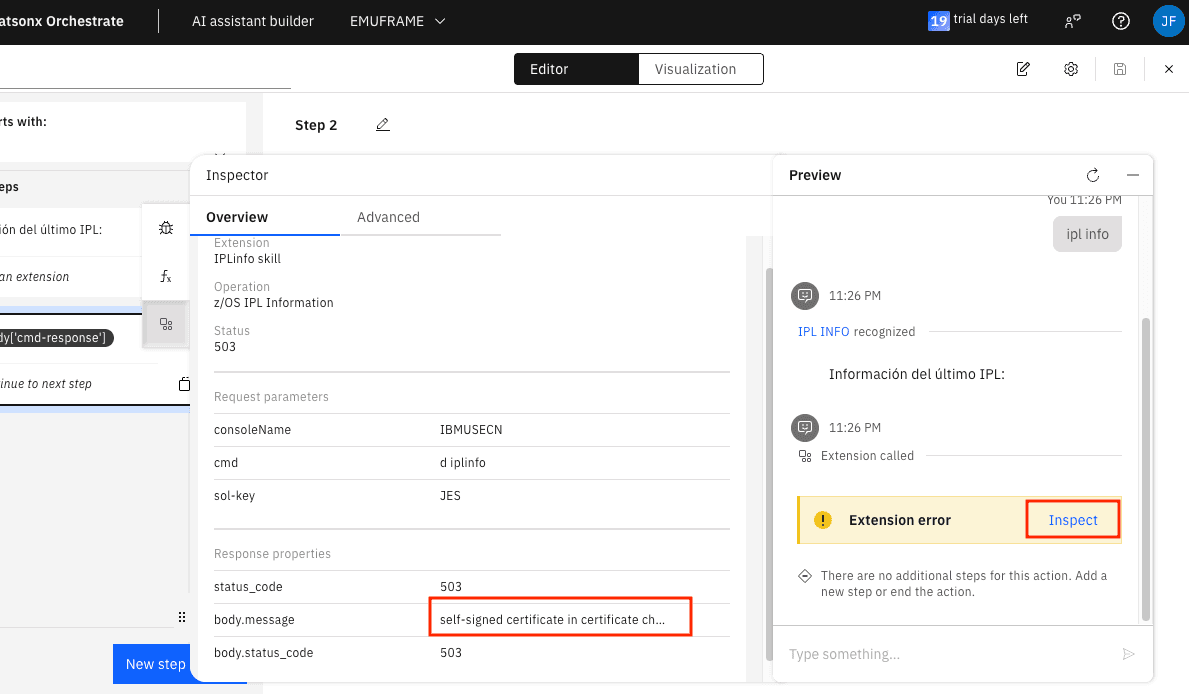
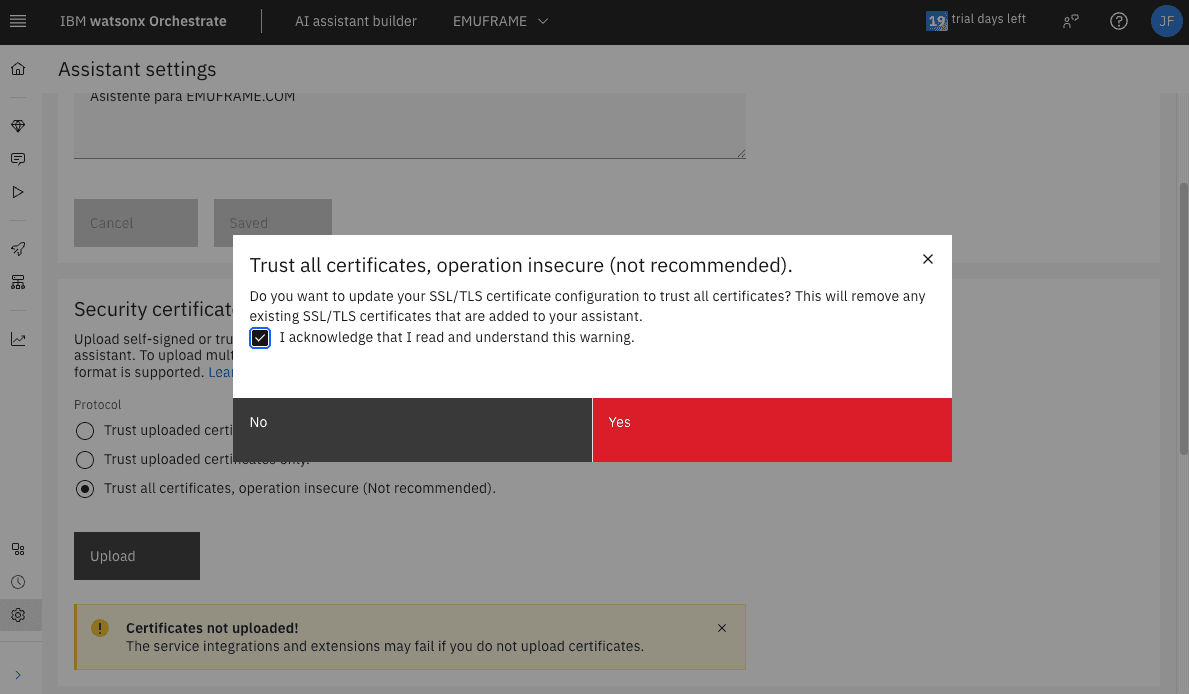
Allow Self-Signed Certificates (SSL/TLS)
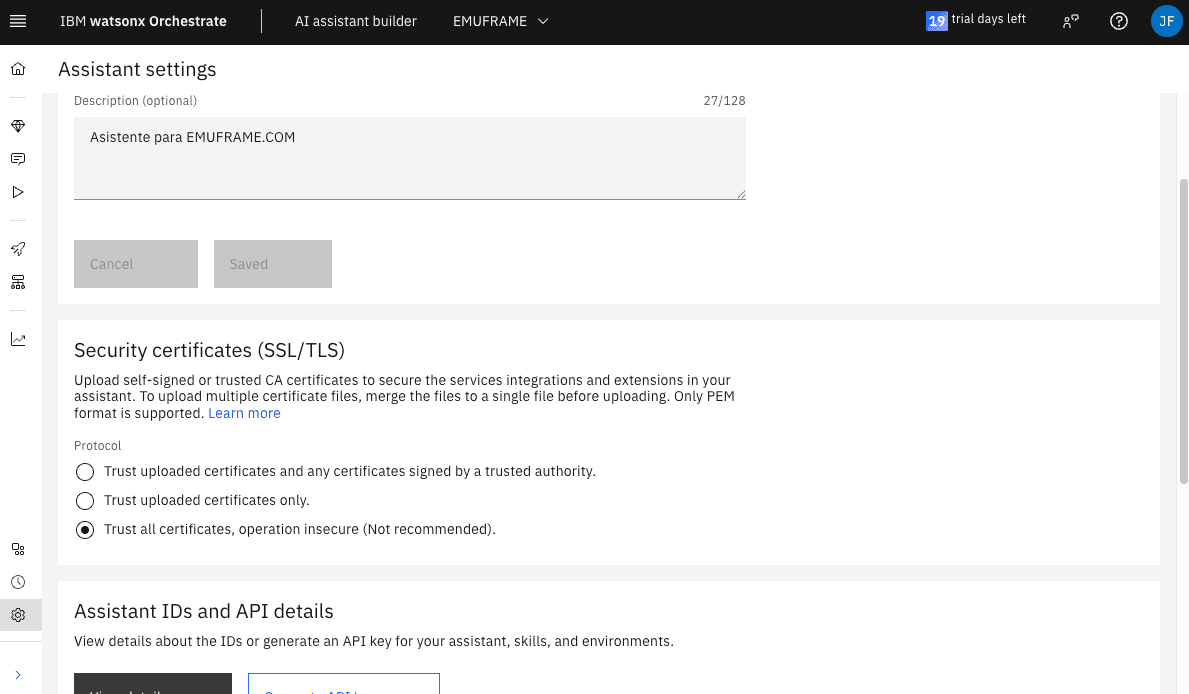
To allow connections with self-signed certificates, we exit the editor (x in the upper right corner) and go to Assistant Settings.

In the Security certificates (SSL/TLS) section, there are several options.
Since these are self-signed certificates, we could use the first or second option and upload the certificate by downloading it from z/OS. I will make a specific entry about this to avoid making this one too long.
I had already selected the third option, but when changes are made to the skills, you need to select it again. At least that’s what happened to me during the tests.
Since it doesn’t work correctly, I will select the first or second option and then select the third again, because that way it does save the changes.
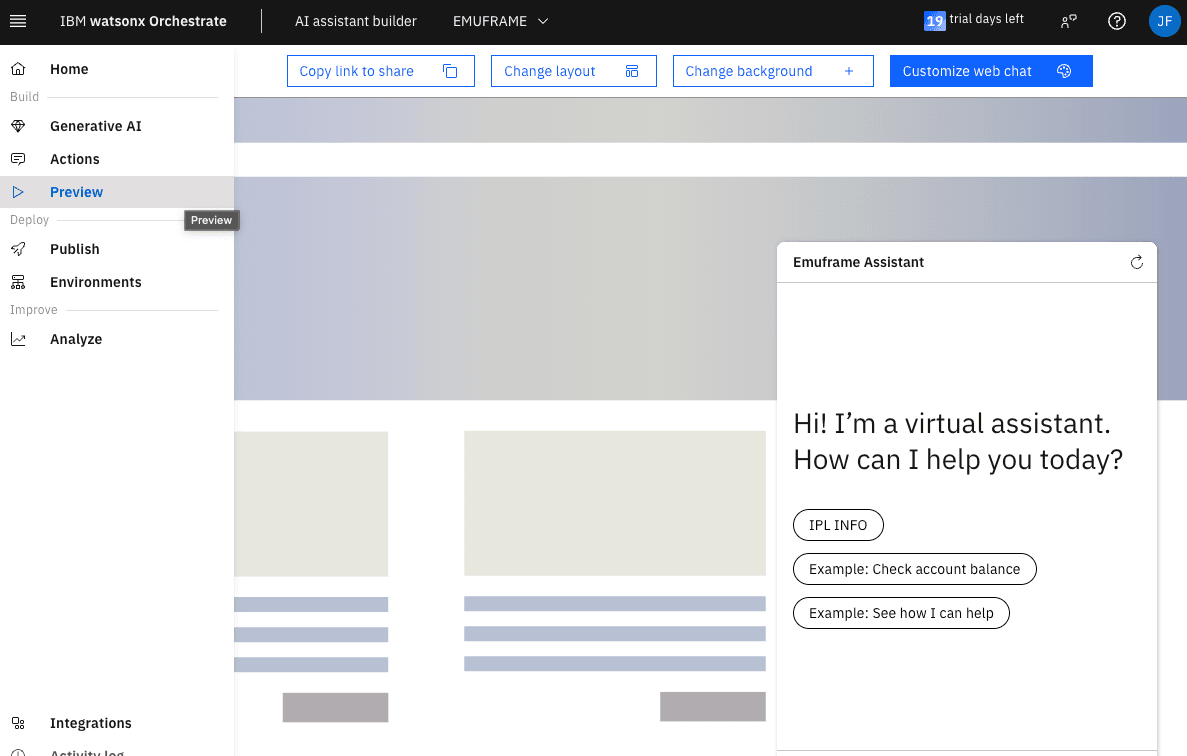
Test AI Assistant
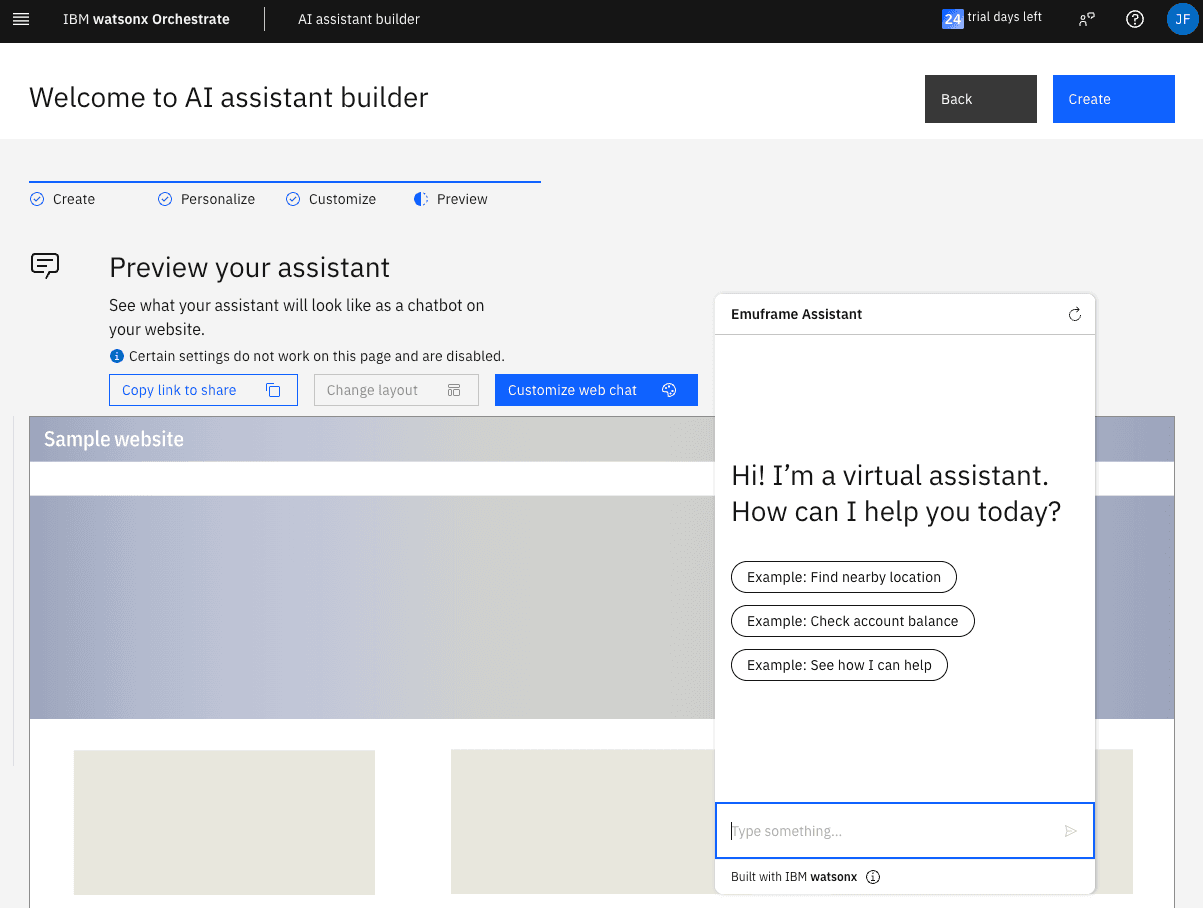
In the menu, go to Preview. The assistant will open and give us several predefined options. The one I configured is IPL INFO, we can click on the button or type it in the chat.
Sometimes it doesn’t respond in time and you need to try again.
The command result will appear.
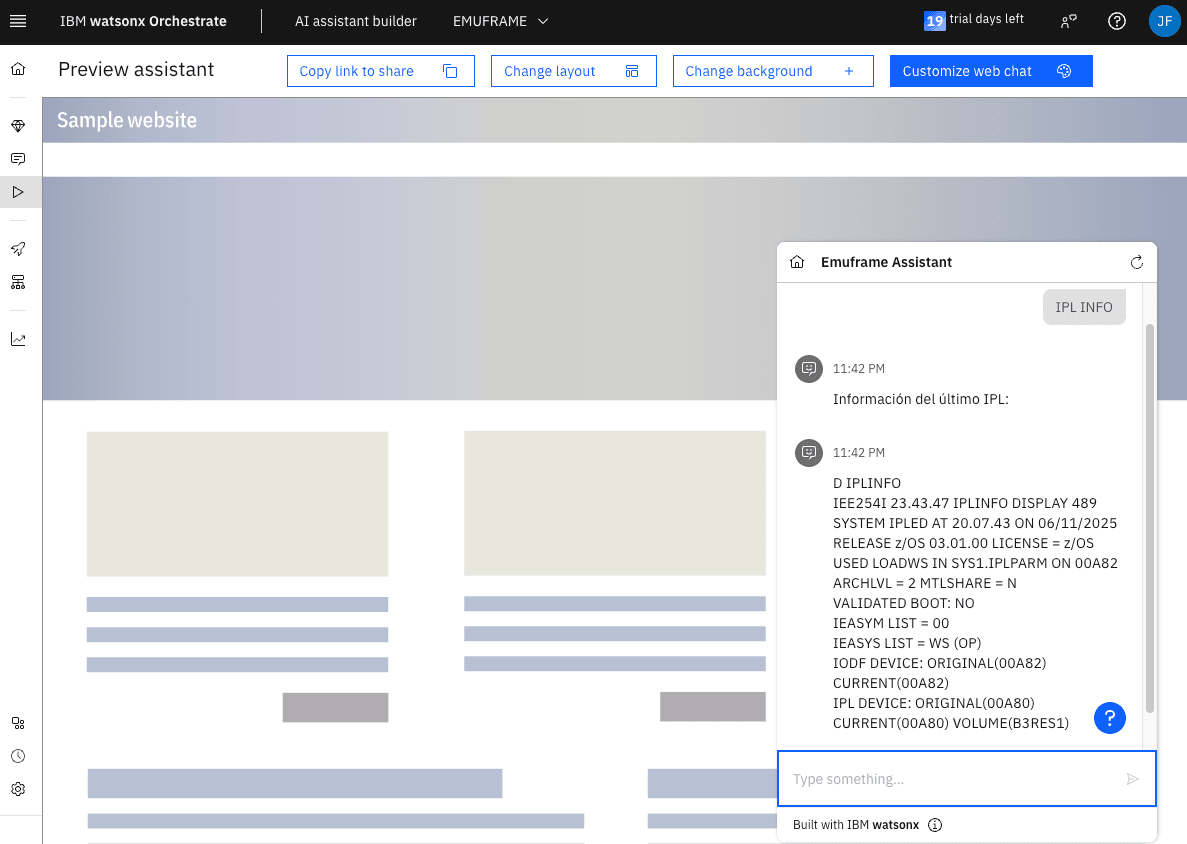
In z/OS, we verify that the command was executed.