Install Web Utility and Deploy z/OS System
We are going to install the web utility and deploy a z/OS system from an image. The web serves to manage our emulated systems easily.
Additionally, it also provides access via REST APIs to create our own processes and automate administration.
We will follow this part of the installation manual:
https://www.ibm.com/docs/en/zdt/12.0.5?topic=edition-installing-enterprise-web-server
User manual:
https://www.ibm.com/docs/en/zdt/12.0.5?topic=edition-users-guide
The web tool can be installed on the same system as the license server, but in this case, I will do it separately.
The reason is that I prefer not to tinker with the license server, because this version is a trial and “if I break it”, I will have to bother third parties to generate a new license for me.
Install Web Utility
Although the screenshots are shown with the Ubuntu operating system in Spanish, for everything to work correctly, Ubuntu must be in English.
The installation steps are the same as when we installed the license server.
We copy the installation package to this machine. In my case, it’s called ZDT_Install_EE_V12.0.5.0.tgz
We open a terminal and go to the path where we copied it. We change the permissions to 775:
chmod 755 ZDT_Install_EE_V12.0.5.0.tgzWe decompress the file with the command:
tar -xzvf ZDT_Install_EE_V12.0.5.0.tgzWe run the program to perform the installation:
./ZDT_Install_EE_V12.0.5.0.x86_64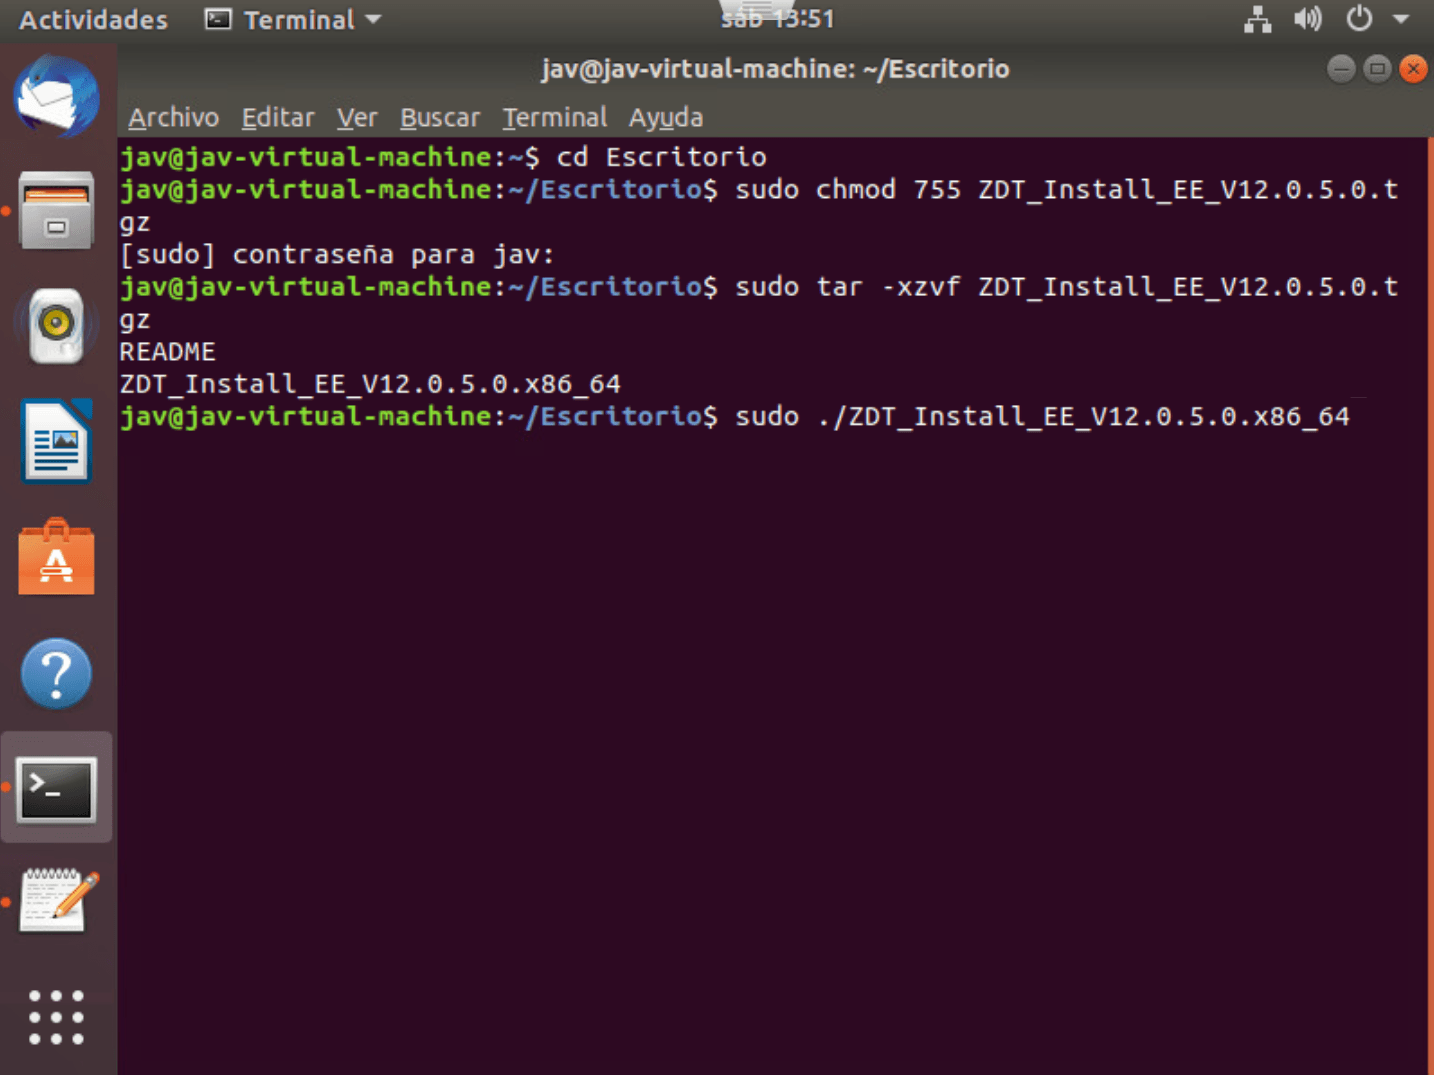
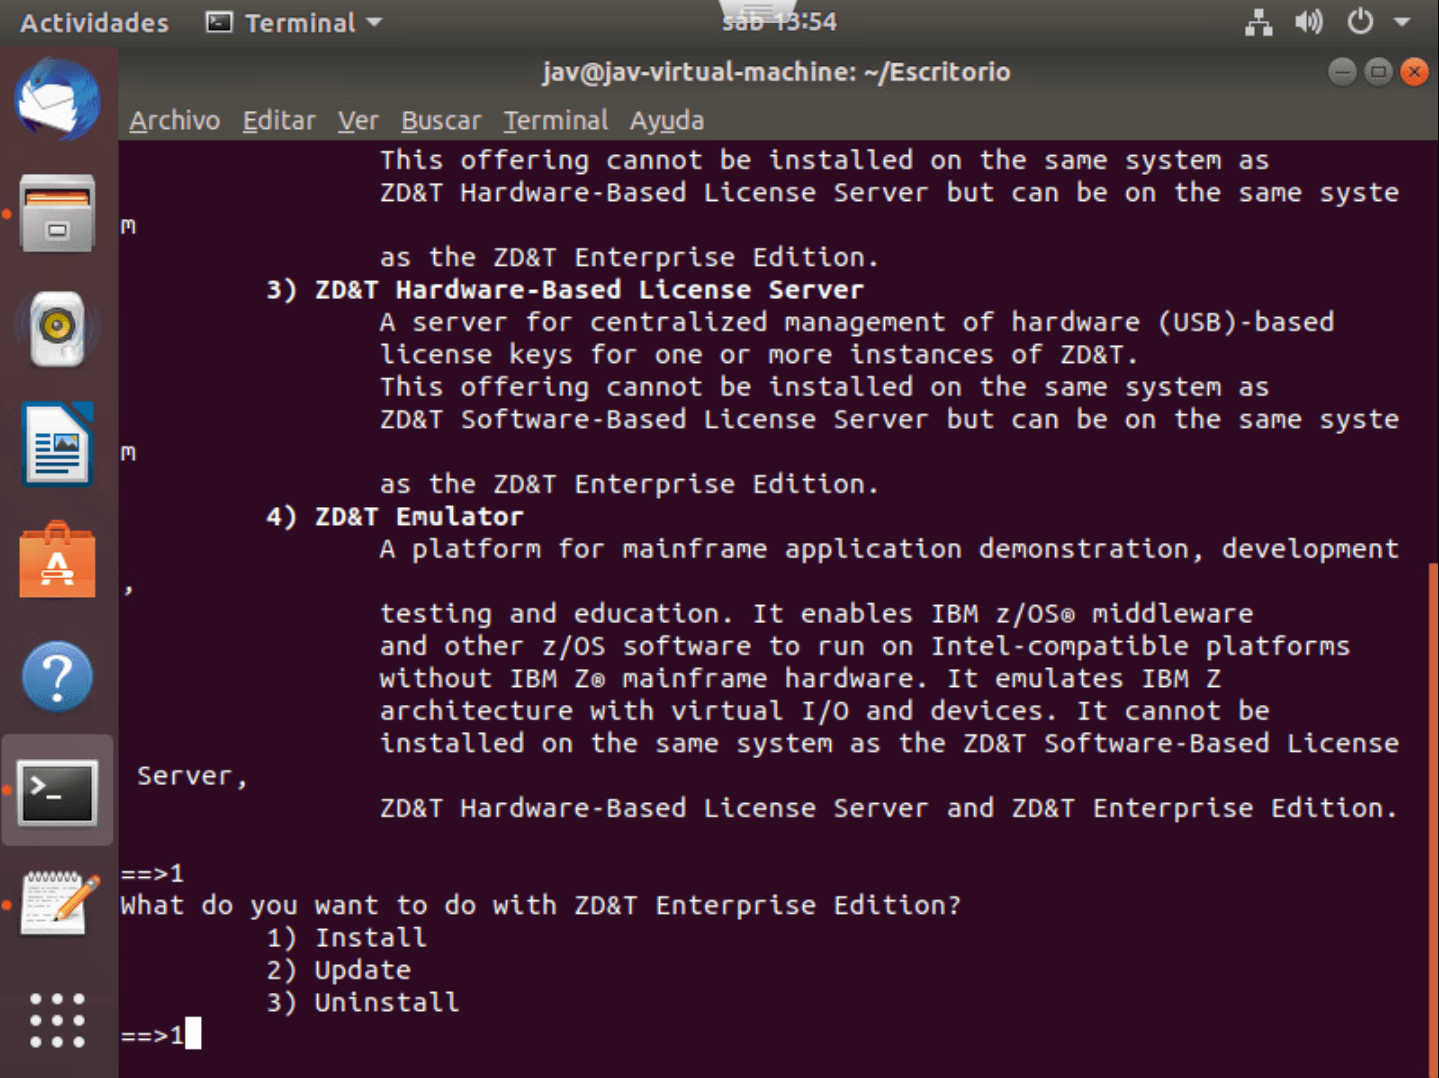
Choose to install option 1.
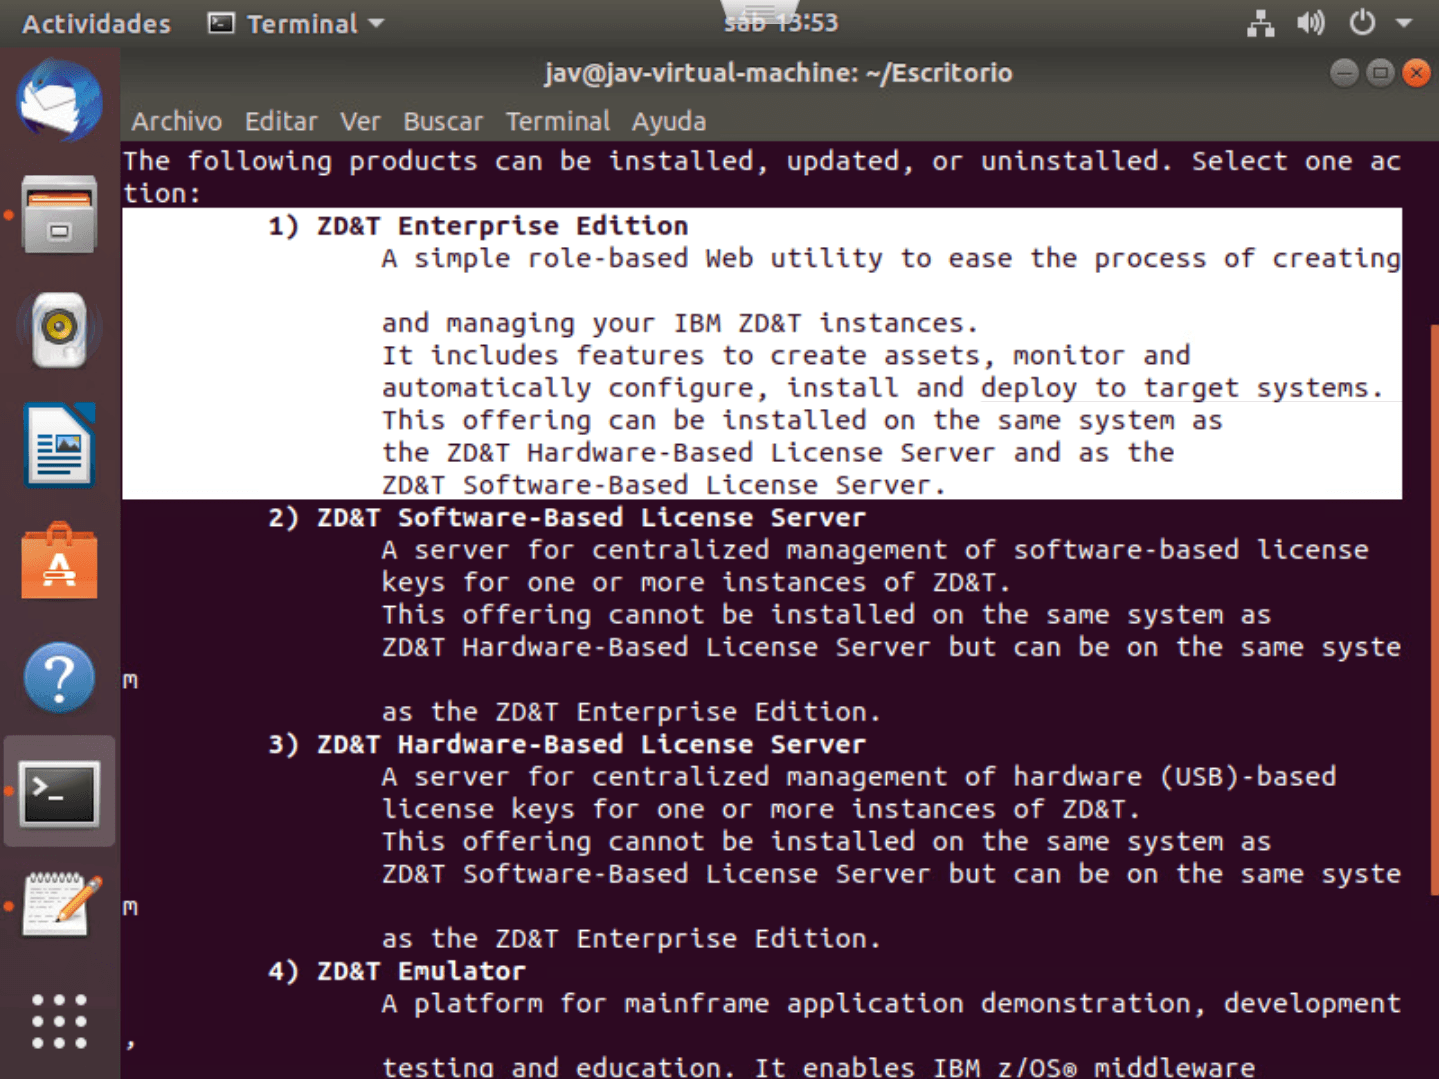
We choose option 1 - Install.
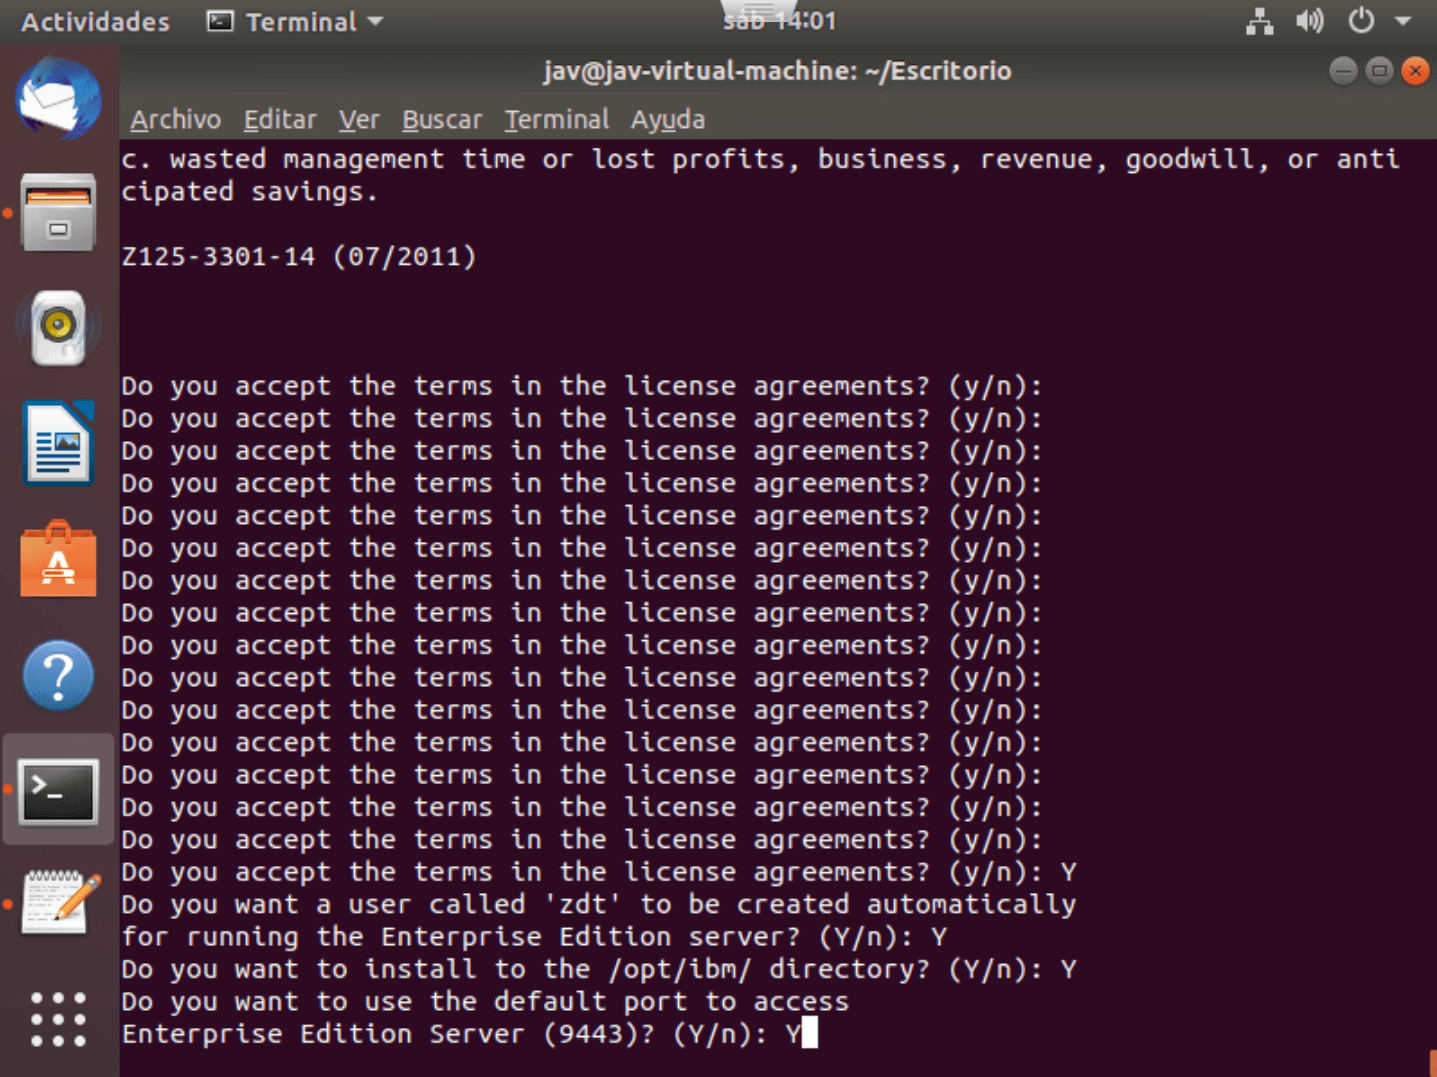
After pressing enter (for a while…), if we agree with the license, we accept.
Additionally, it will tell us that it’s going to create a user called zdt to run the web tool.
It will also ask us for the path where to install it and if we want to use the default port, 9443. In my case, I leave everything as default.
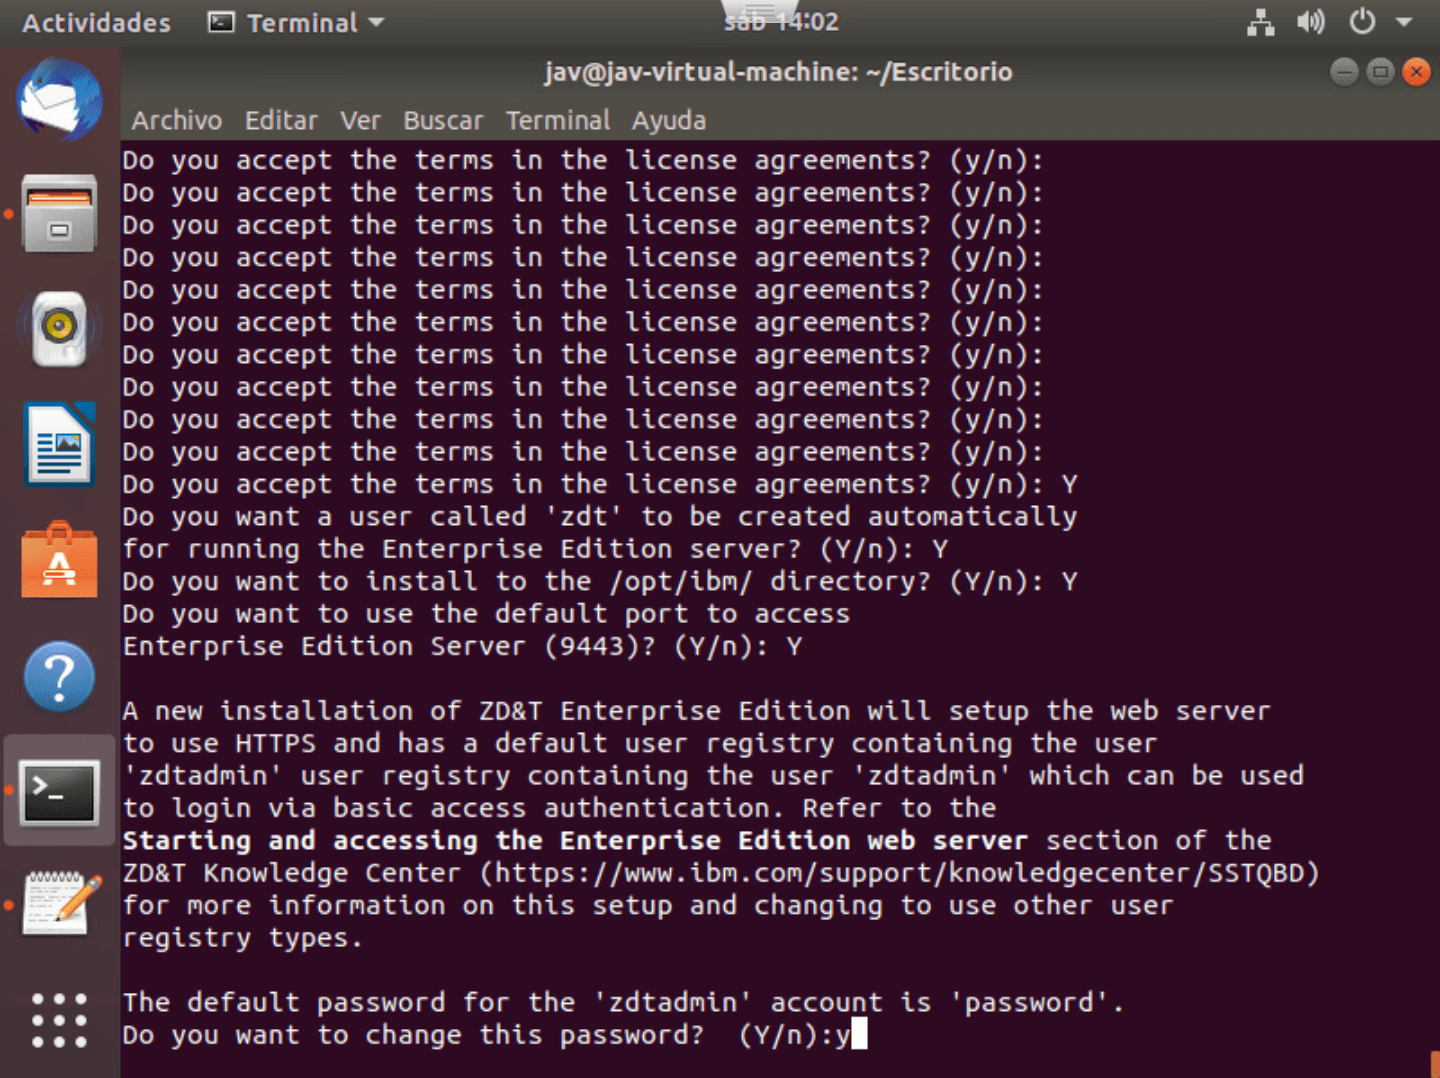
Now it will indicate if we want to change the password of the user to access the web tool.
By default, the username is zdtadmin and the password is password, without quotes.
I’m going to change the password.
Once the installation finishes, we will have to start the server, we will use the command:
/opt/ibm/zDT/bin/startServer.sh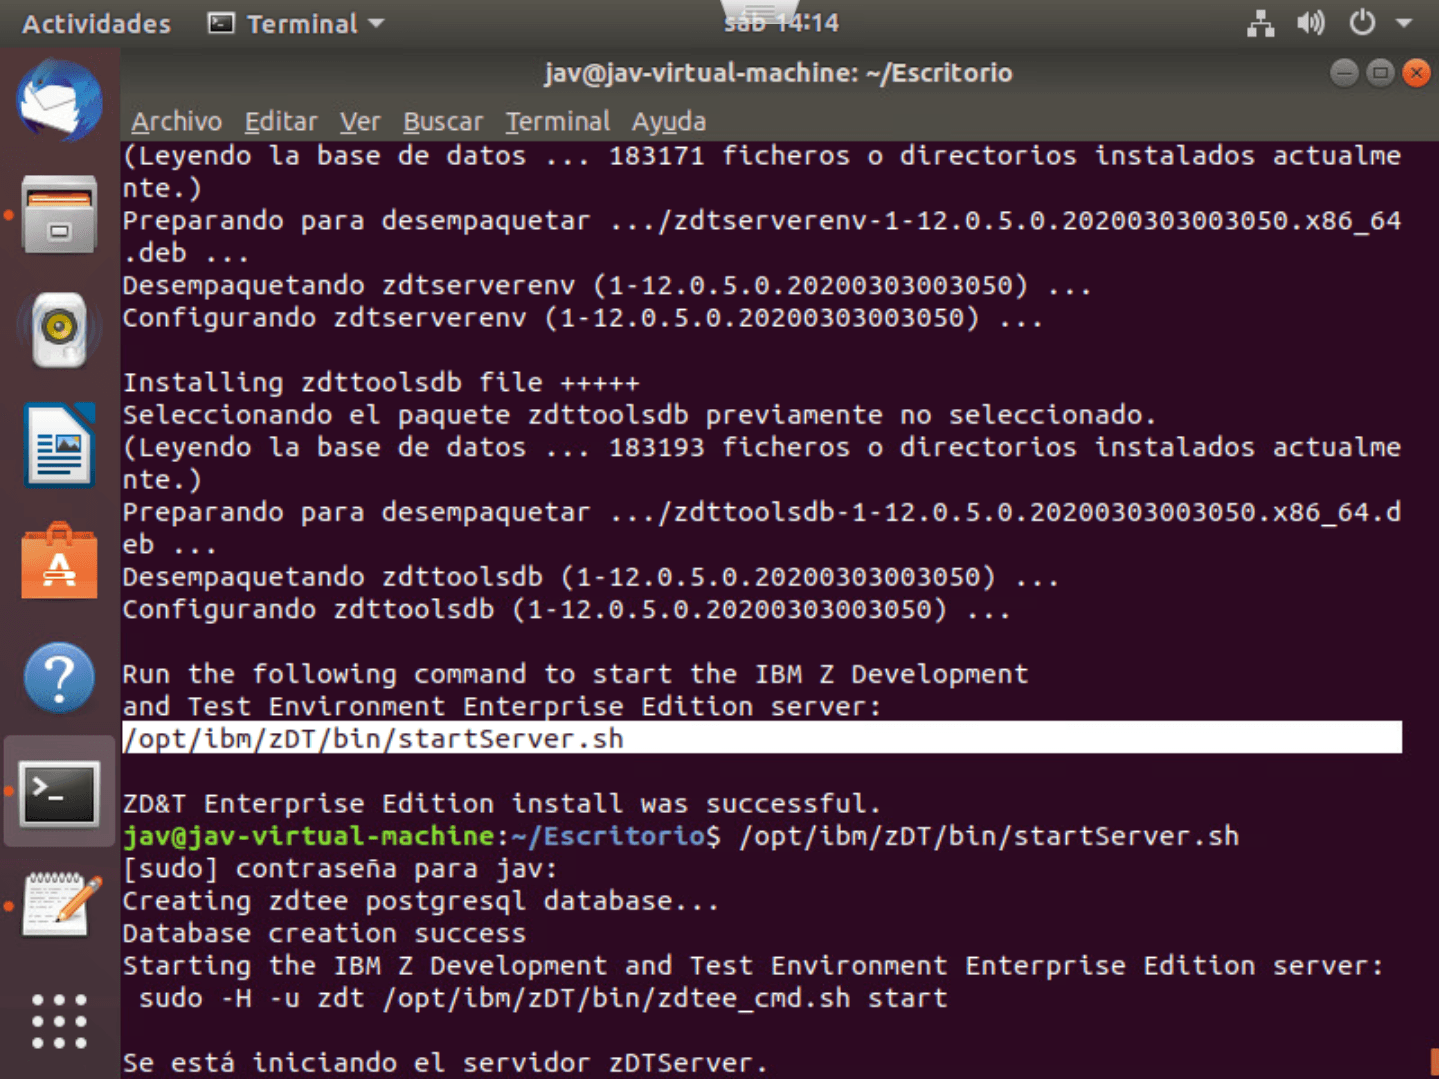
Once started, it will indicate the access path.
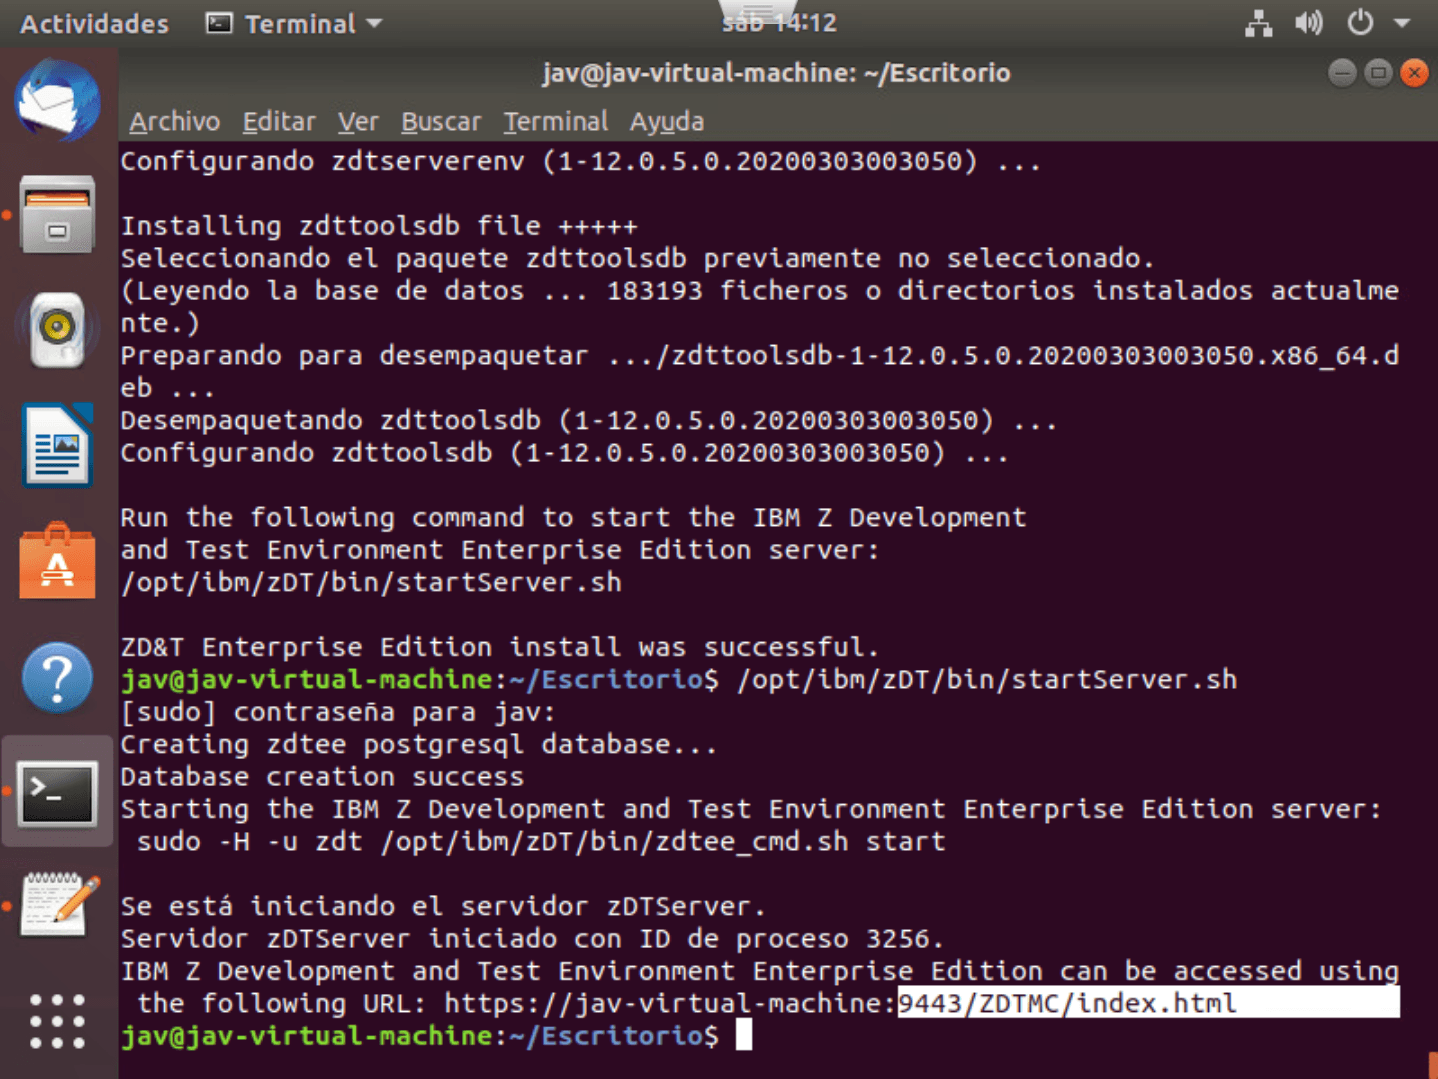
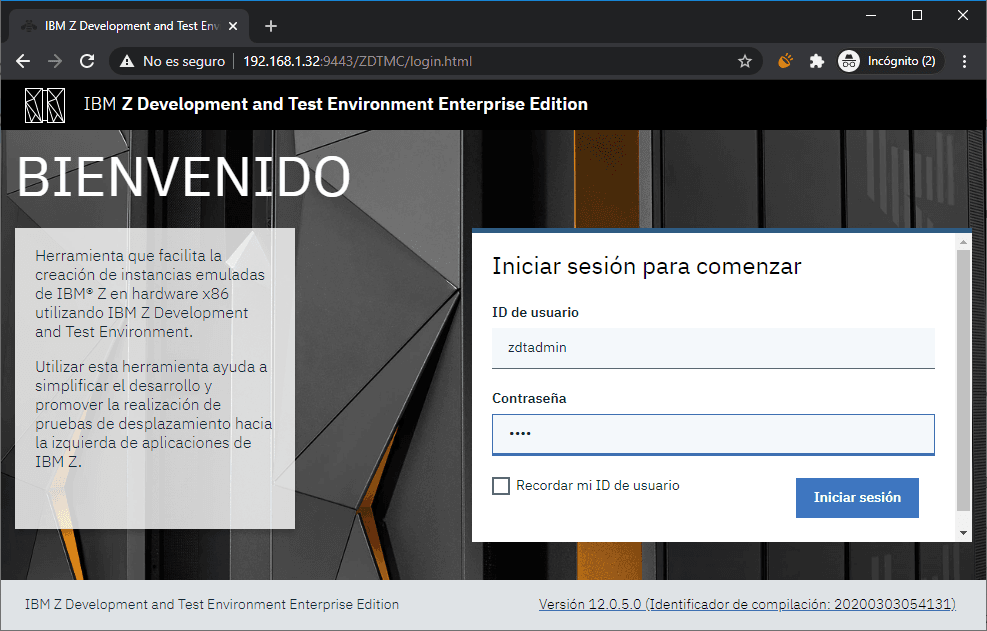
In my case, I use the system IP to access the server: https://192.168.1.32:9443/ZDTMC/login.html
We will see the login screen. We will use the username zdtadmin and the password we set earlier.
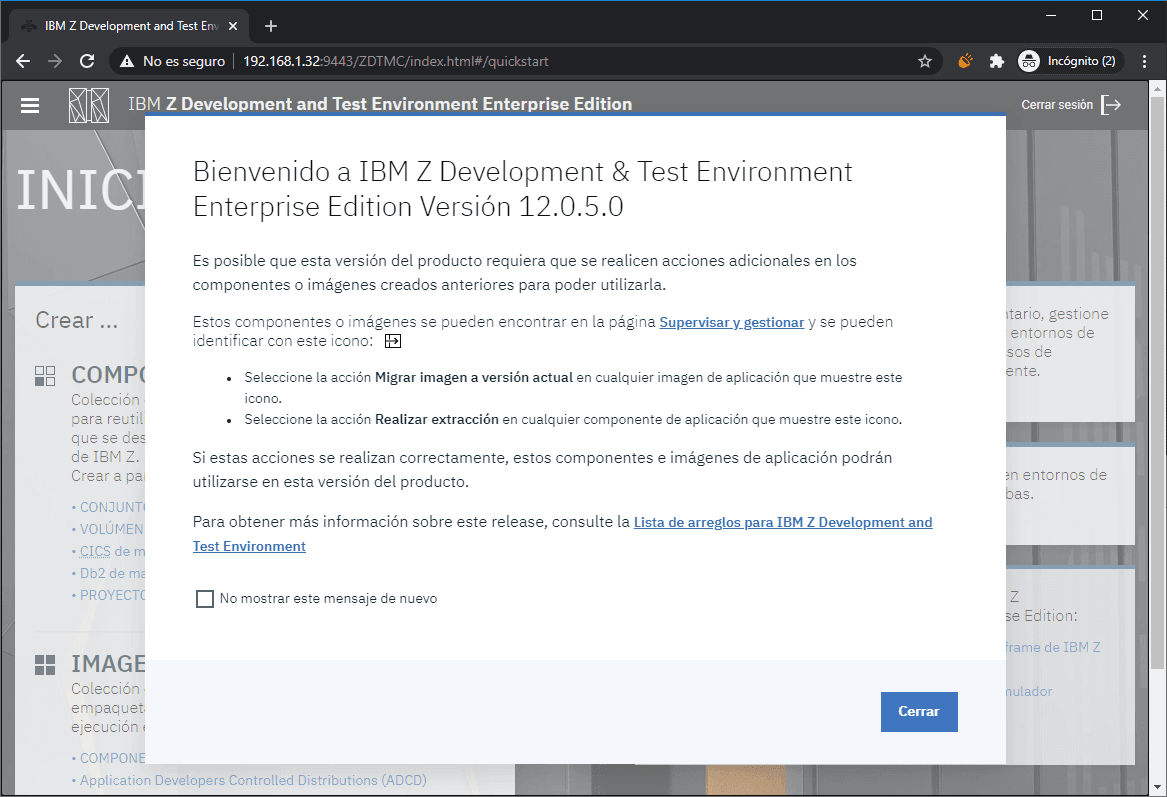
A message will appear giving us instructions in case we need to migrate our previous installation to this one. In my case, it’s a new installation.
We will see the different available options. I’m not going to explain what they all do, since they are explained in the user manual.
We will go through the entire “journey” to deploy the ADCD image on a new system.
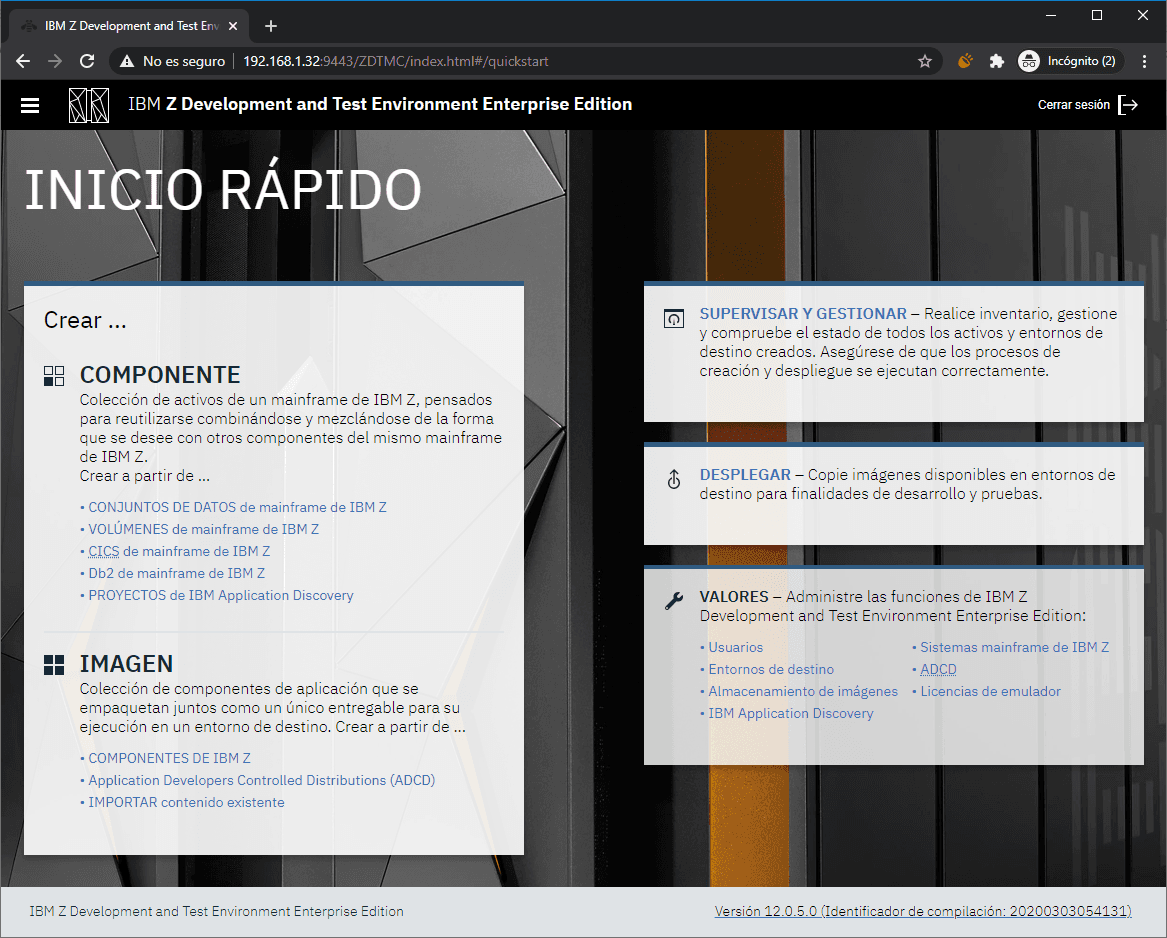
Image Storage
I’m going to start with the Image Storage option. This option is used to connect to the image repository (disks of the systems we want) via FTP (port 21, by default) or SSH (port 22, by default).
I don’t know if the image storage can be on the same server as the web tool.
In my case, I will install FileZilla Server (FTP server) on another PC to create the image storage (the reason is that I have more space available on that PC).
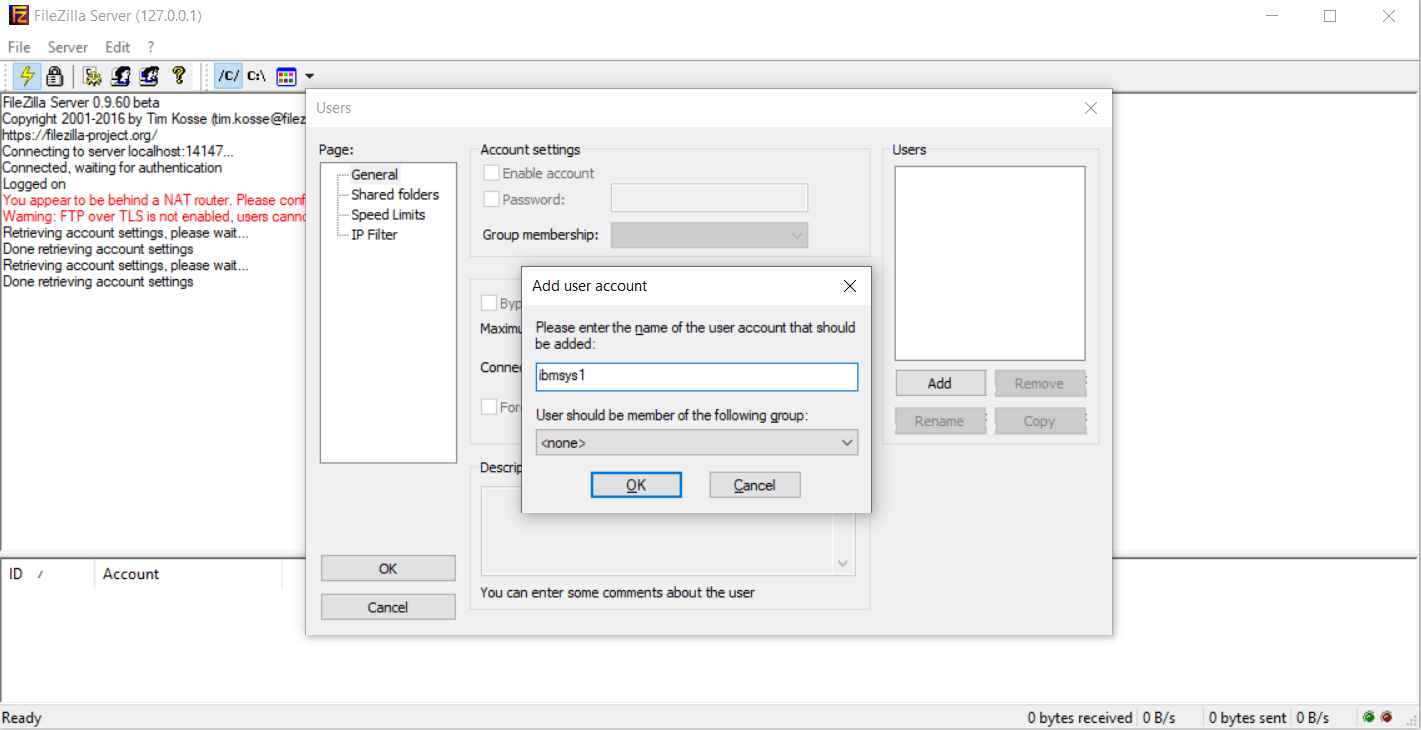
Once FileZilla Server is installed on Windows (I’m not showing screenshots, it’s a very simple installation), I’m going to create a user for ZD&T. I will call it “ibmsys1”.
Now I’m going to create a series of directories and store the ADCD version I have (ADCD z/OS 2.4 November 2019).
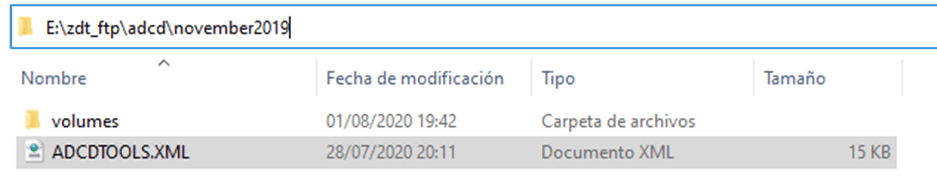
In my case the path will be “E:\zdt_ftp\adcd\november2019\volumes”. The “zdt_ftp” folder will be the root path that will be accessed via FTP. I named the rest of the directories following the manual.
Inside the folder that contains the ADCD version (“november2019”, in my case), we must save the ADCDTOOLS.XML file that we downloaded along with the product.
The web utility uses this file to get information about the volumes.
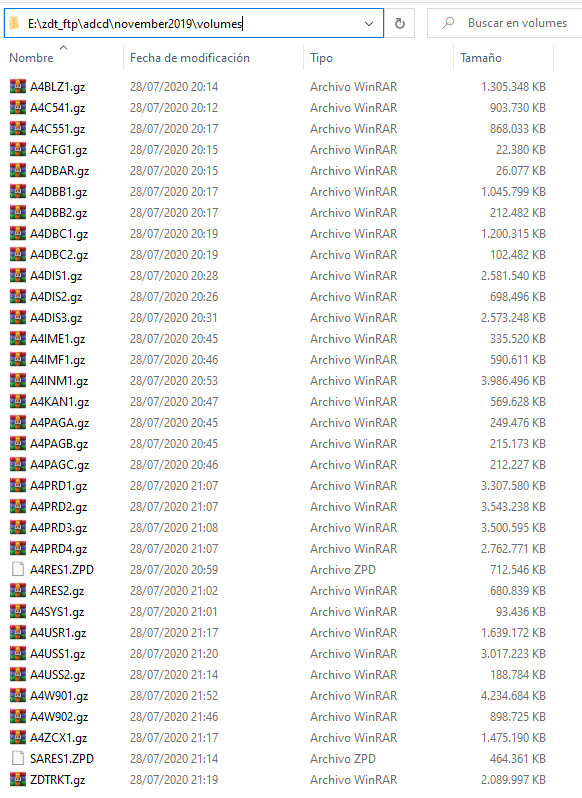
In the volumes folder I will have the system disks.
NOTE In my case, I had an error because I put the “A4RES1” and “SARES1” volumes decrypted and the rest of the volumes I put decompressed.
It’s mandatory to put the ZPD volumes (“A4RES1.ZPD” and “SARES1.ZPD”) and the rest compressed (“.gz”).
Now I will assign the zdt_ftp folder to the FTP user ibmsys1.
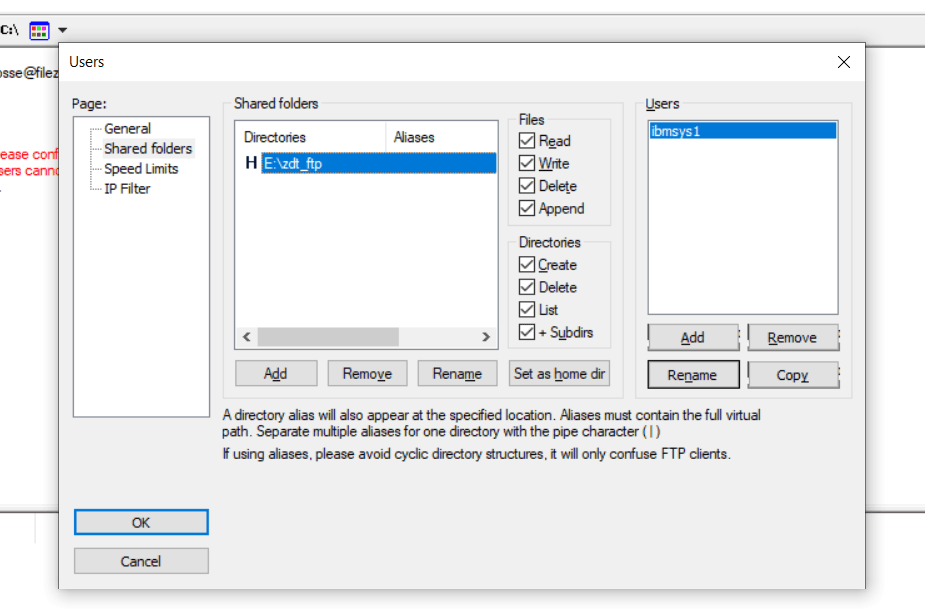
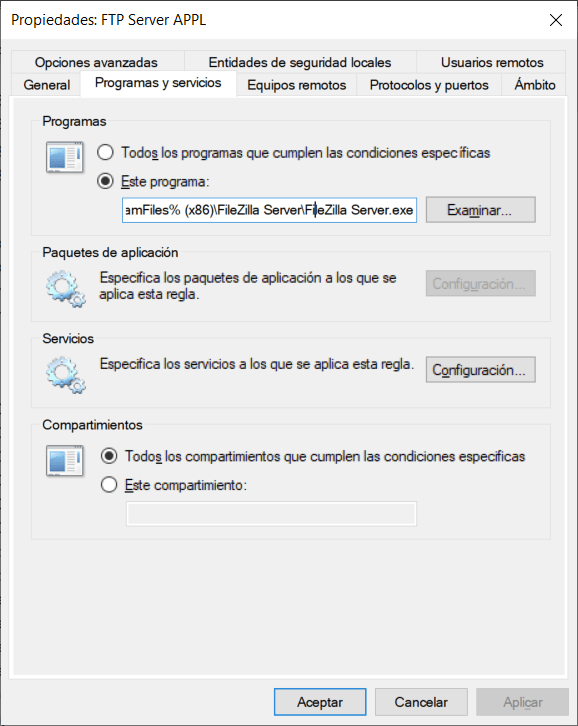
Additionally, I had to allow the incoming connection of the “FileZilla Server” application in the Windows Firewall.
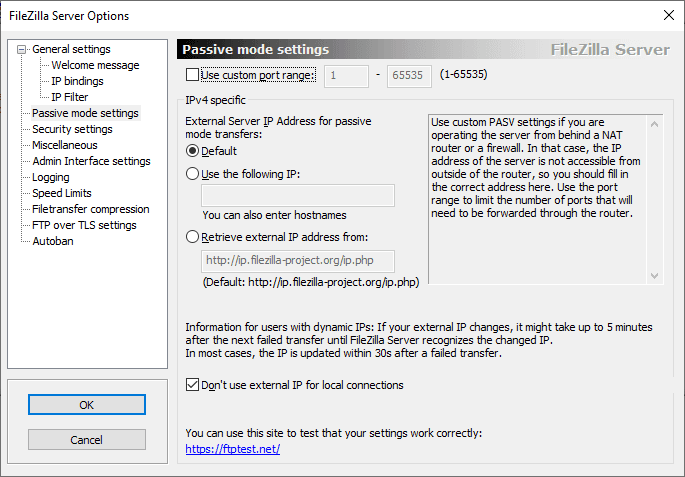
If I only allowed the connection to port 21, when trying to get the image data it would fail, because when entering “Passive Mode” it uses random ports (although custom ports can be defined).
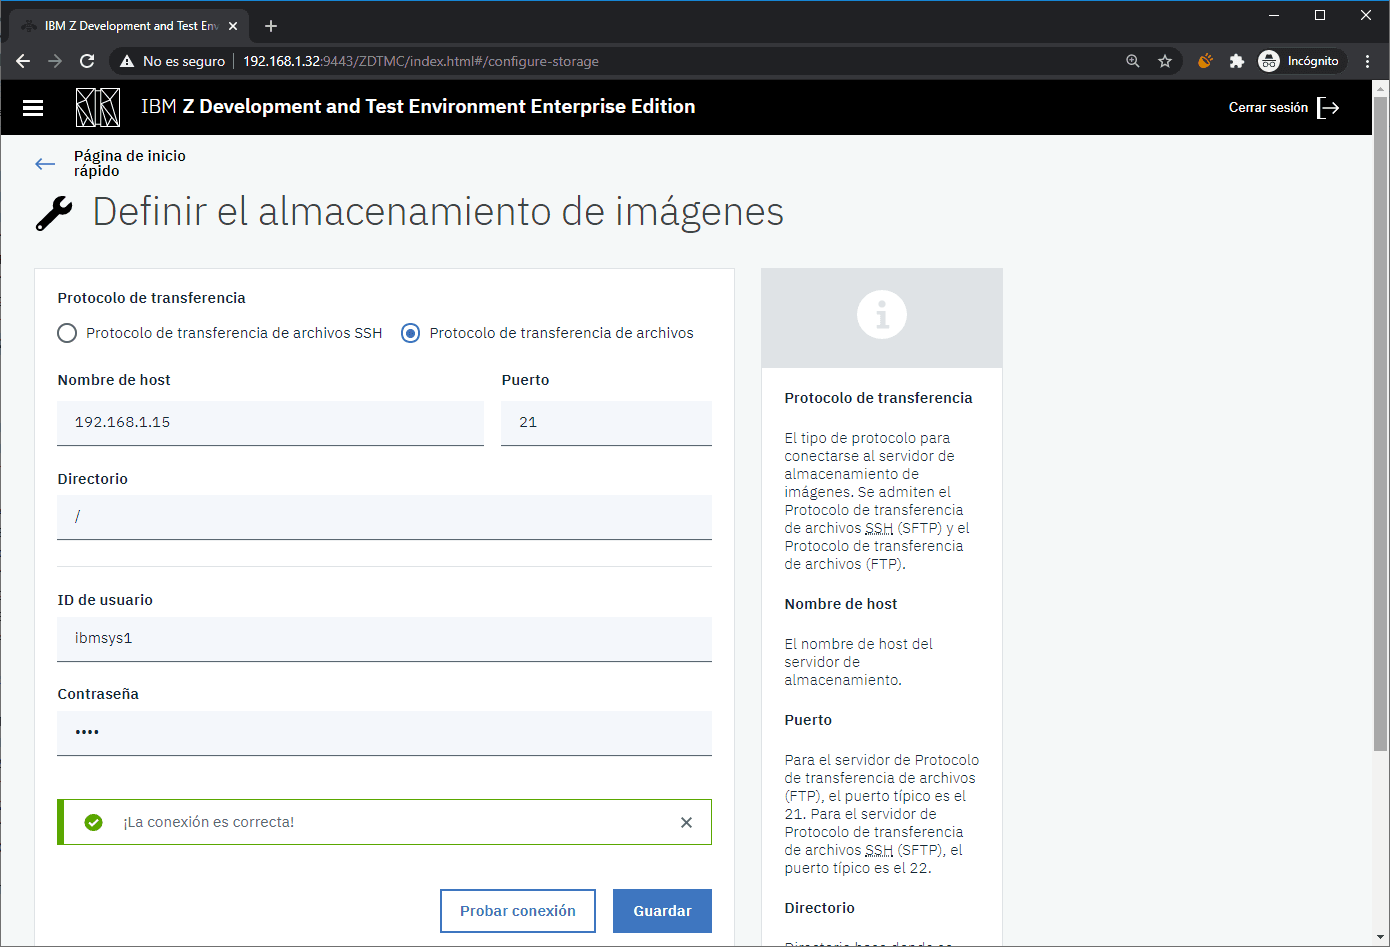
Now in the ZD&T web tool, we go to the Image Storage option.

We select the File Transfer Protocol (FTP) option and fill in the data.
We save and test the connection. The message Connection is correct! should appear.
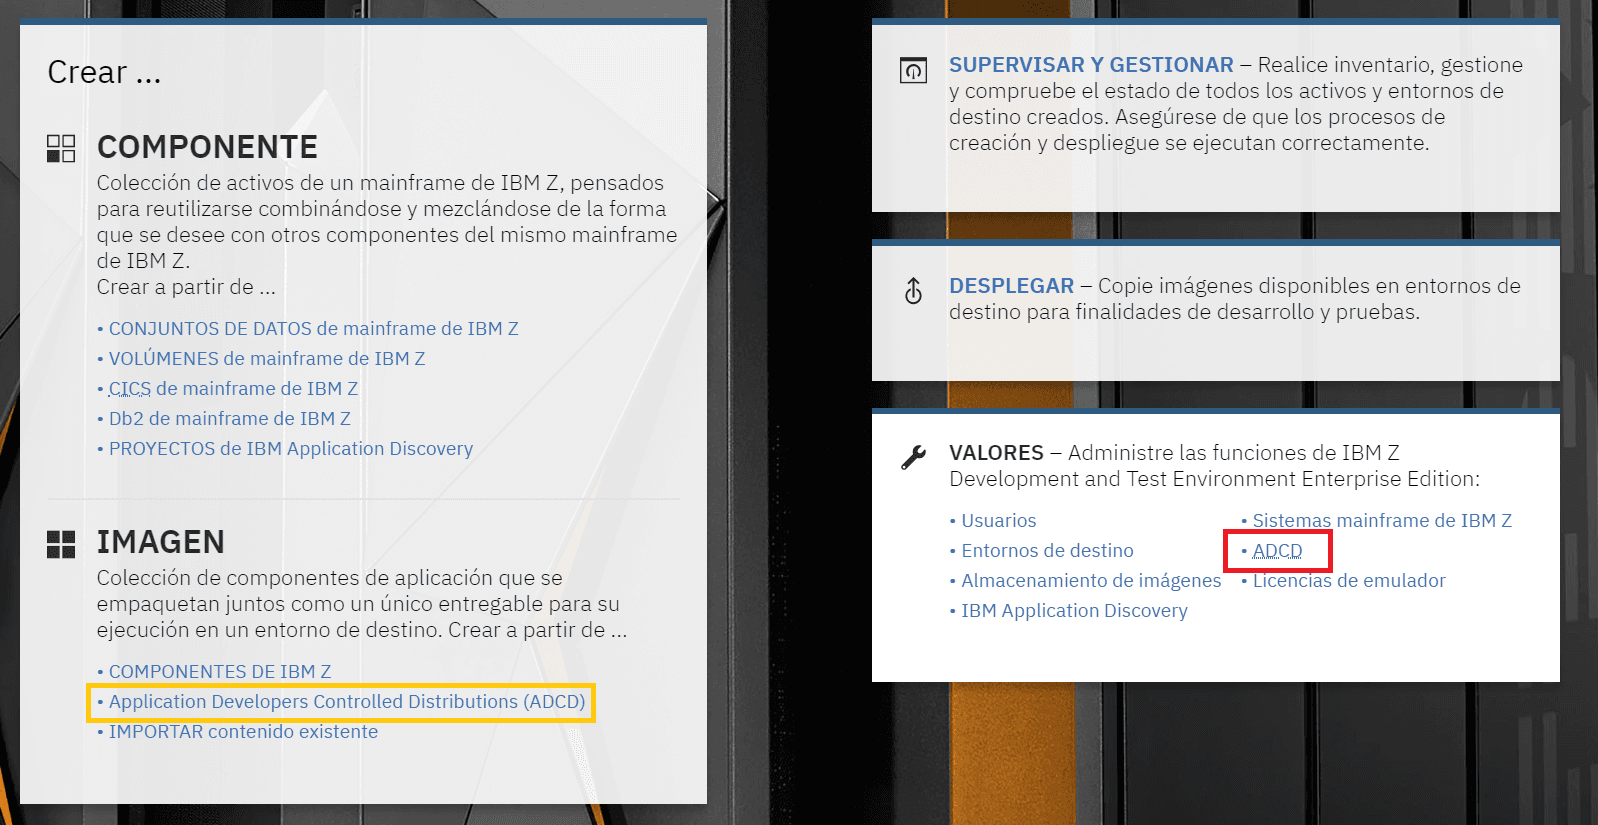
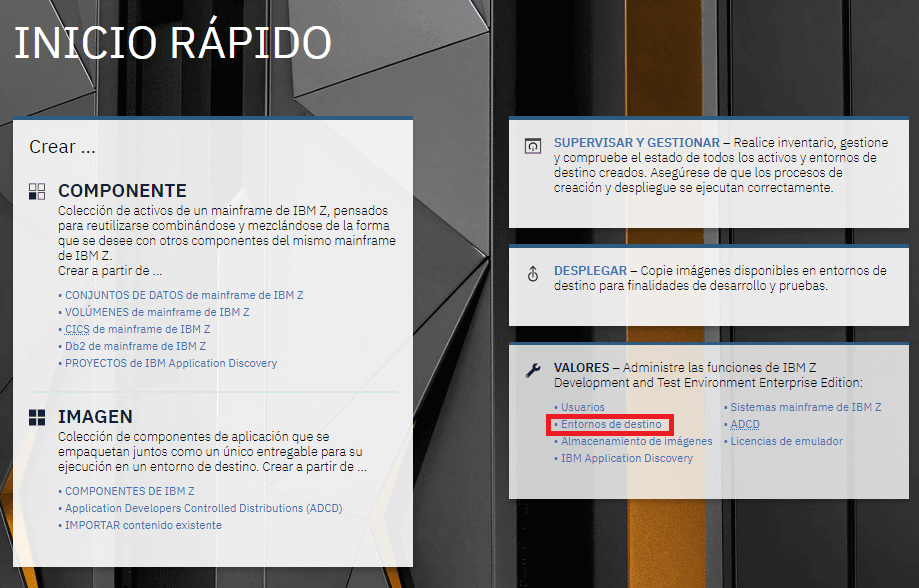
We go back to the main screen and enter the ADCD option on the right.
Also, we could enter directly in the option that appears on the left, but the option on the right explains how to distribute the disks for it to work correctly (what we did above with the Windows folders: E:\zdt_ftp\adcd\november2019).
Create z/OS Image
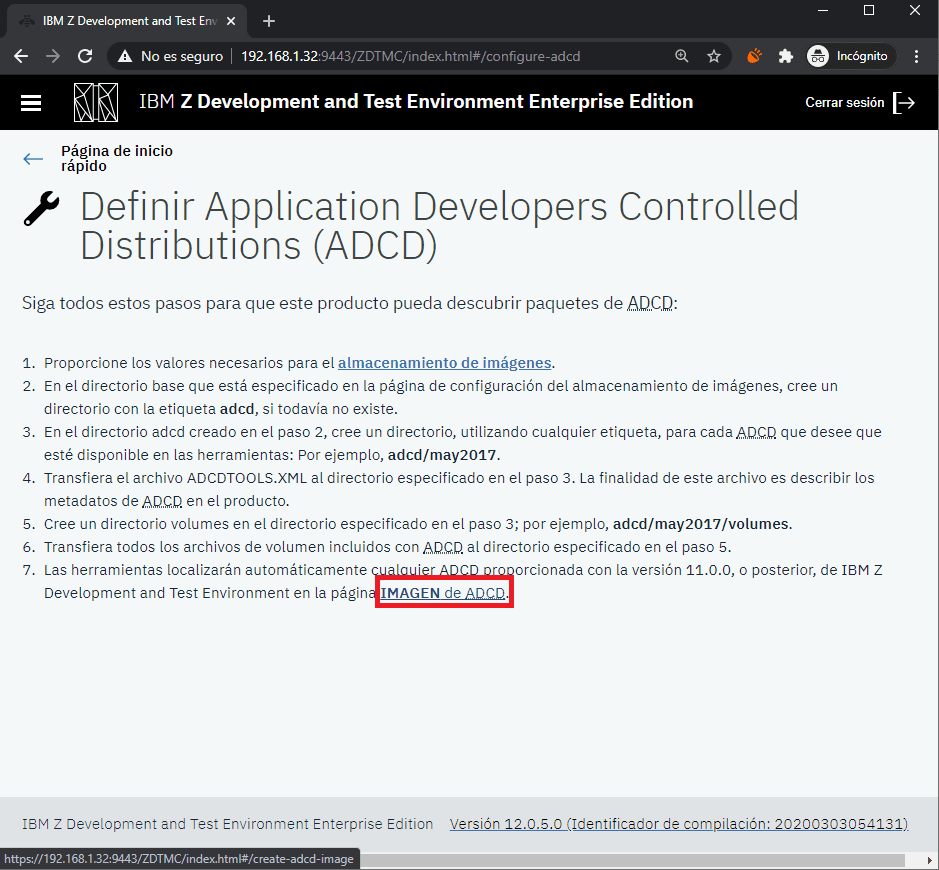
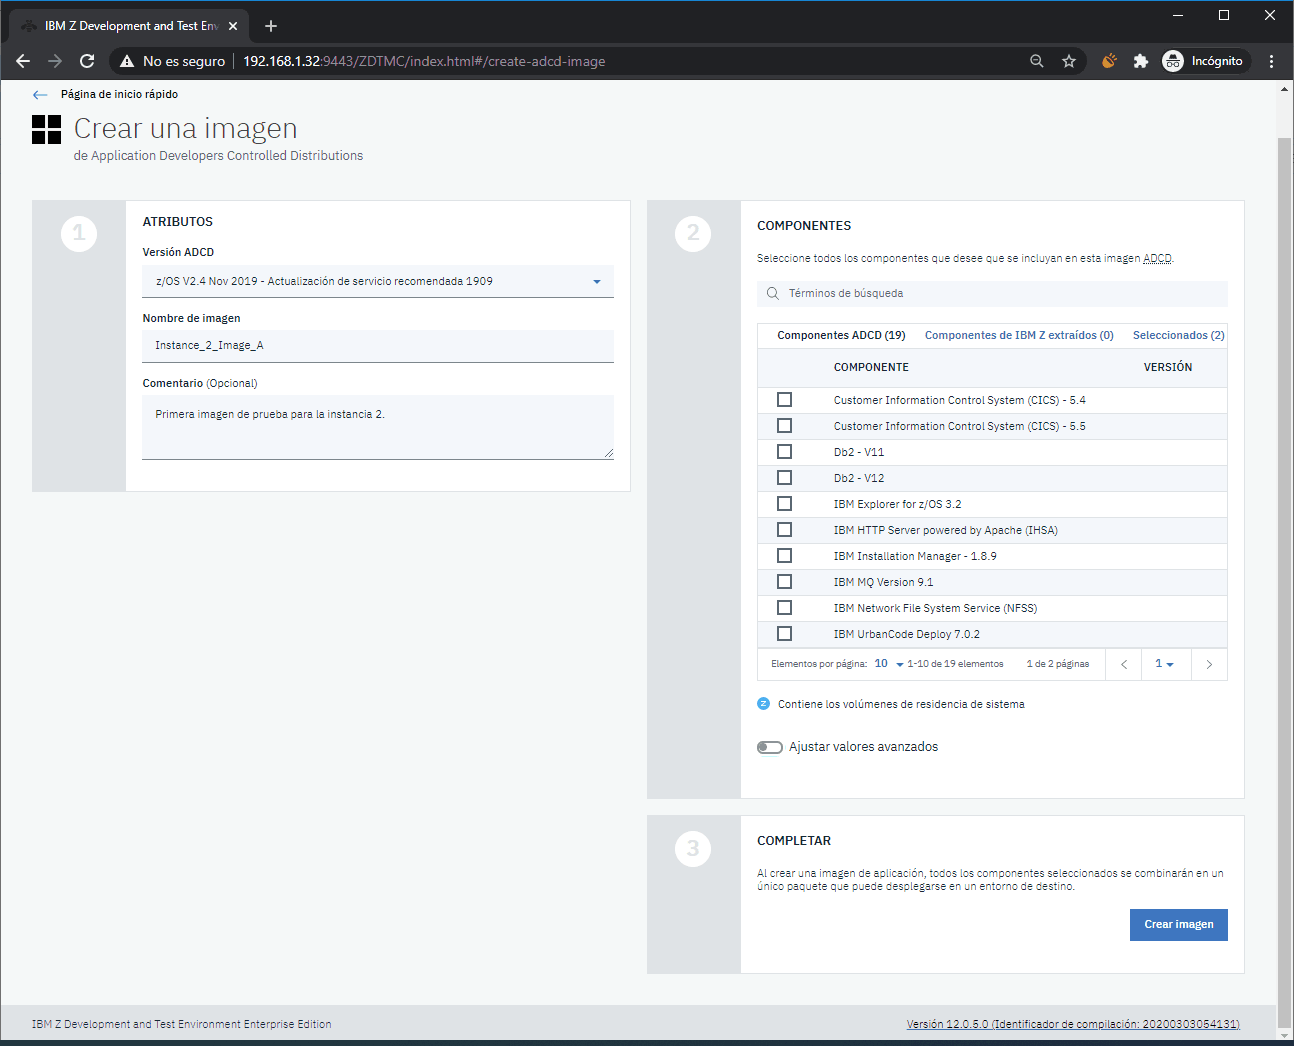
We verify that we have done the steps correctly and click on ADCD IMAGE.
Here we will choose the ADCD version from which we will create the image. I was surprised that it allows selecting components we want to include or not.
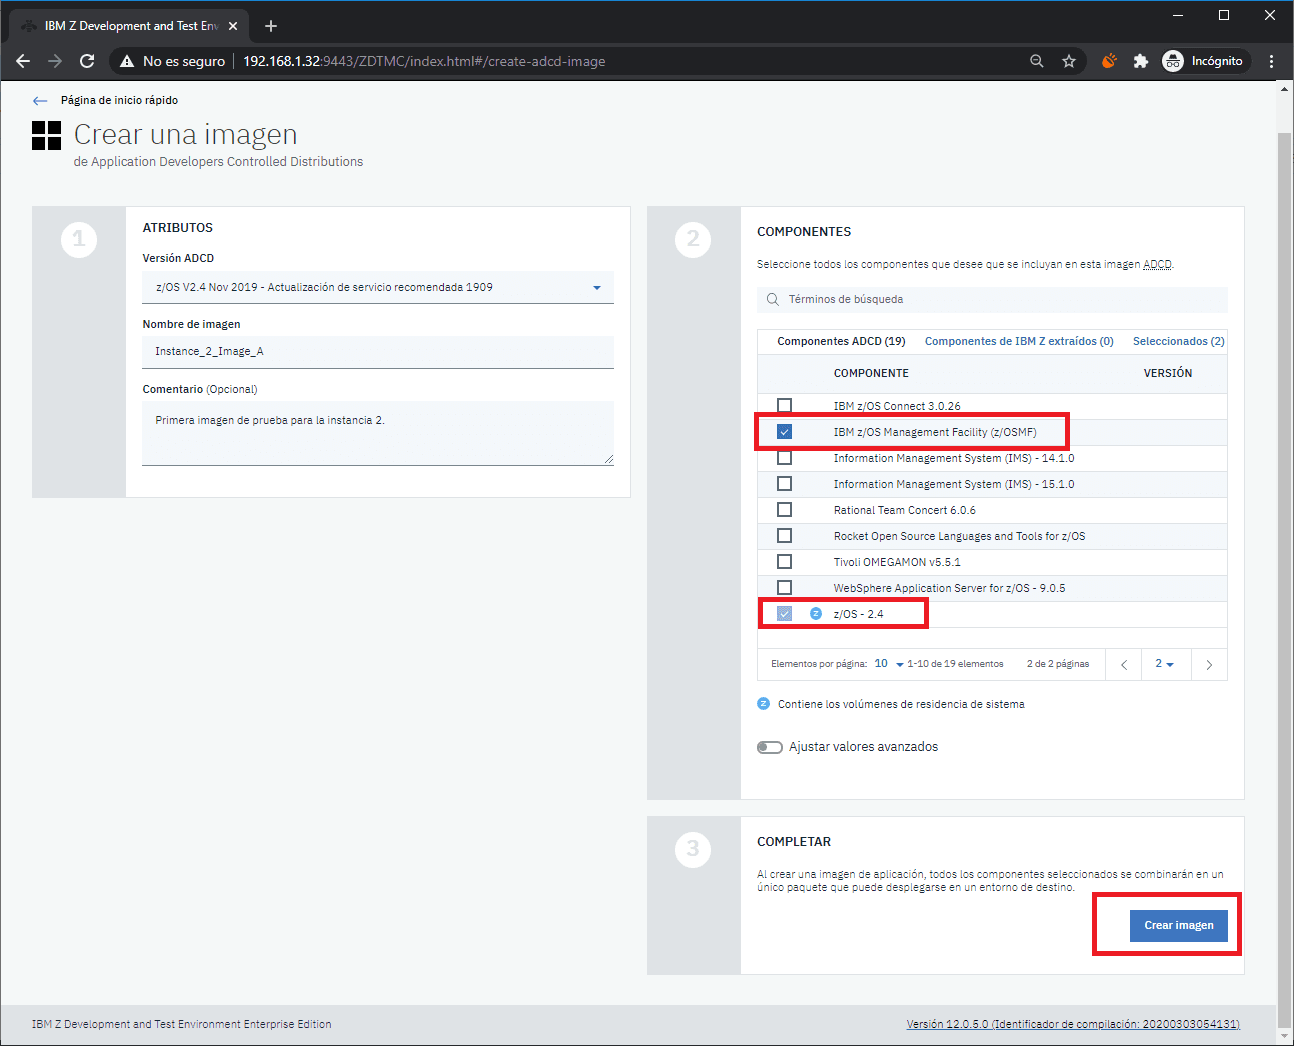
Since I want this system to take up little space (for space reasons), I will only choose the z/OS system and z/OSMF. Then, we will click the Create image button.
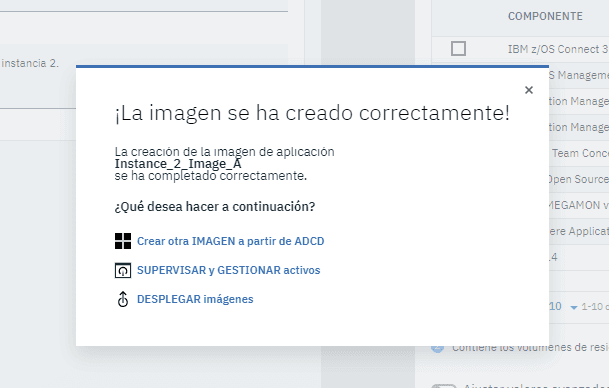
A message will appear confirming the creation.
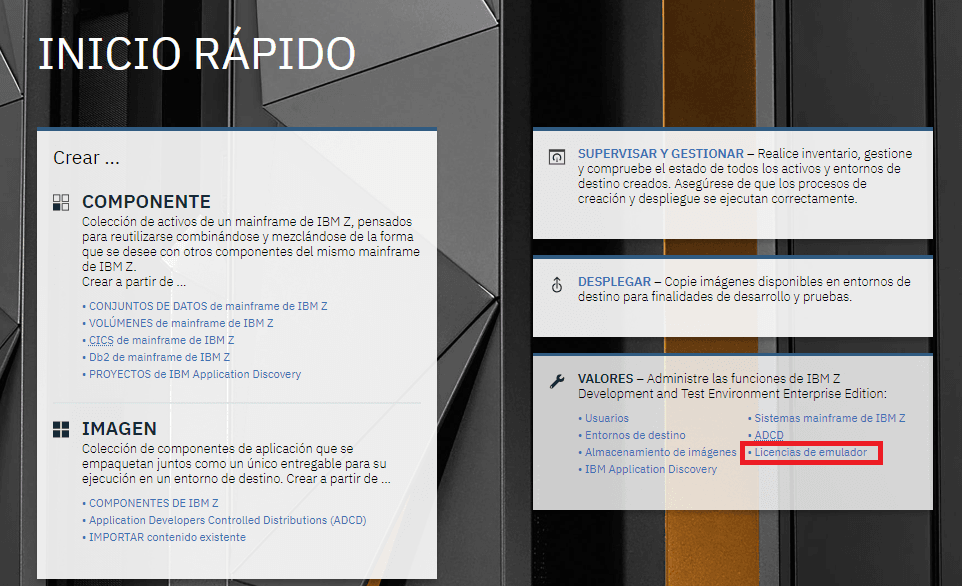
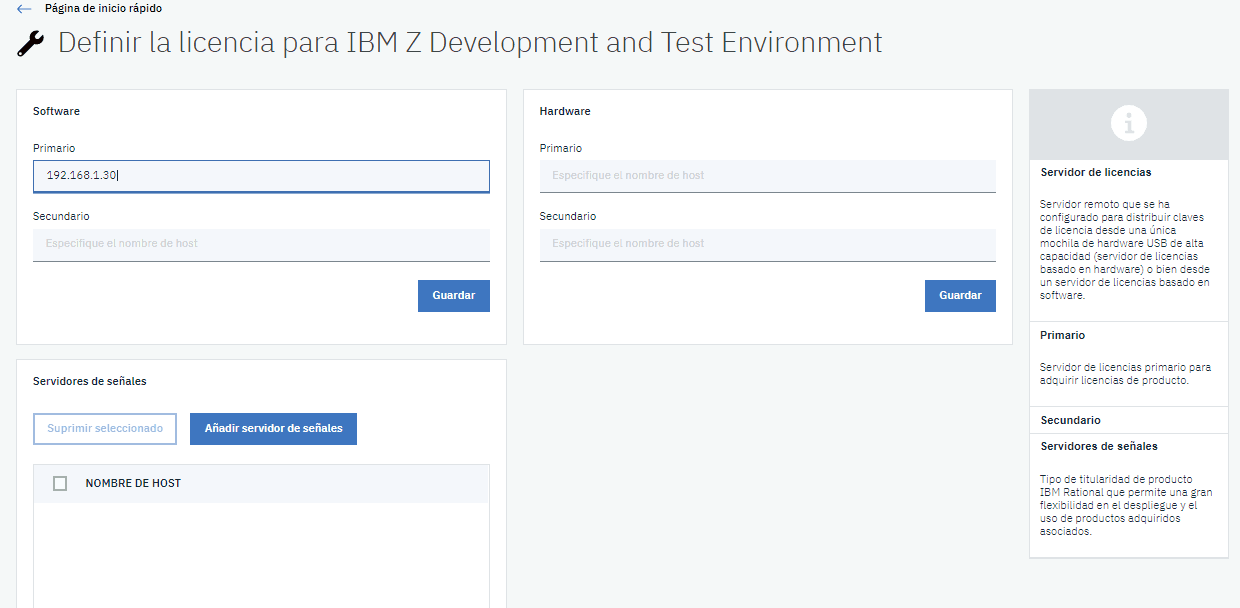
Connect to License Server
We enter Emulator Licenses to define the license server.
We put the IP of the license server (if we have it installed on the same system as the web utility, we can put 127.0.0.1).
Define Target System
The next step is to define the target system, that is, the system on which the emulator and the created image will be installed, but first we must install an SSH server on the target machine.
In my case, I created a new system like the same Ubuntu, but…
VERY IMPORTANT! The Ubuntu system language must be ENGLISH.
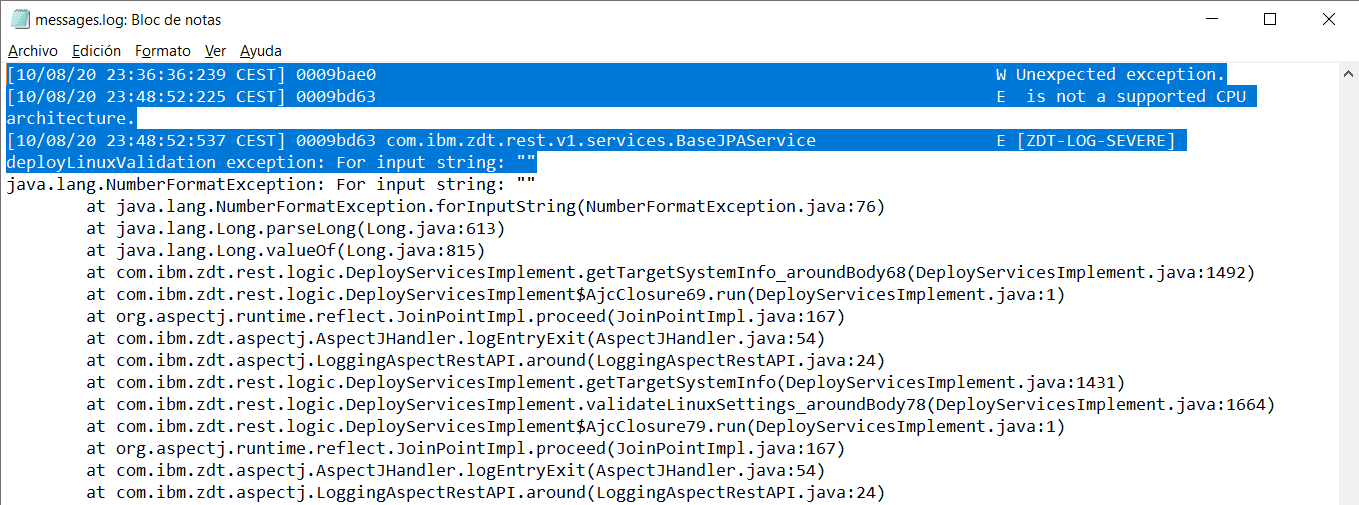
If the system is not in English, when deploying images on the target system, we will have errors like:
[10/08/20 23:36:36:239 CEST] 0009bae0 W Unexpected exception.
[10/08/20 23:48:52:225 CEST] 0009bd63 E  is not a supported CPU architecture.
[10/08/20 23:48:52:537 CEST] 0009bd63 com.ibm.zdt.rest.v1.services.BaseJPAService E [ZDT-LOG-SEVERE] deployLinuxValidation exception: For input string: ""
This happens because the application issues commands and expects the response message in English.
Then, I installed the SSH server using the command:
apt-get install openssh-server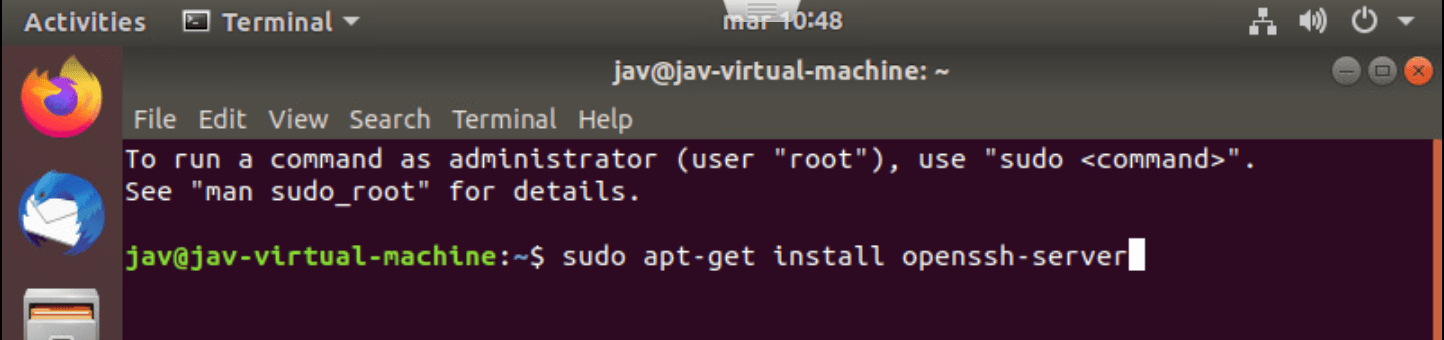
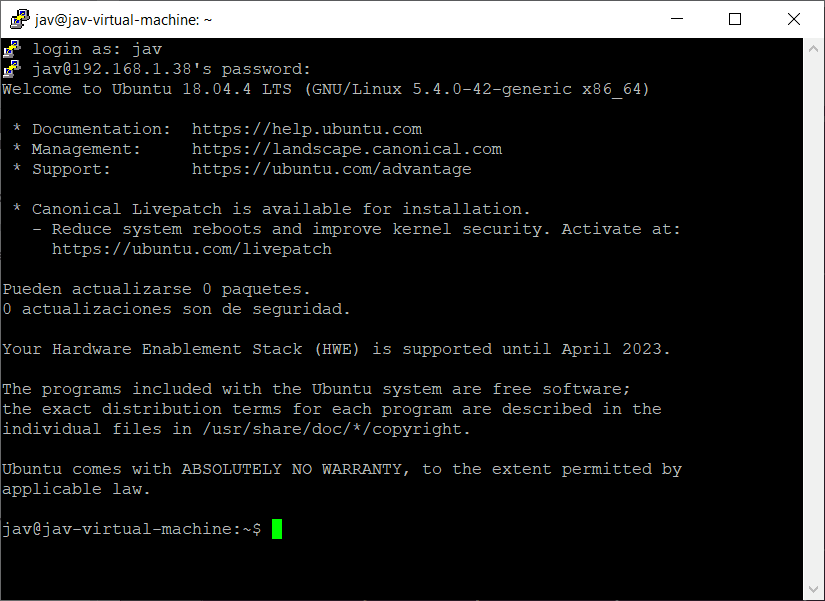
Once installed, we can verify that we can access using the PUTTY utility.
In my case, I’m going to use a root user from the target machine to distribute the disks on the target machine.
It’s necessary to create the ibmsys1 user as non-root on the target machine. Additionally, the zpdt group must be created and the ibmsys1 user must be assigned to this group.
Create the “zpdt” group.
addgroup zpdtCreate “ibmsys1” user. Additionally, we assign it to the “zpdt” group. This command automatically creates the “/home/ibmsys1” directory.
useradd -m -g zpdt -s /bin/bash ibmsys1
passwd ibmsys1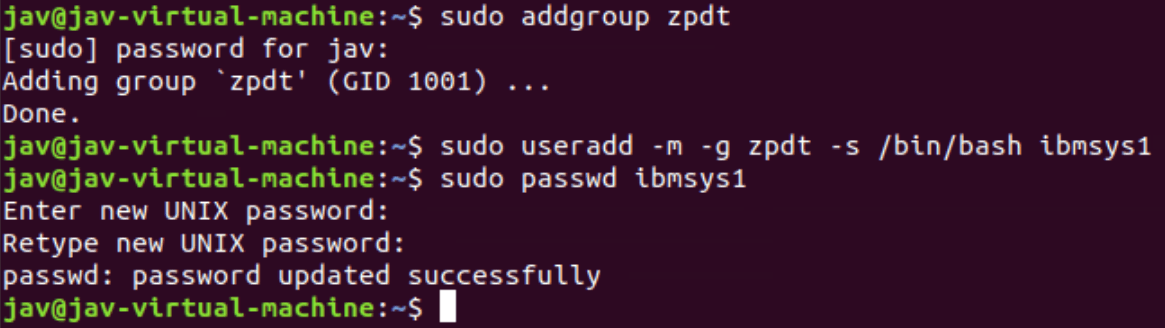
Since I will use the ibmsys1 user to do the deployment, we must give it “sudo” permissions without password. There are two options:
- The quick one, but less secure:
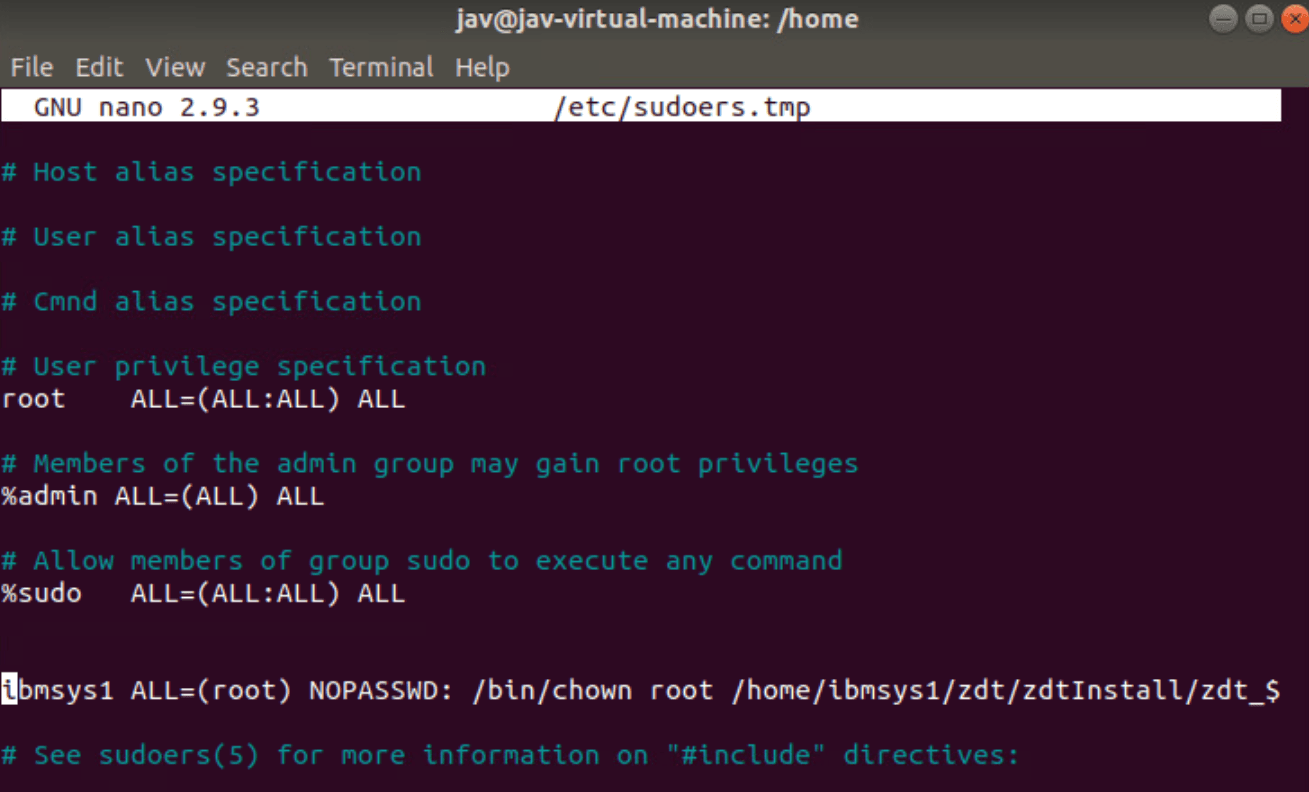
ibmsys1 ALL = (root) NOPASSWD: ALL- The correct one is to give permissions to the scripts it will use:
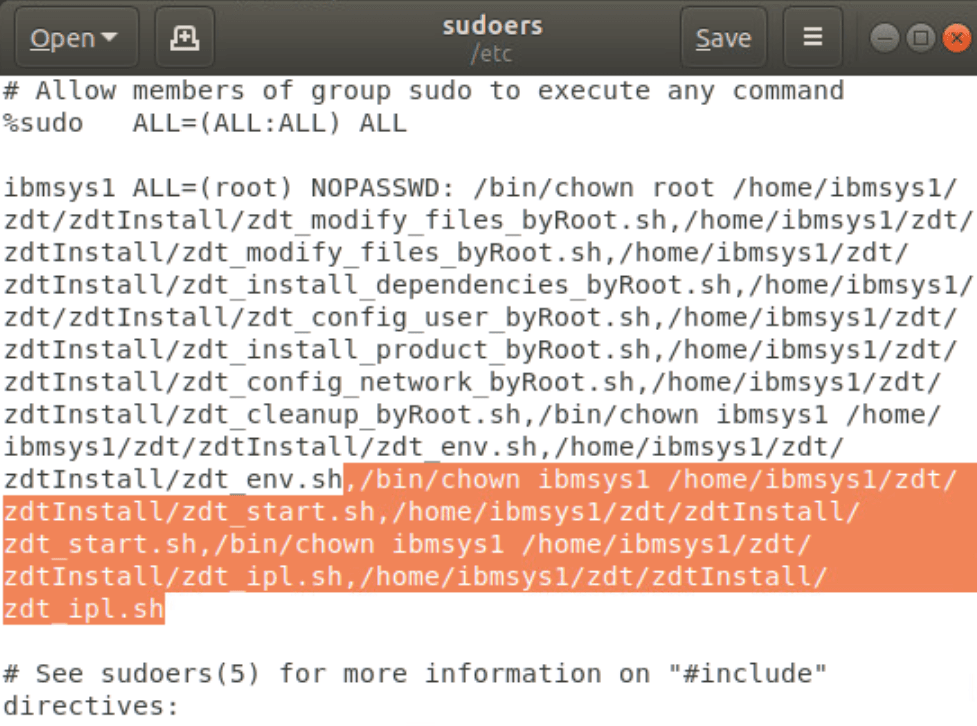
ibmsys1 ALL=(root) NOPASSWD: /bin/chown root /home/ibmsys1/zdt/zdtInstall/zdt_modify_files_byRoot.sh, /home/ibmsys1/zdt/zdtInstall/zdt_modify_files_byRoot.sh, /home/ibmsys1/zdt/zdtInstall/zdt_install_dependencies_byRoot.sh, /home/ibmsys1/zdt/zdtInstall/zdt_config_user_byRoot.sh, /home/ibmsys1/zdt/zdtInstall/zdt_install_product_byRoot.sh, /home/ibmsys1/zdt/zdtInstall/zdt_config_network_byRoot.sh, /home/ibmsys1/zdt/zdtInstall/zdt_cleanup_byRoot.sh, /bin/chown ibmsys1 /home/ibmsys1/zdt/zdtInstall/zdt_env.sh,/home/ibmsys1/zdt/zdtInstall/zdt_env.sh, /bin/chown ibmsys1 /home/ibmsys1/zdt/zdtInstall/zdt_start.sh, /home/ibmsys1/zdt/zdtInstall/zdt_start.sh, /bin/chown ibmsys1 /home/ibmsys1/zdt/zdtInstall/zdt_ipl.sh,/home/ibmsys1/zdt/zdtInstall/zdt_ipl.shNOTE There must be no line breaks. Replace “/home/ibmsys1” with your deployment directory.
IMPORTANT The last six commands are mandatory to be able to stop and start the system automatically.
We must include this in /etc/sudoers. Command:
visudo![]()
We must include the entire statement on the same line. We save (Control+O) and exit (Control+X).
We go back to the main page of the web utility and click on Target Environments.
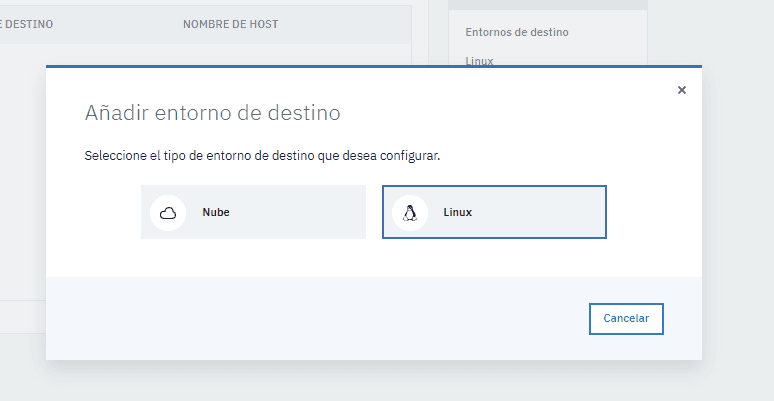
Click on Add target environment.
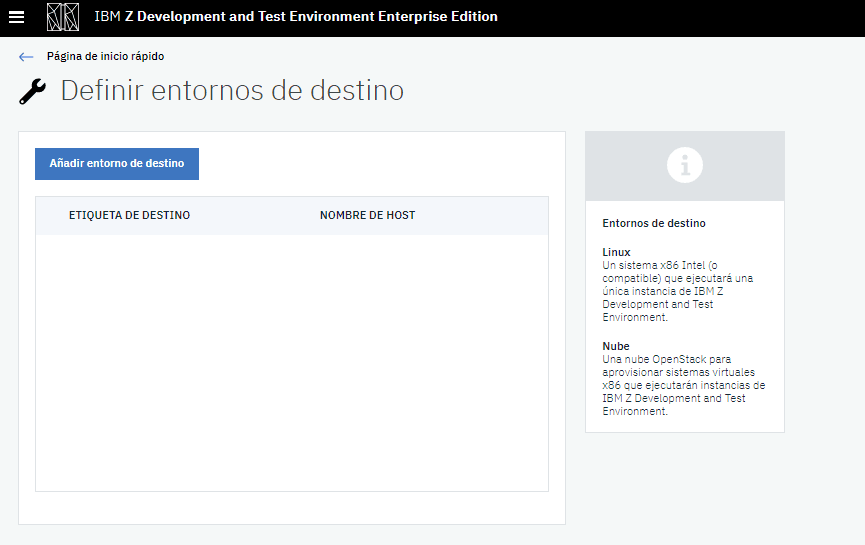
The environment type will be Linux.
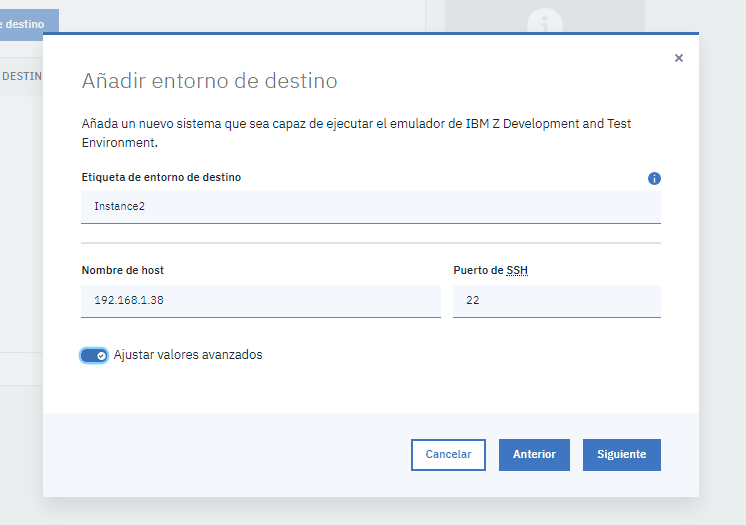
We put a label on the server, the IP and the SSH port (by default, 22). We check Adjust advanced settings.
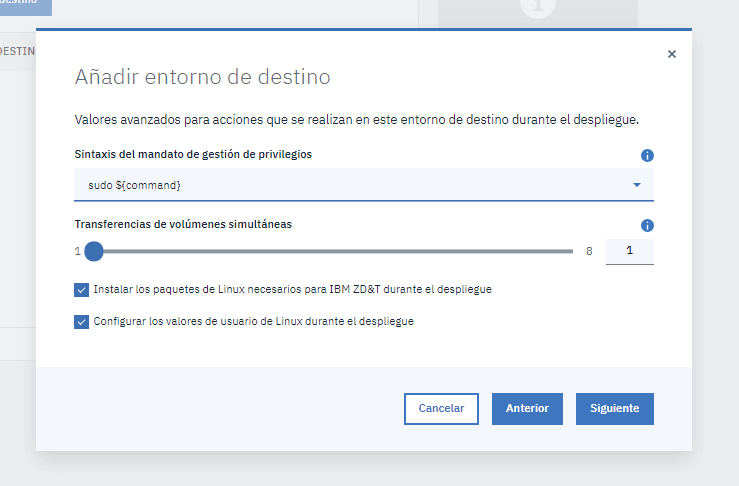
In Privilege management command syntax we choose sudo. I leave the rest of the options as default.
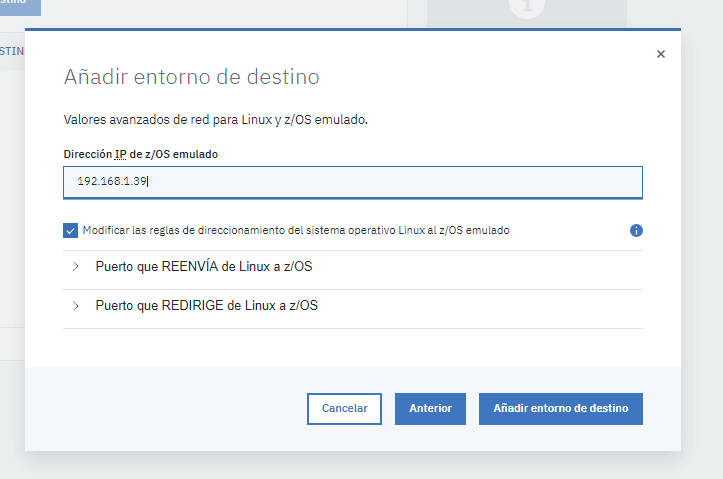
On the last screen, it will ask for the IP of the emulated z/OS. Put one that fits your configuration. In my case, I’m going to leave the one that appears by default and I’ll change it later because if we put an incorrect IP we can have problems with the image deployment.
During deployment, the IP configuration of the system will be changed, if we put an incorrect configuration, we won’t connect to the license server and the z/OS system won’t start.
The deployment will be stuck with no possibility of doing anything, you will have to restart the web utility server and, possibly, the instance (in my case, even reinstall the instance).
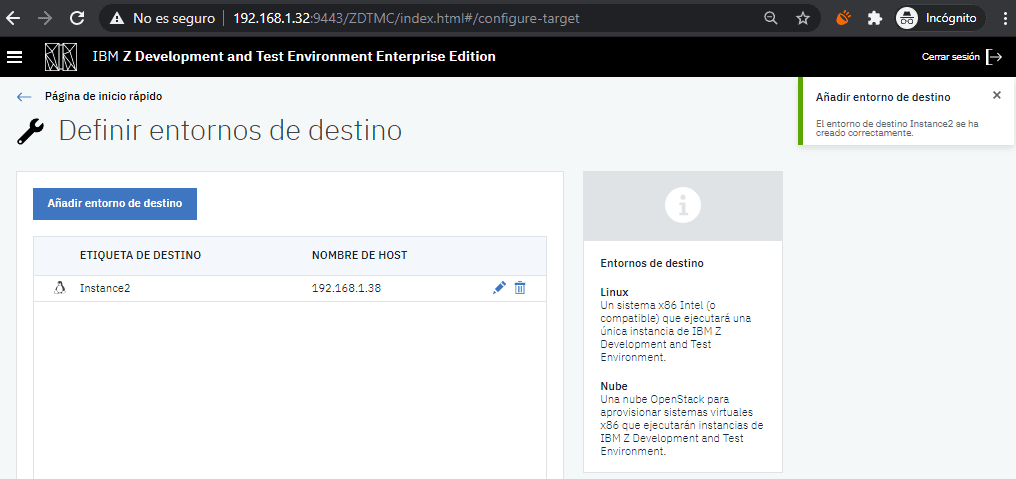
It will be added correctly.
Deploy z/OS System
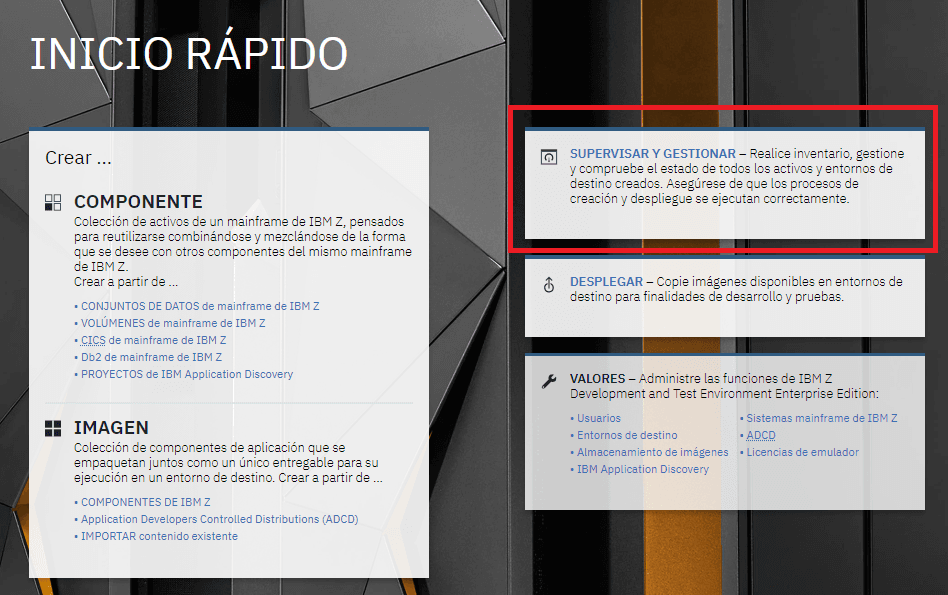
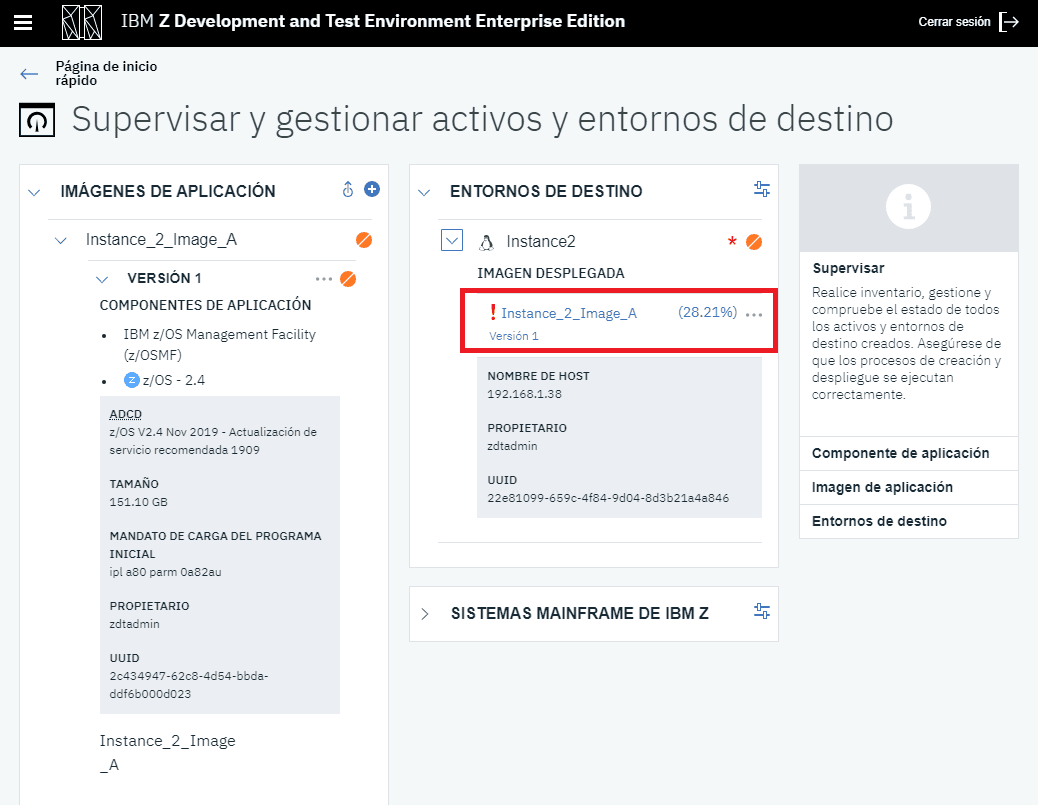
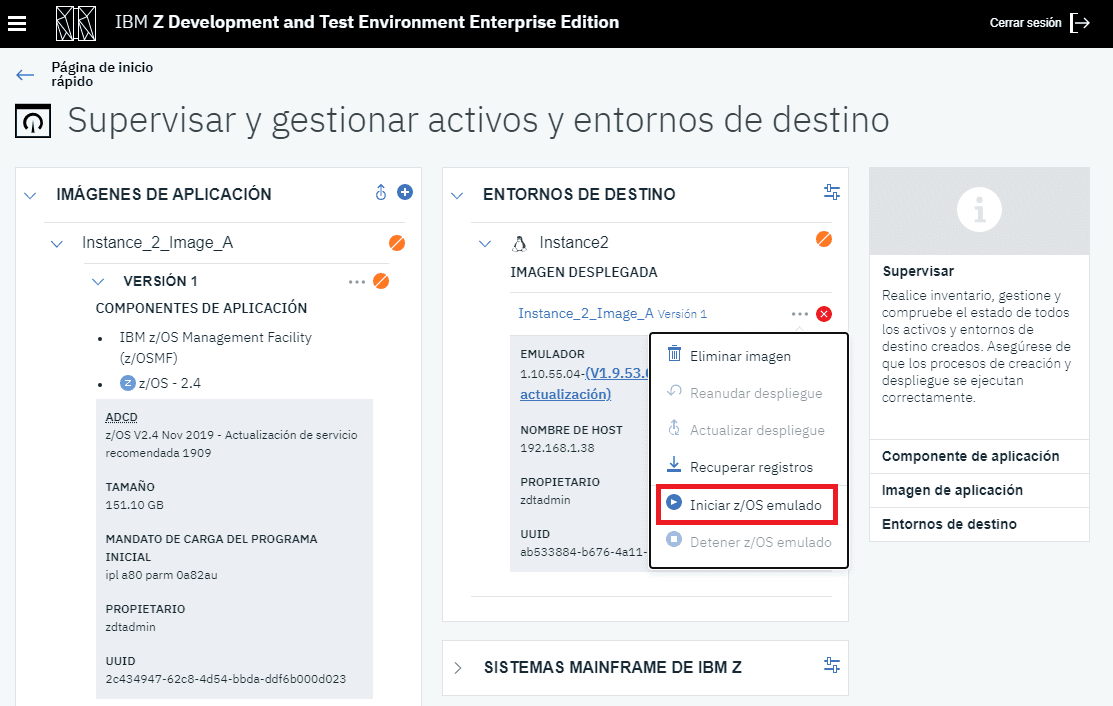
We go back to the initial screen and enter Monitor and Manage.
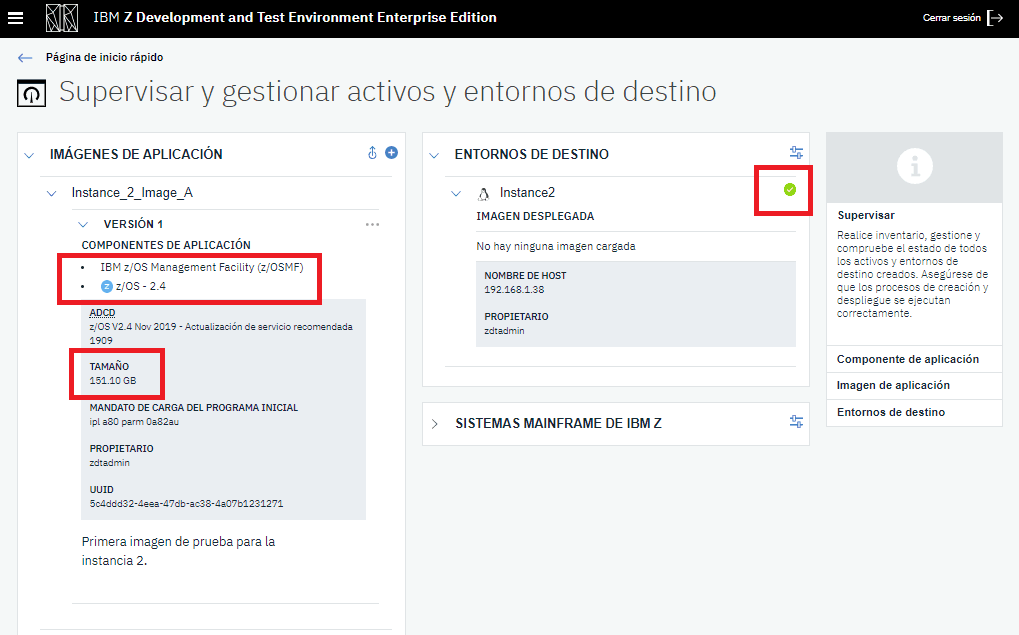
In the images part we can notice that the image we created has the two components we chose and occupies about 151 GB.
In target environments it’s important to notice the instance we added. It should appear with the green check. If a red X appeared, it means it’s not possible to connect to the target server (perhaps due to SSH or port 22 blocked) and the image cannot be deployed.
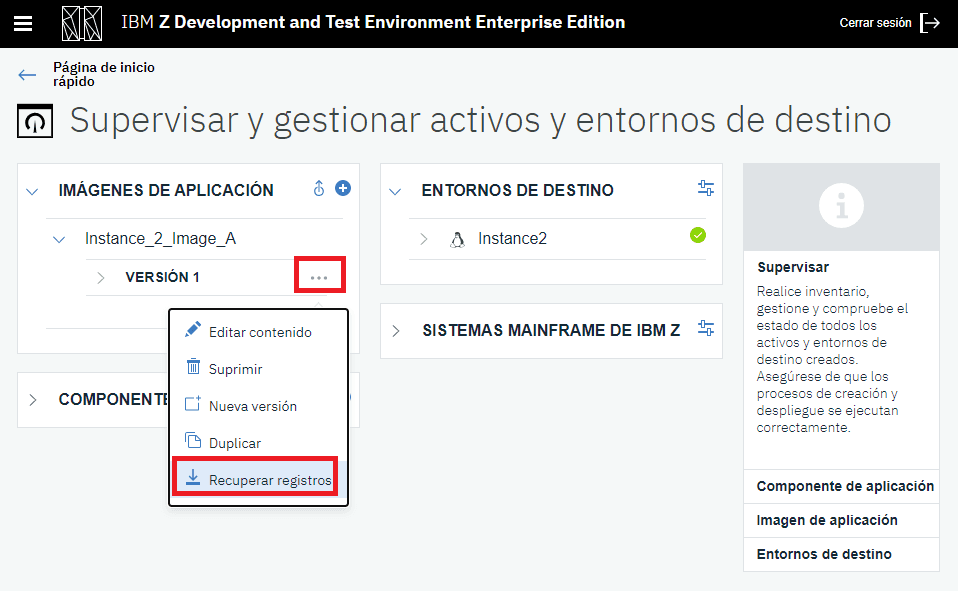
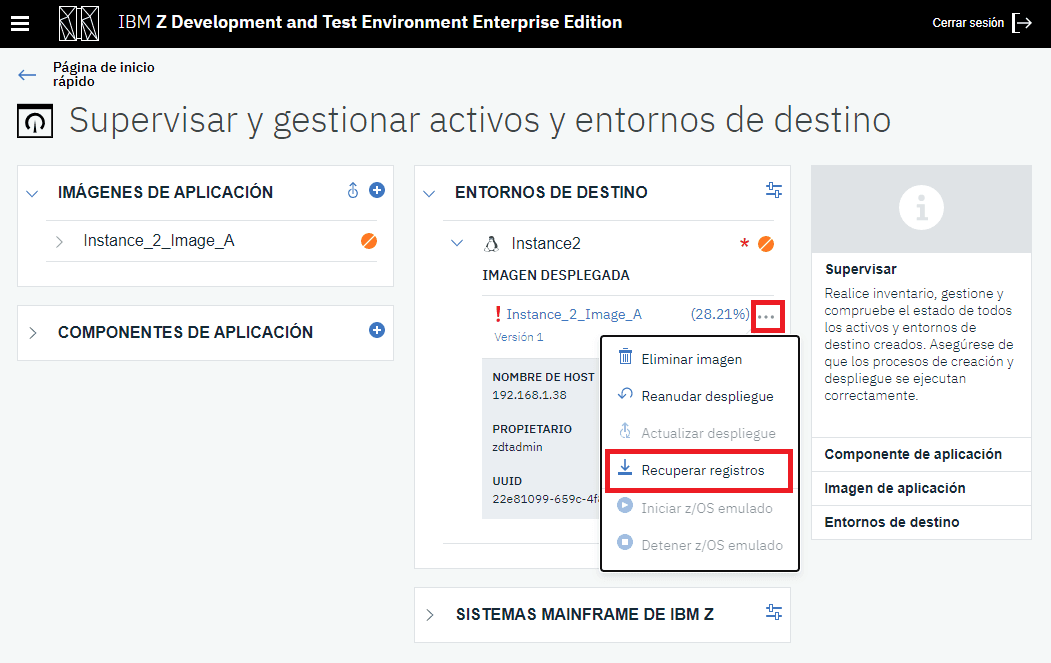
If during a deployment we find errors, we can download the log (messages and console) from the image option.

We go back to the main page and enter Deploy.
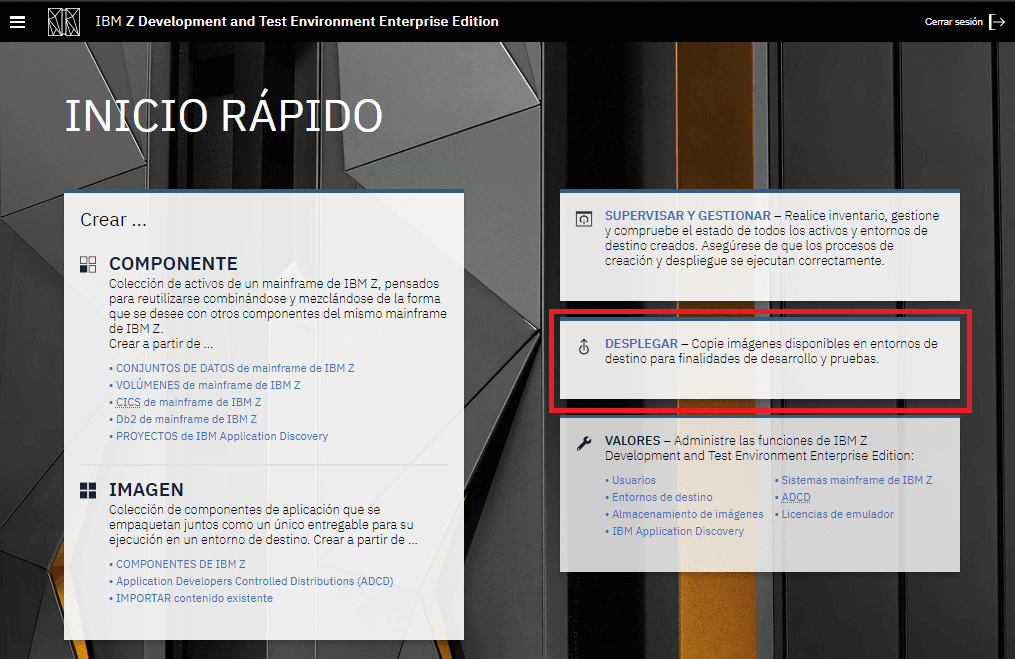
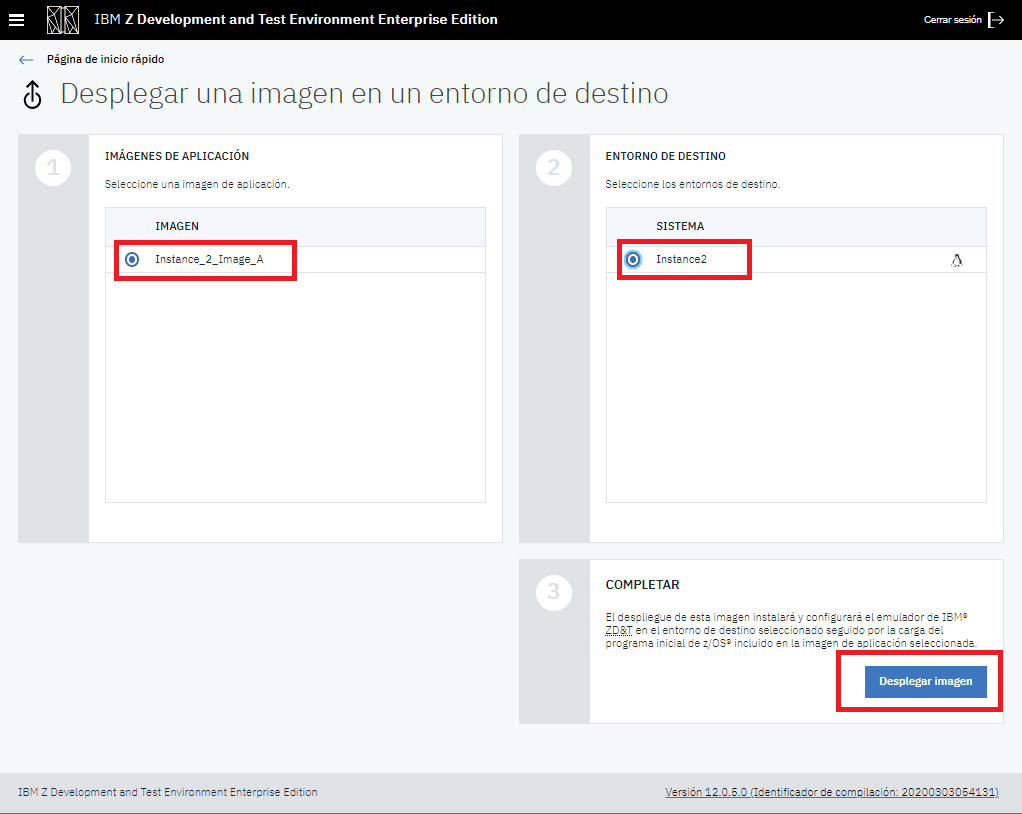
We choose the image and target server we want (if we have several). Click on Deploy image.
It will request the login method.
We can choose between credentials and certificate. In my case, credentials. As deployment directory I will put “/home/ibmsys1”.
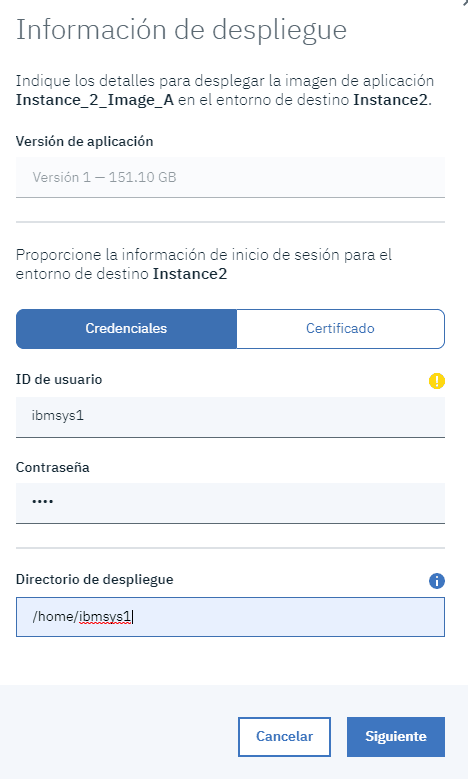
The password for the IBMUSER user I will use is “sys1”.
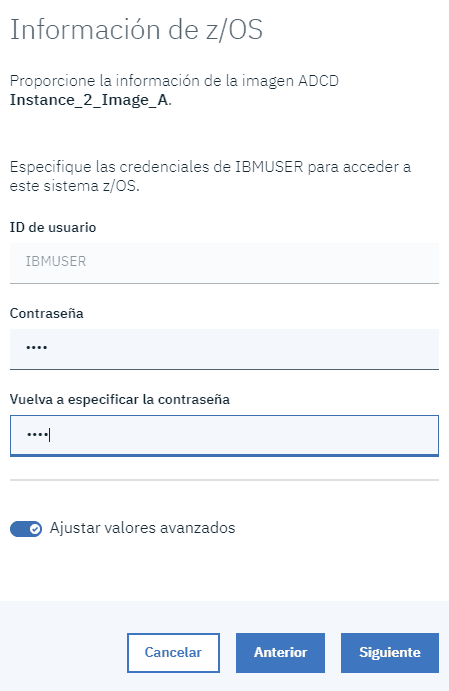
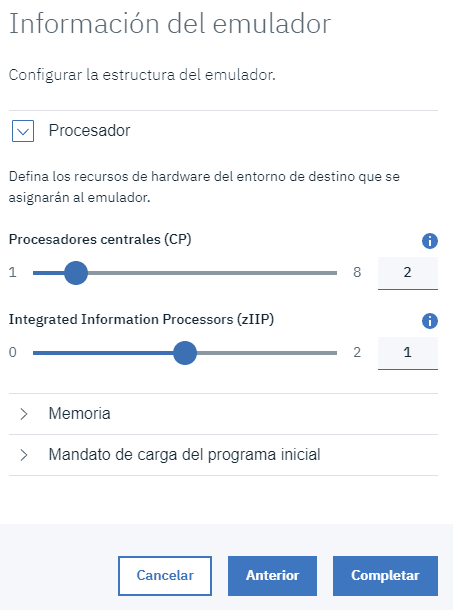
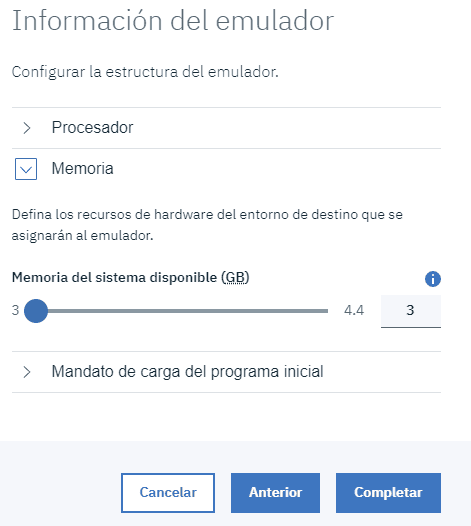
I will use the following configuration. Use the parameters that fit your environment.

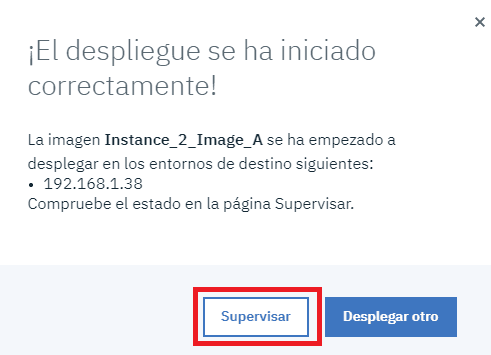
A message will appear indicating that the process has started. We can check it by clicking on Monitor.
If we click on the percentage, we will see the detail.

We can also download the log.
NOTE In my case, the first time it ended in error because I put the “A4RES1” and “SARES1” volumes decrypted and the rest of the volumes I put decompressed. It’s mandatory to put the ZPD volumes (“A4RES1.ZPD” and “SARES1.ZPD”) and the rest compressed (“.gz”). Once corrected, we click on Resume deployment.
After deploying the volumes I had another problem. The system was losing the connection to the license server.
This happened because I configured an incorrect IP (different from the screenshot) when I defined the target system.
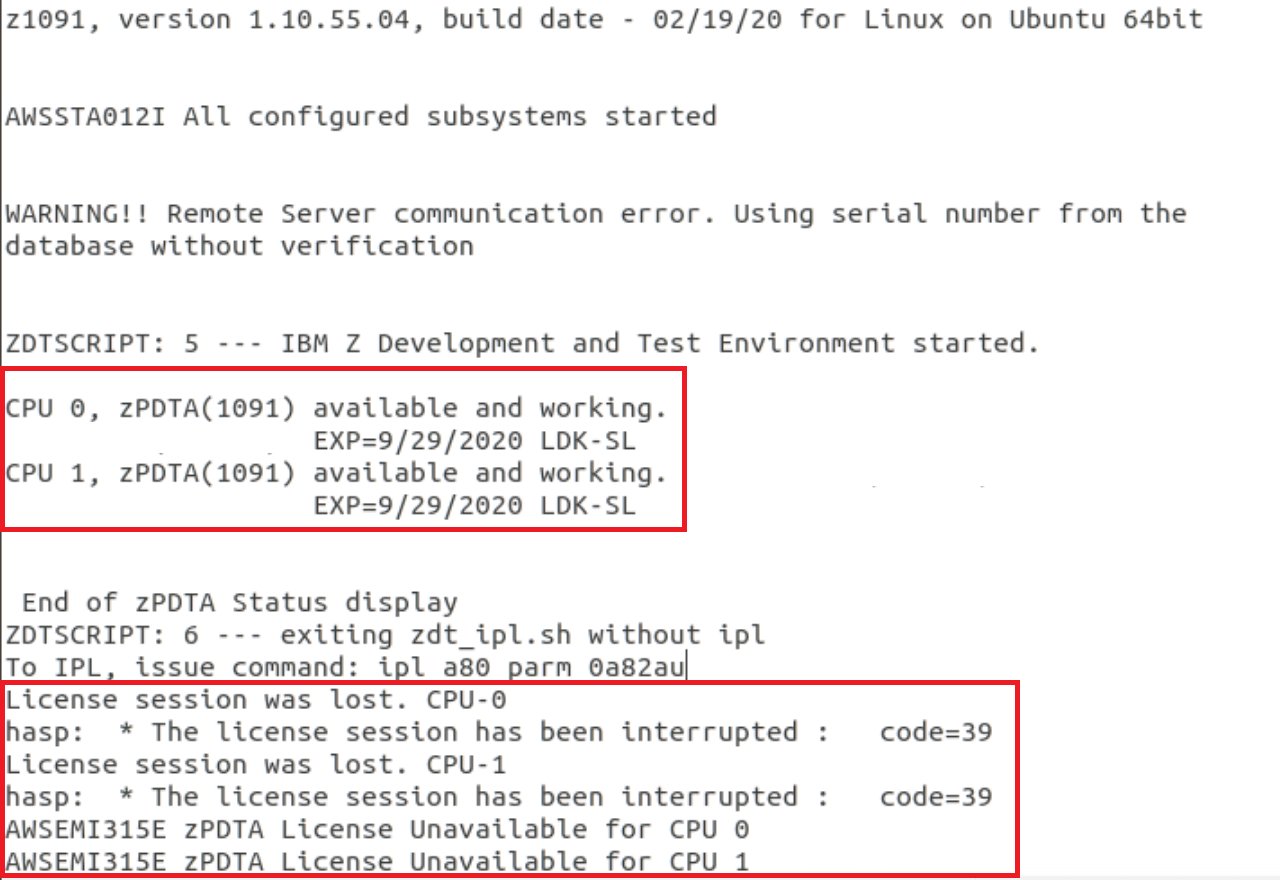
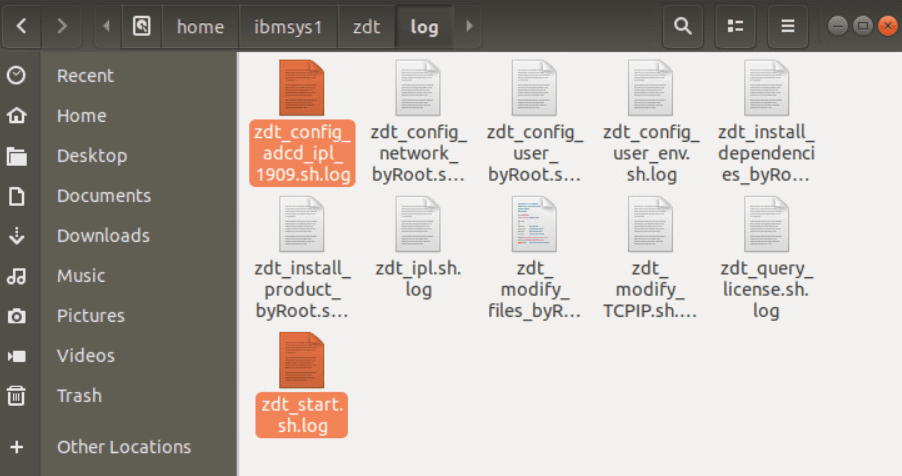
NOTE This log can be found on the target system. Path: /home/ibmsys1/zdt/log
In zdt_start.sh.log we will see the console and emulator messages.
I reinstalled the system and redeployed the image. This time, everything finished correctly. The system will start automatically.
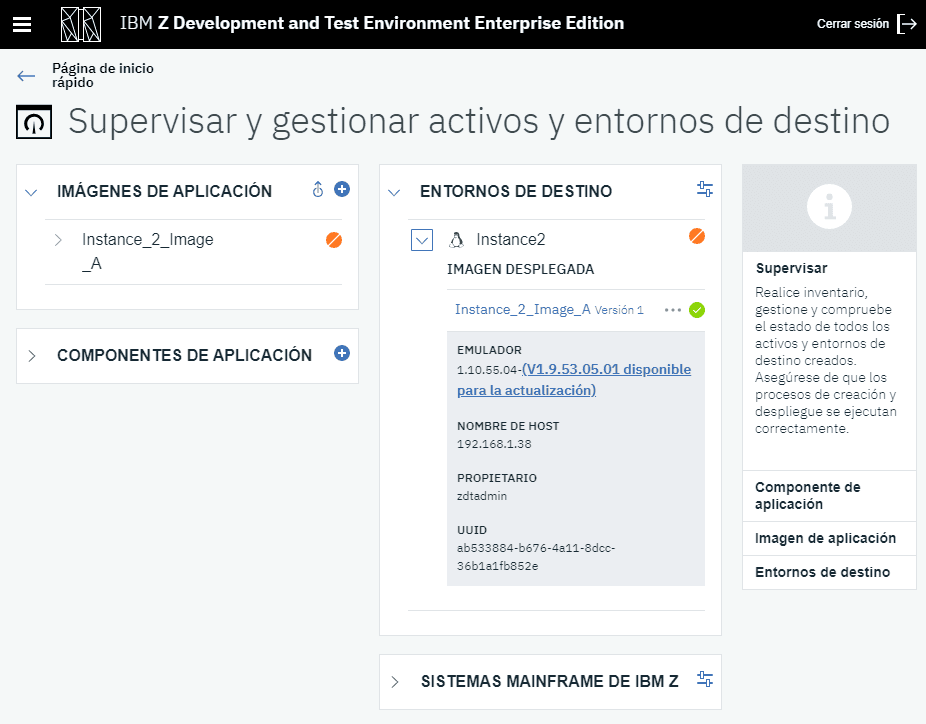
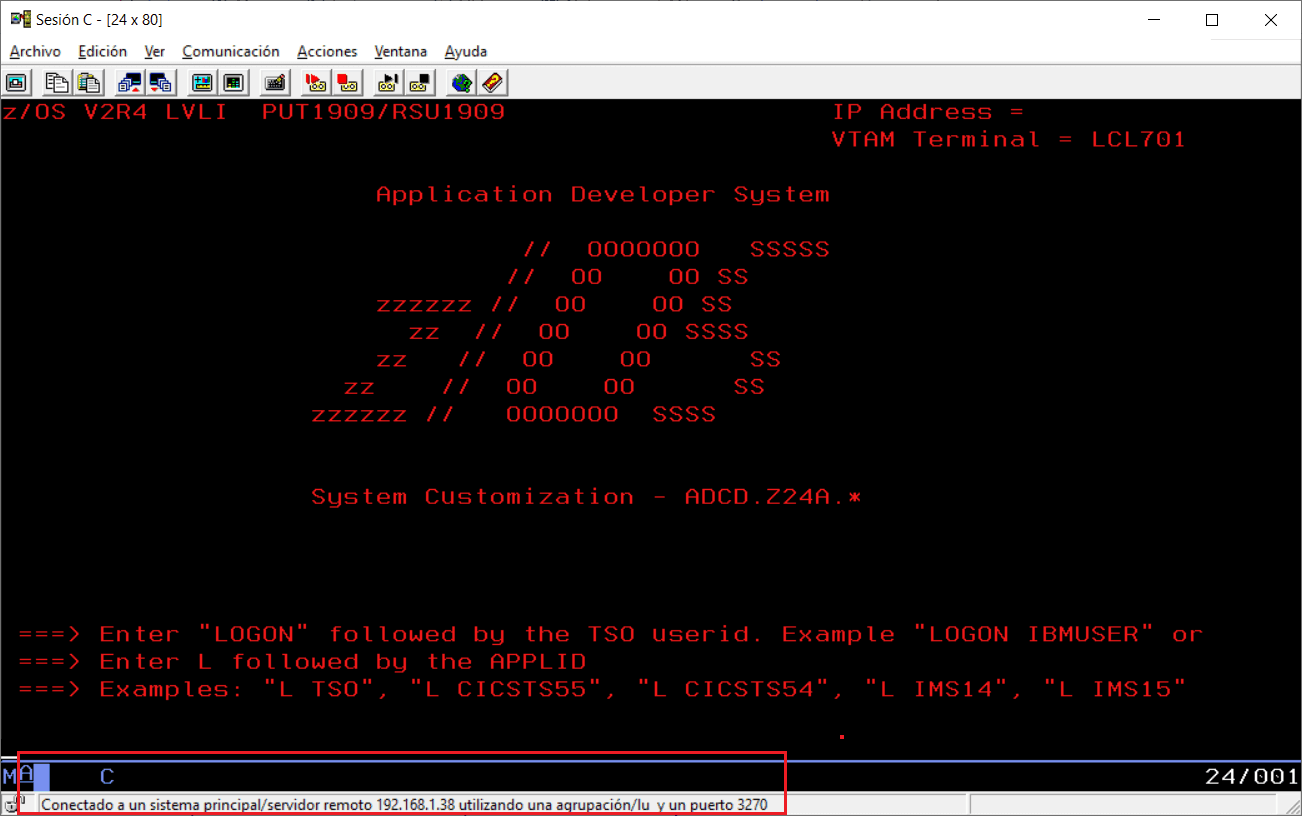
Now we can connect to the system.
- The IP will be that of the target system and port 3270.
- The first terminal that connects will be console (LU 700).
- With the second one (LU 701) we can connect to TSO.
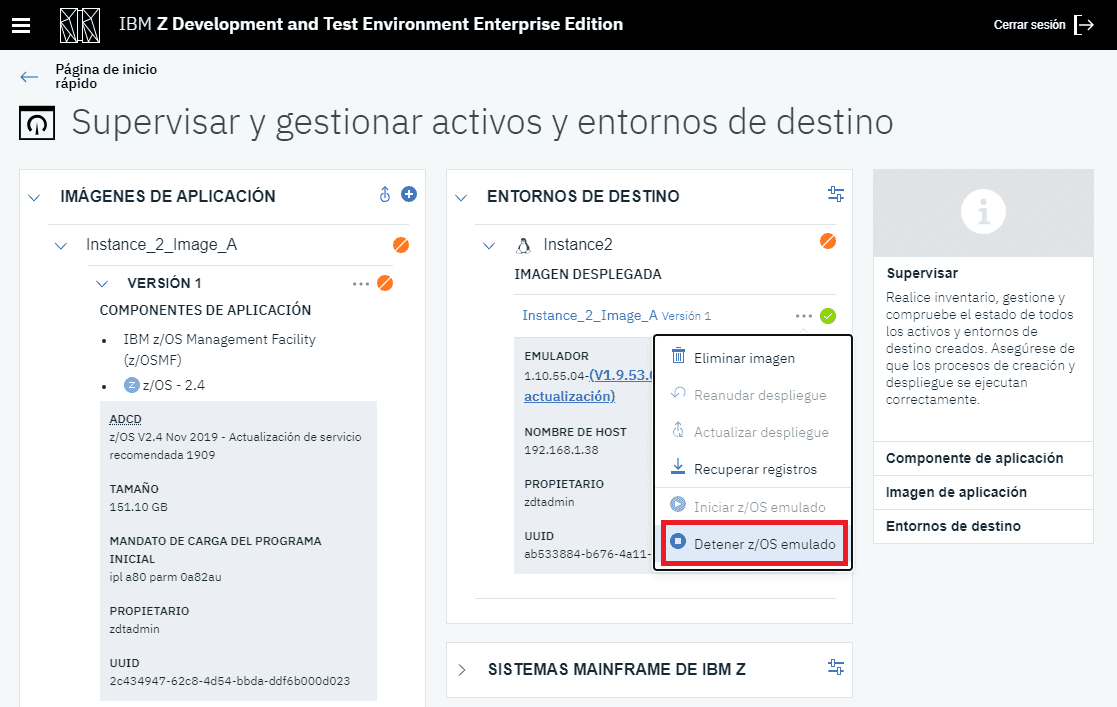
System Shutdown
We can stop the system automatically with the option shown in the image.
In my case, I couldn’t execute it.
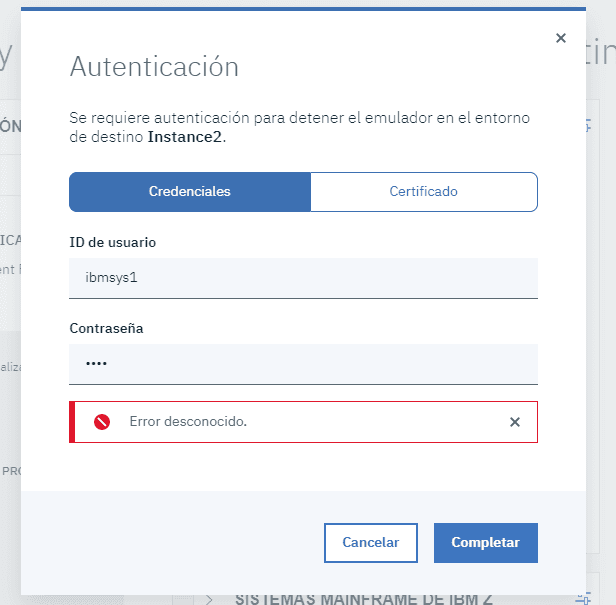
Looking at the log, the error is because it cannot execute the commands:
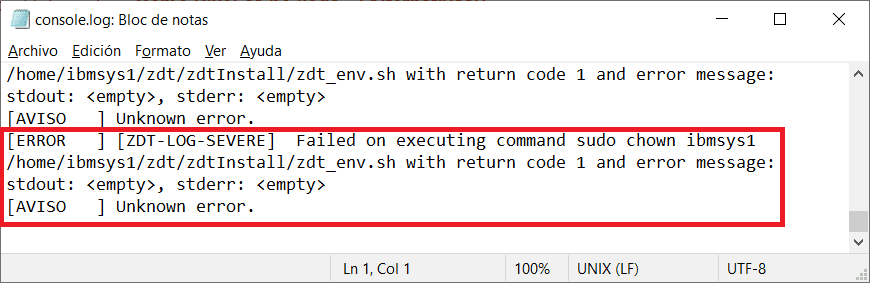
Some commands need to be added in /etc/sudoers of the target system:
/bin/chown ibmsys1 /home/ibmsys1/zdt/zdtInstall/zdt_env.sh,/home/ibmsys1/zdt/zdtInstall/zdt_env.sh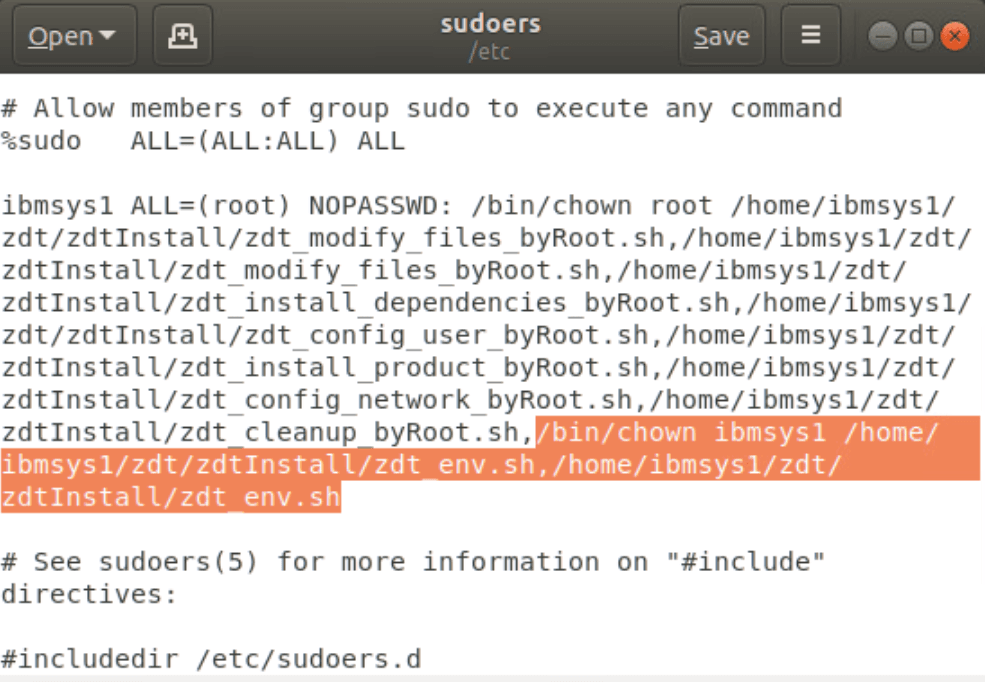
Now it will stop correctly.
Restart the System
When we want, we can start the system again.
To start the system automatically, we must add the following commands in /etc/sudoers:
/bin/chown ibmsys1 /home/ibmsys1/zdt/zdtInstall/zdt_start.sh,/home/ibmsys1/zdt/zdtInstall/zdt_start.sh, /bin/chown ibmsys1 /home/ibmsys1/zdt/zdtInstall/zdt_ipl.sh,/home/ibmsys1/zdt/zdtInstall/zdt_ipl.shNow the system will start correctly.