Update to New Version
I’m going to update both the application and the system to a new version.
This process is not the same for everyone. It will depend on what each person has on their system.
The update is a bit laborious because you have to put back the PARMLIB, PROCLIB, user catalogs, SMS routines… members that we have modified. You also have to consider if we have made changes to the original IODF (for example, to add a tape library) or to RACF.
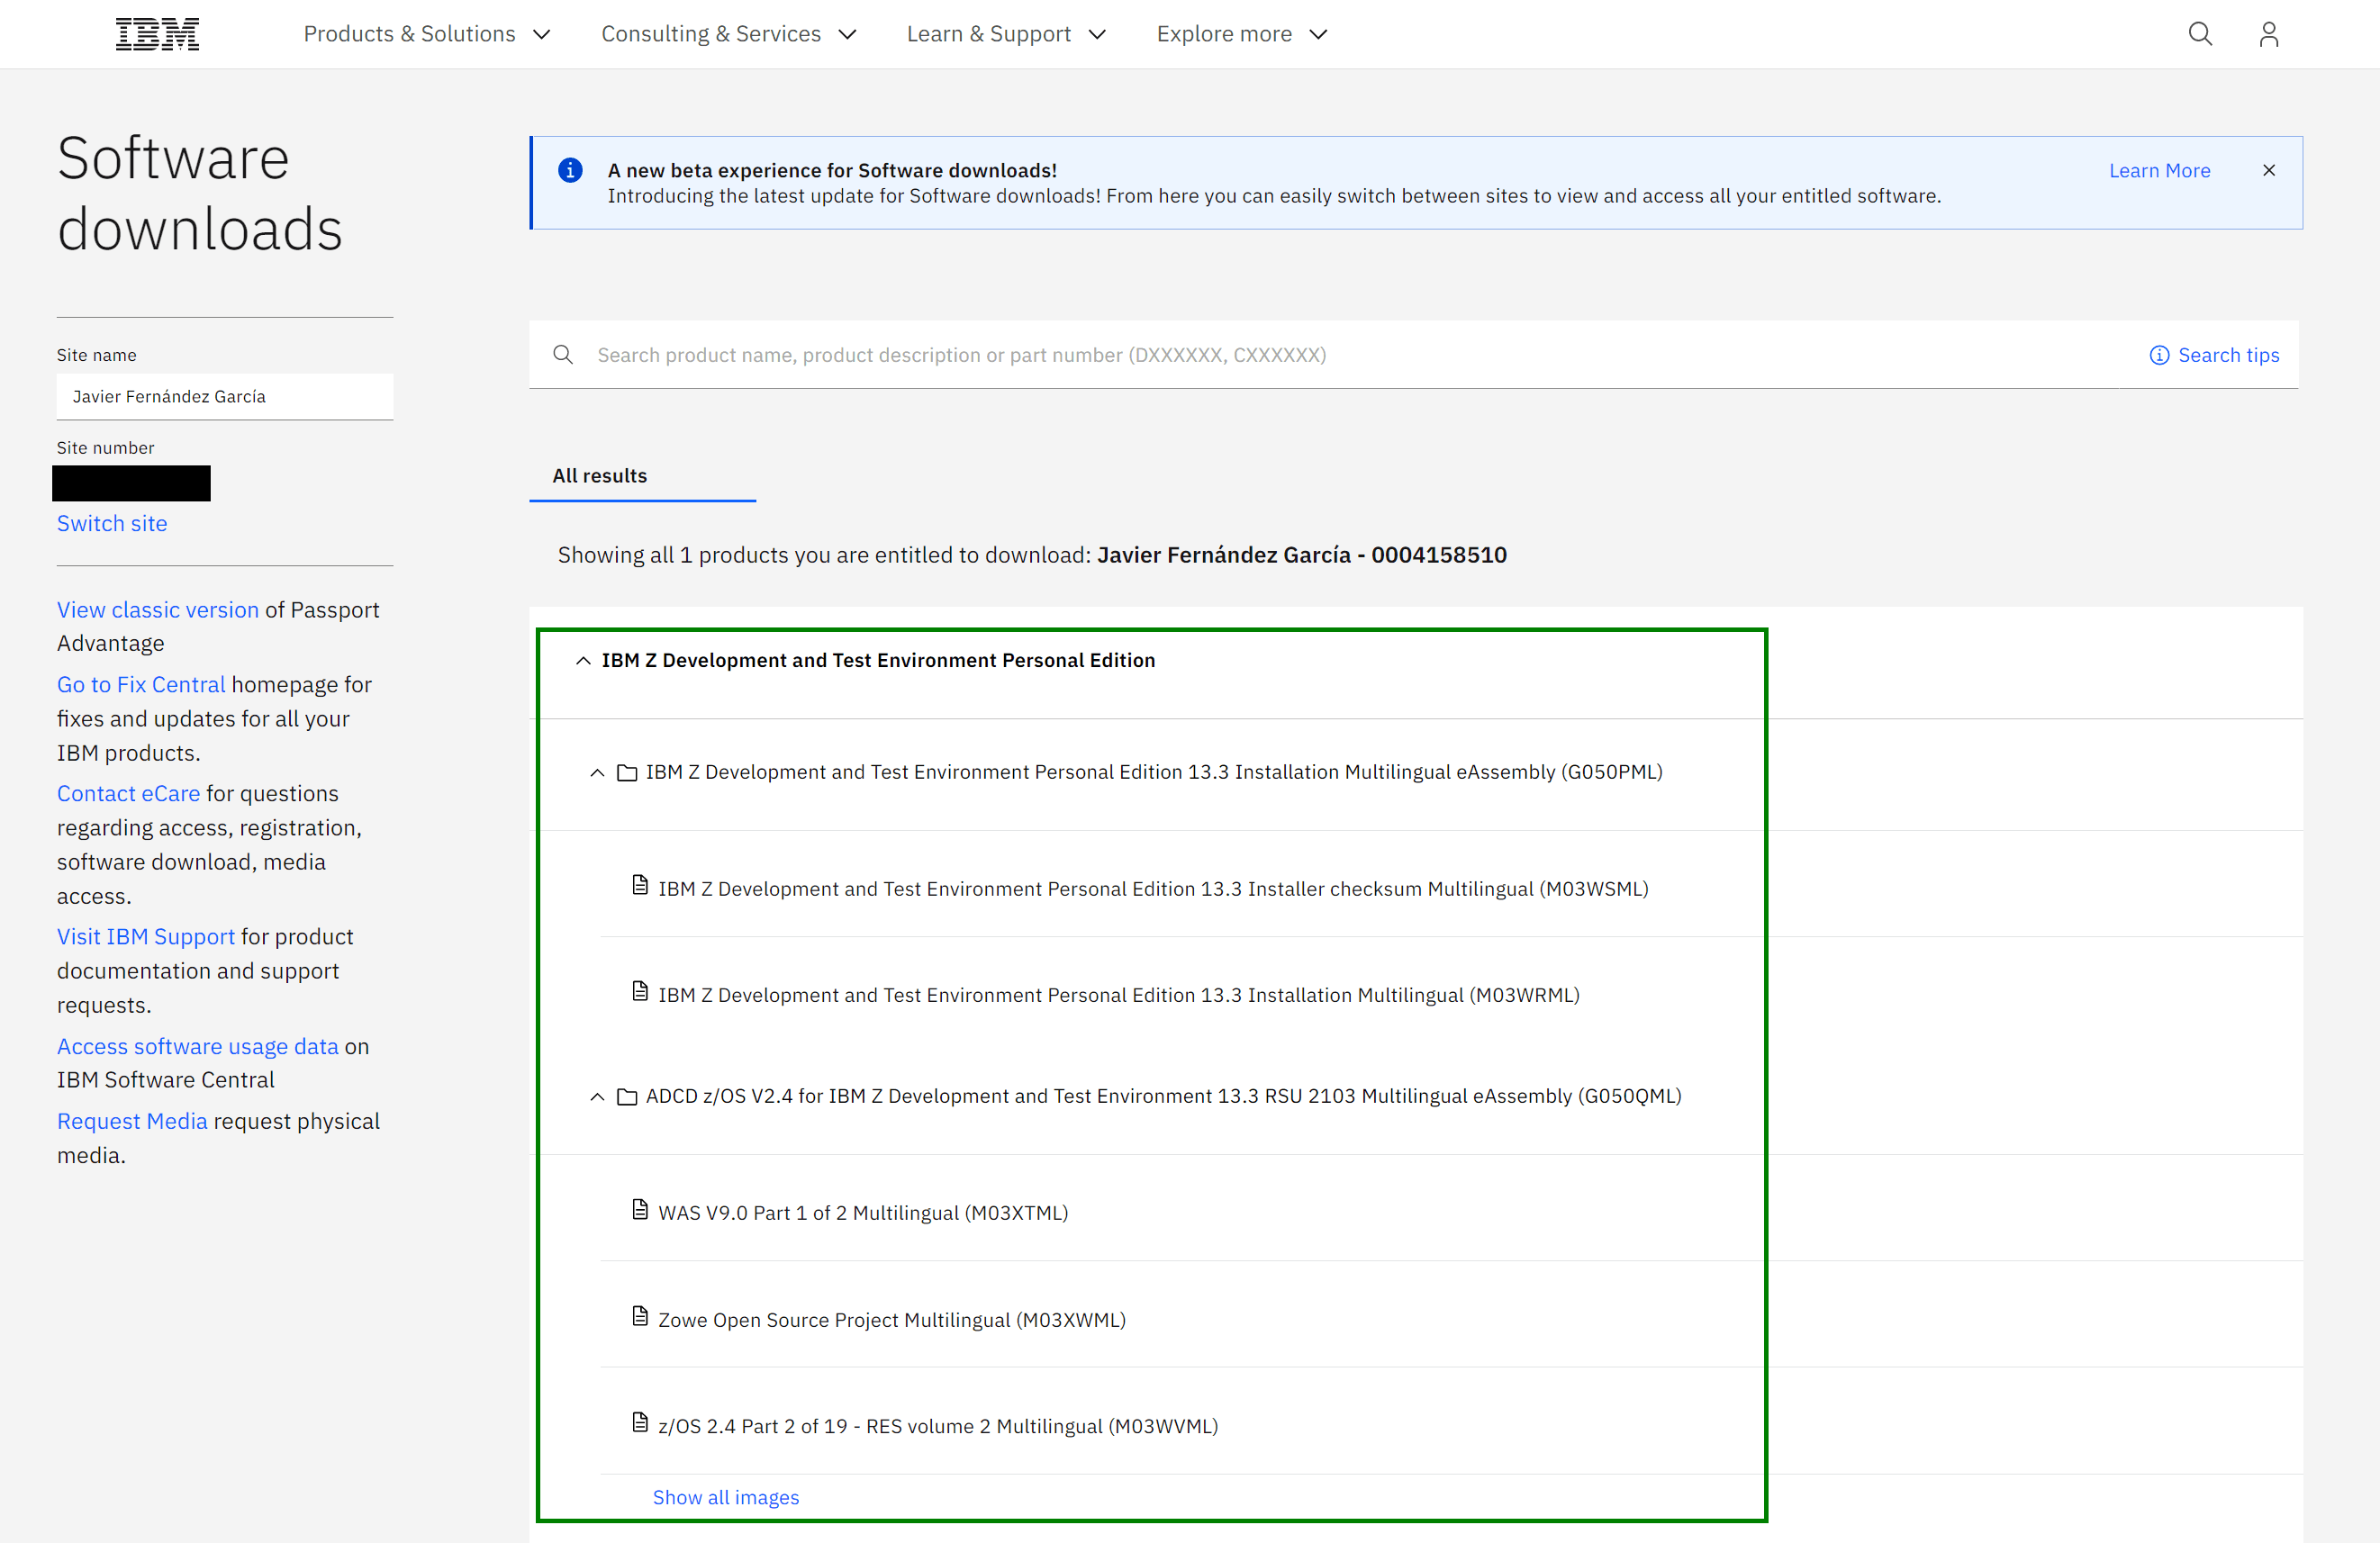
Download and Update the Software
We start by downloading the software.
For more detail on the process, you can review the documentation:
Installation, License and Startup
Also the IBM documentation
https://www.ibm.com/docs/en/zdt/13.3.0?topic=edition-updating-personal-latest-version
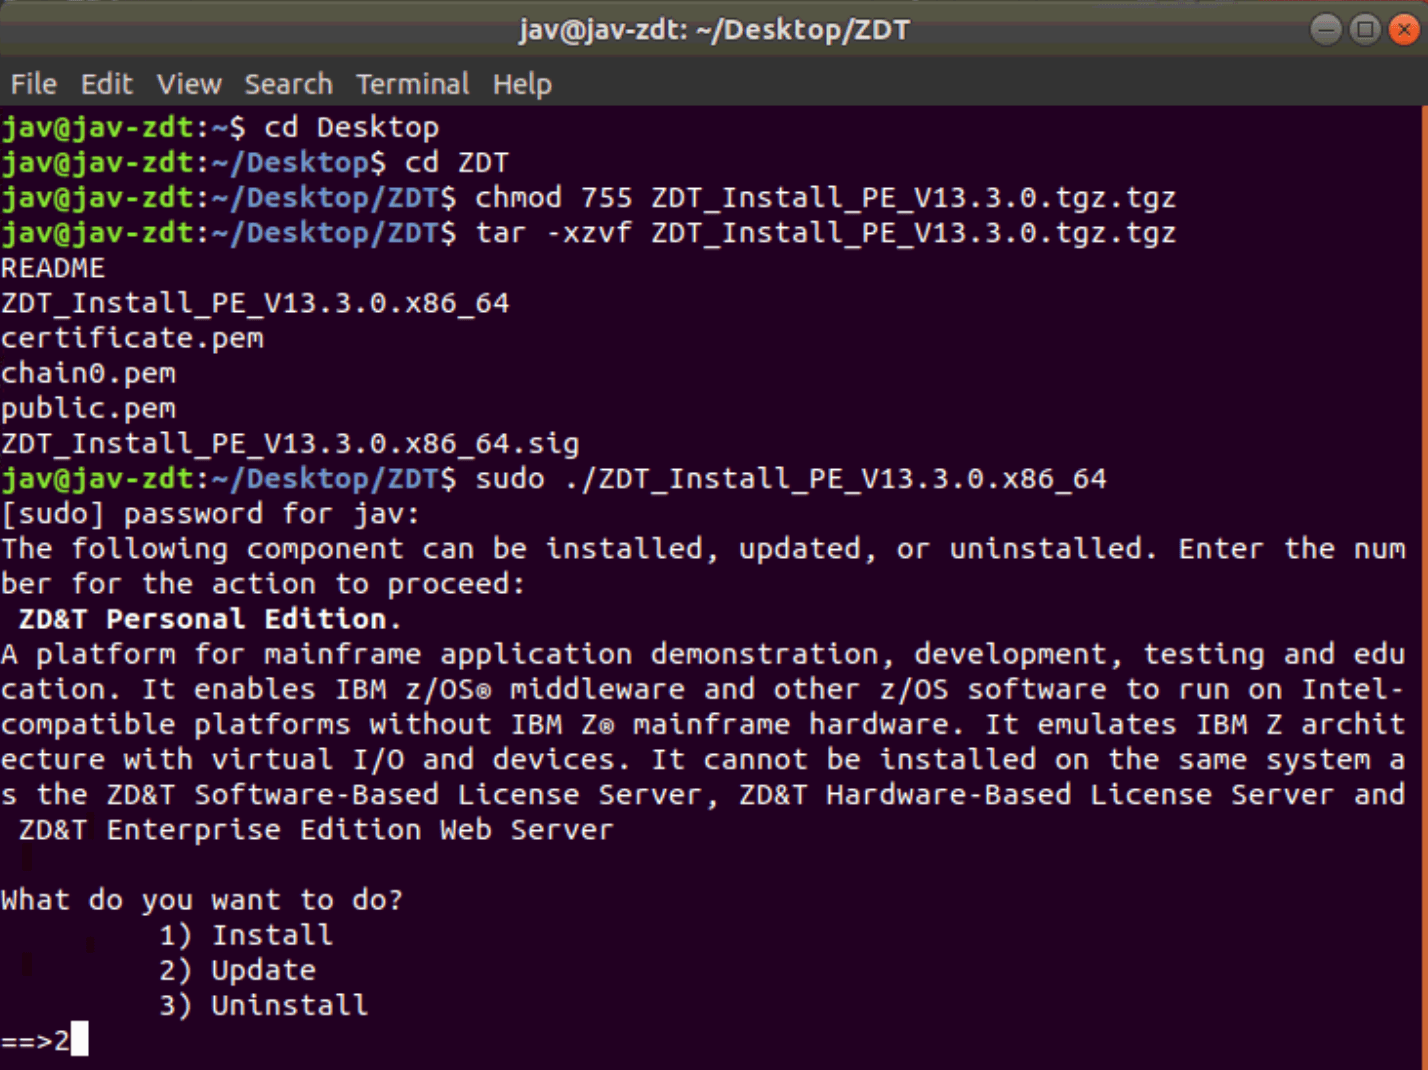
With a ROOT user, we will use the following commands to change the permissions and decompress the file:
chmod 755 ZDT_Install_PE_V13.3.0.tgz.tgz
tar -xzvf ZDT_Install_PE_V13.3.0.tgz.tgz
We run the installation file:
sudo ./ZDT_Install_PE_V13.3.0.x86_64We choose option 2 – Update.
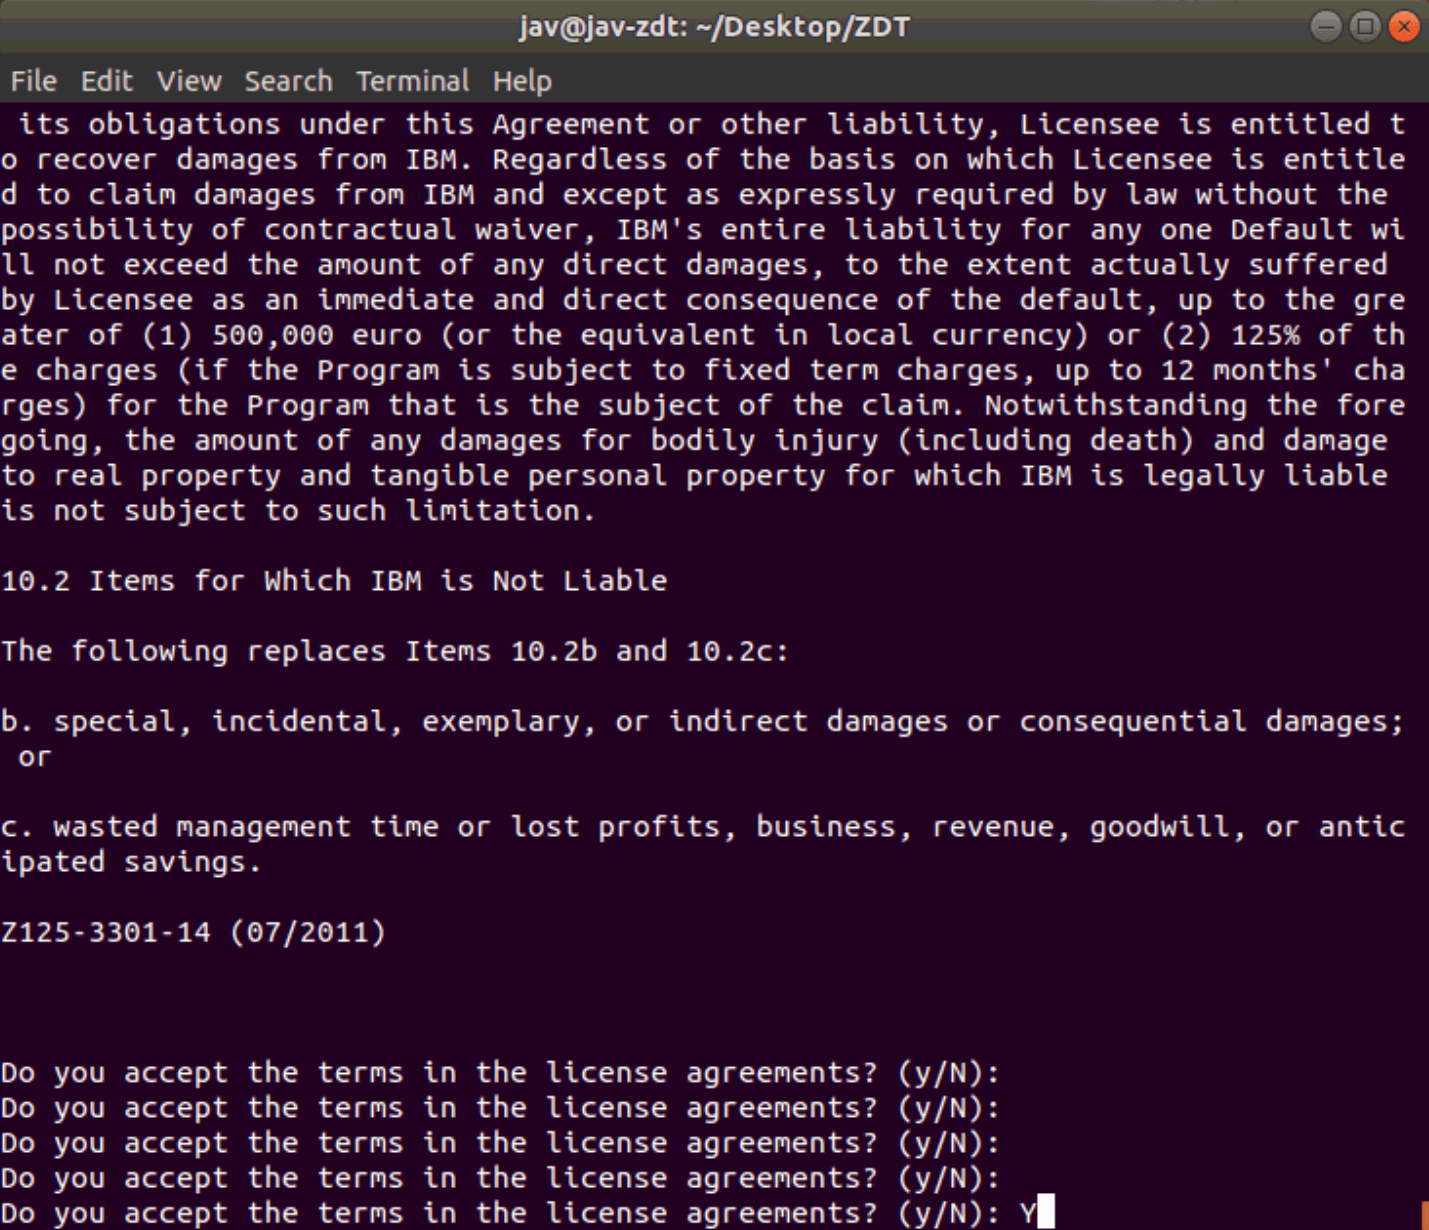
We read and accept the license agreement.
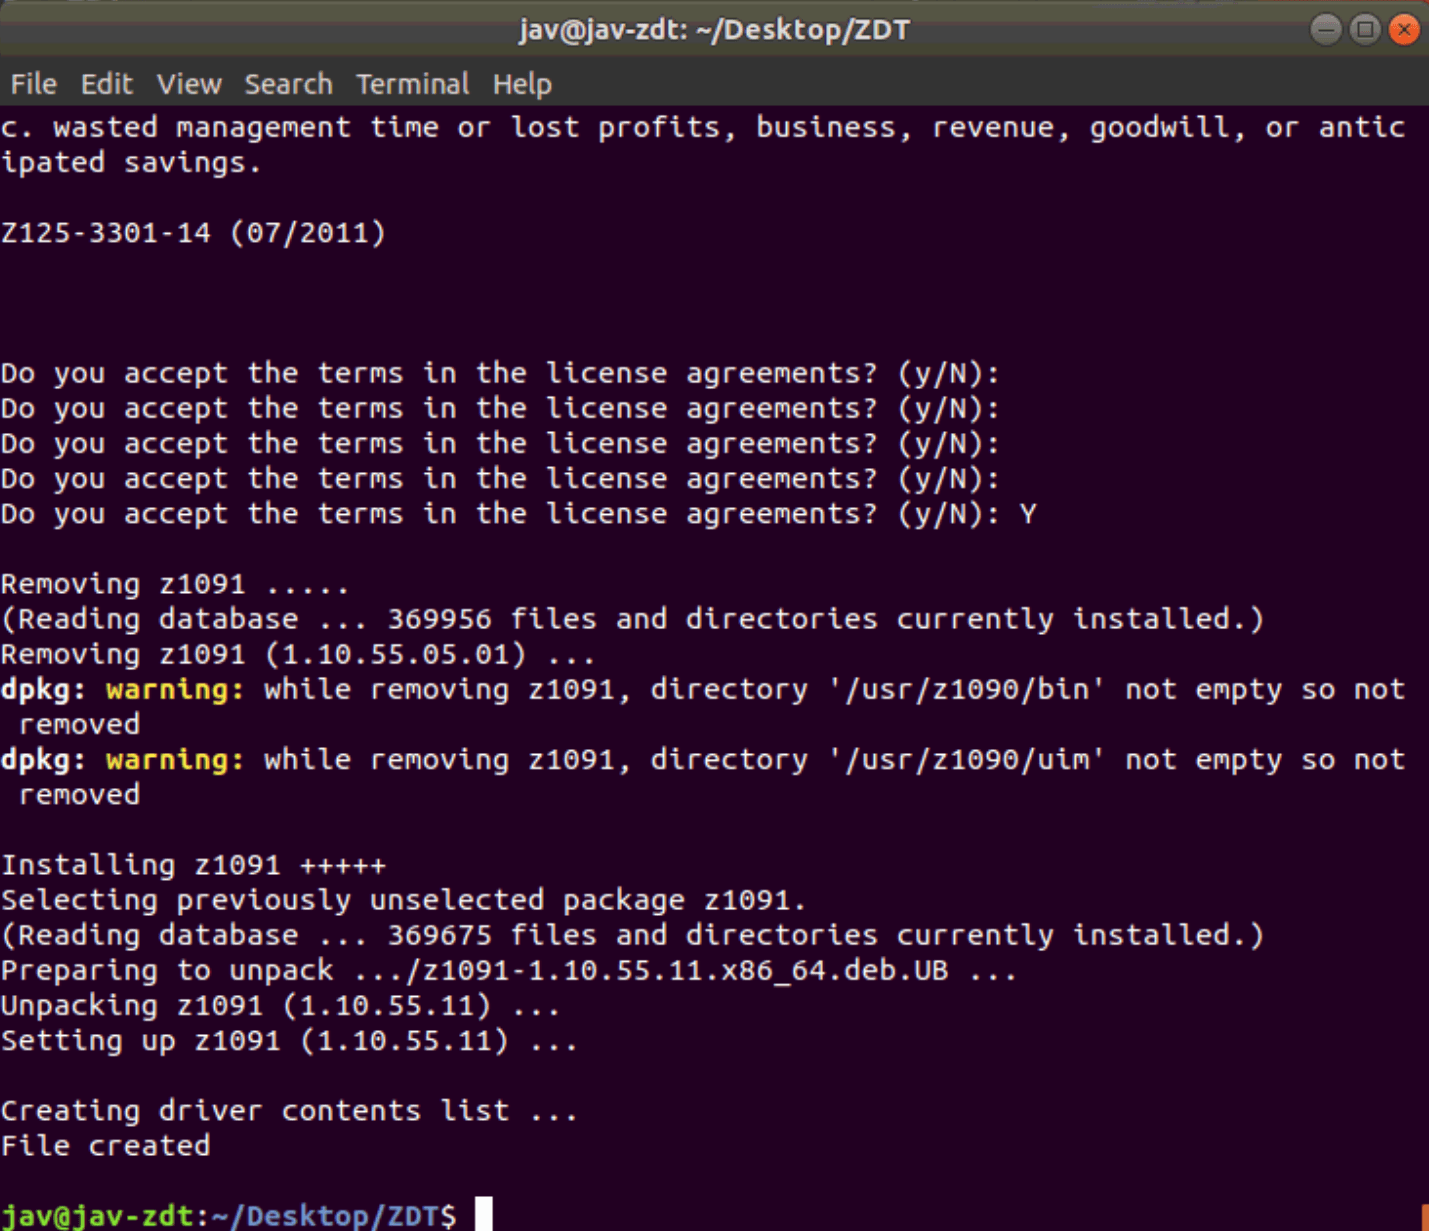
With the following command we verify that we have the latest version
dpkg -l | grep z1091In my case, the previous version was 1.10.55.05.01 and now it’s 1.10.55.11.

Decrypt the Disks
Now we exit the root user and log in with the ibmsys1 user. I already have the disks copied. I still need to decrypt the D4RES1.ZPD and SARES1.ZPD disks. If the owner and group of the files is not ibmsys1 and zpdt, we must modify it. Additionally, the permissions must be 755.
We will use the following commands:
chown ibmsys1 *
chgrp zpdt *
chmod 755 *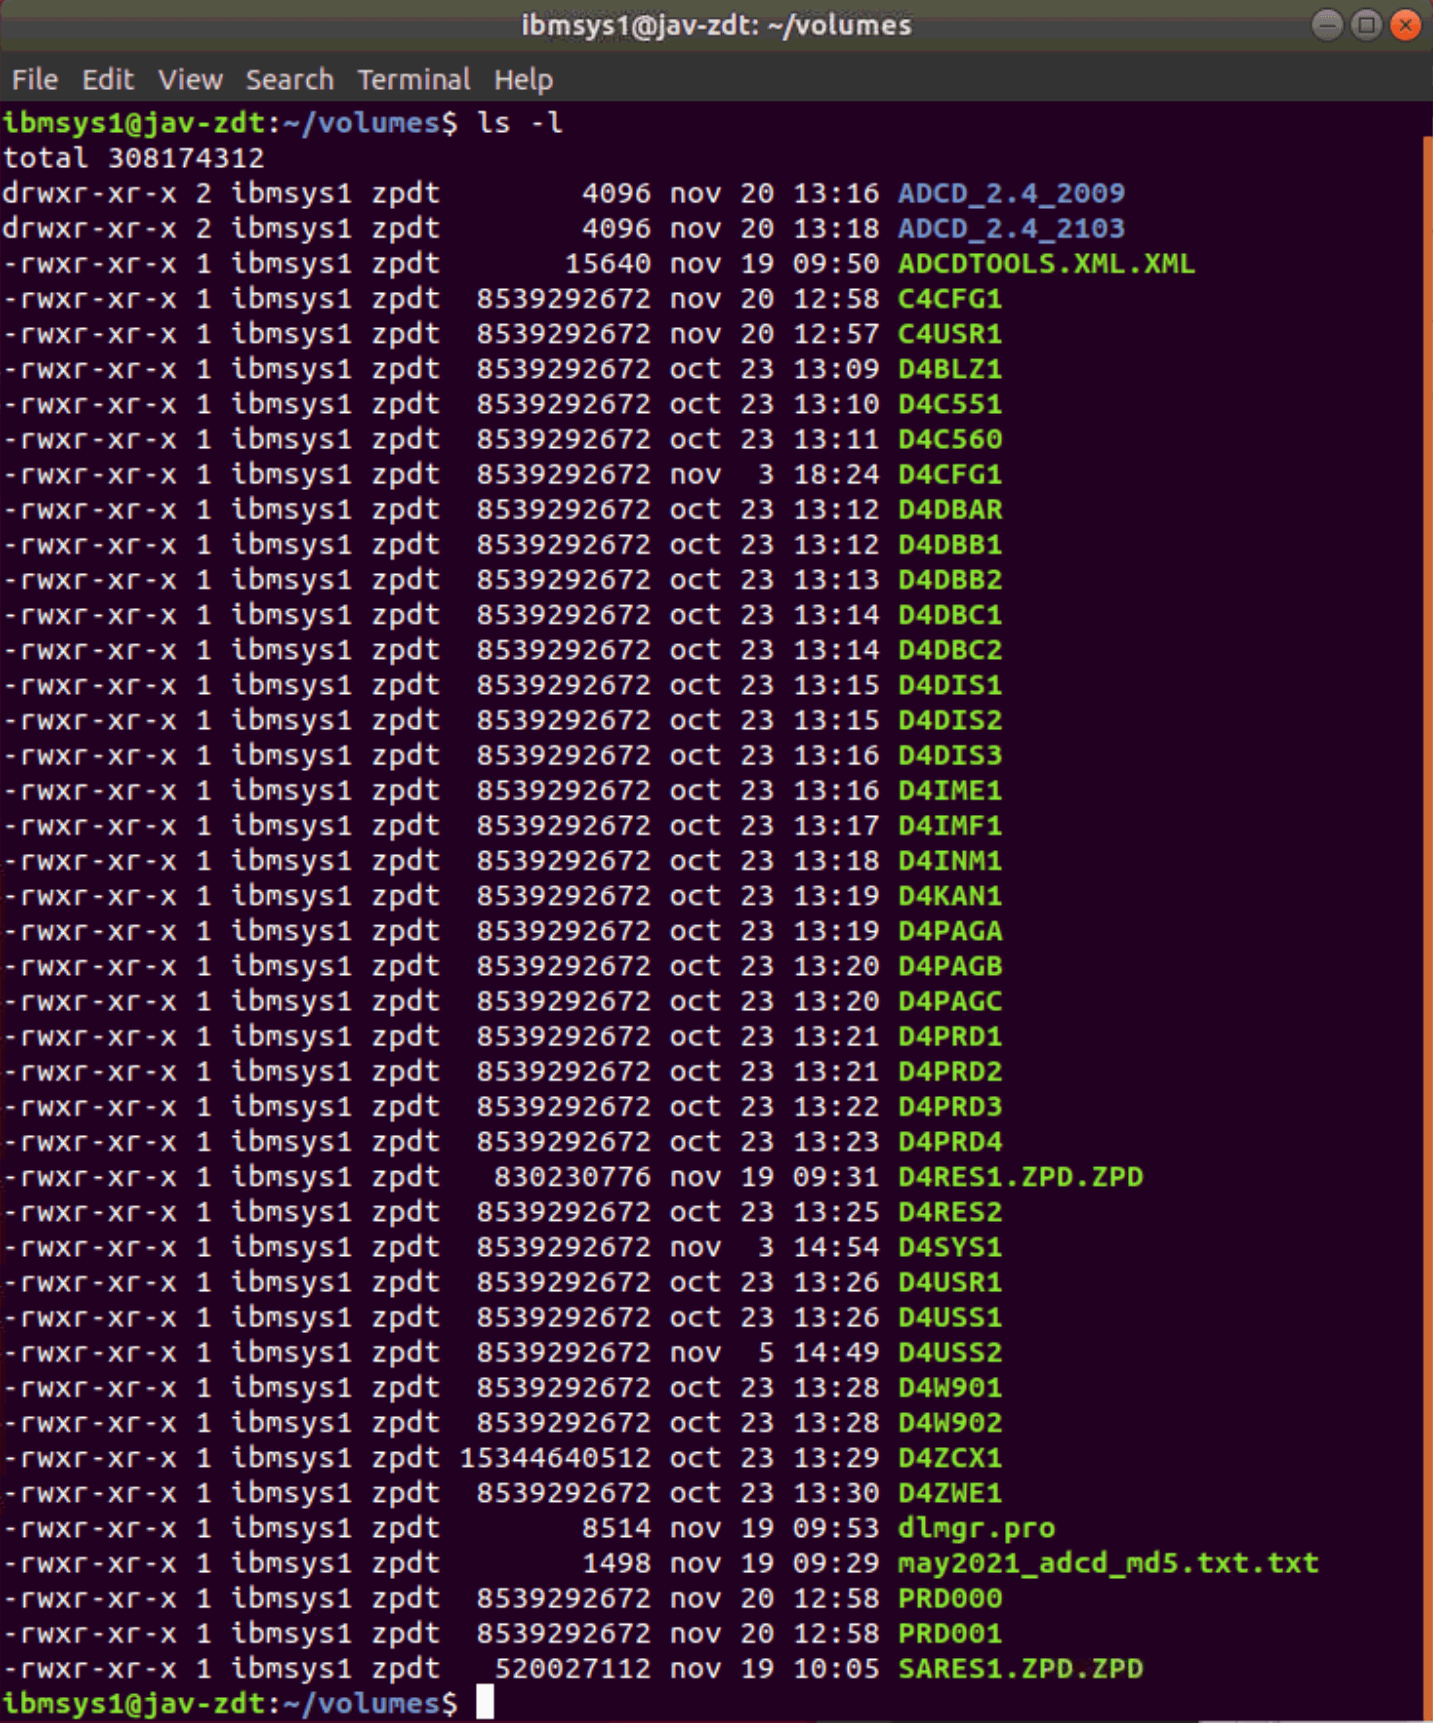
We go to the following path /usr/z1090/bin to decrypt the D4RES1.ZPD and SARES.ZPD disks. We will use the following command
cd /usr/z1090/bin
./Z1091_ADCD_install input_file output_file
For example:
./Z1091_ADCD_install /home/ibmsys1/volumes/D4RES1.ZPD.ZPD /home/ibmsys1/volumes/D4RES1
./Z1091_ADCD_install /home/ibmsys1/volumes/SARES1.ZPD.ZPD /home/ibmsys1/volumes/SARES1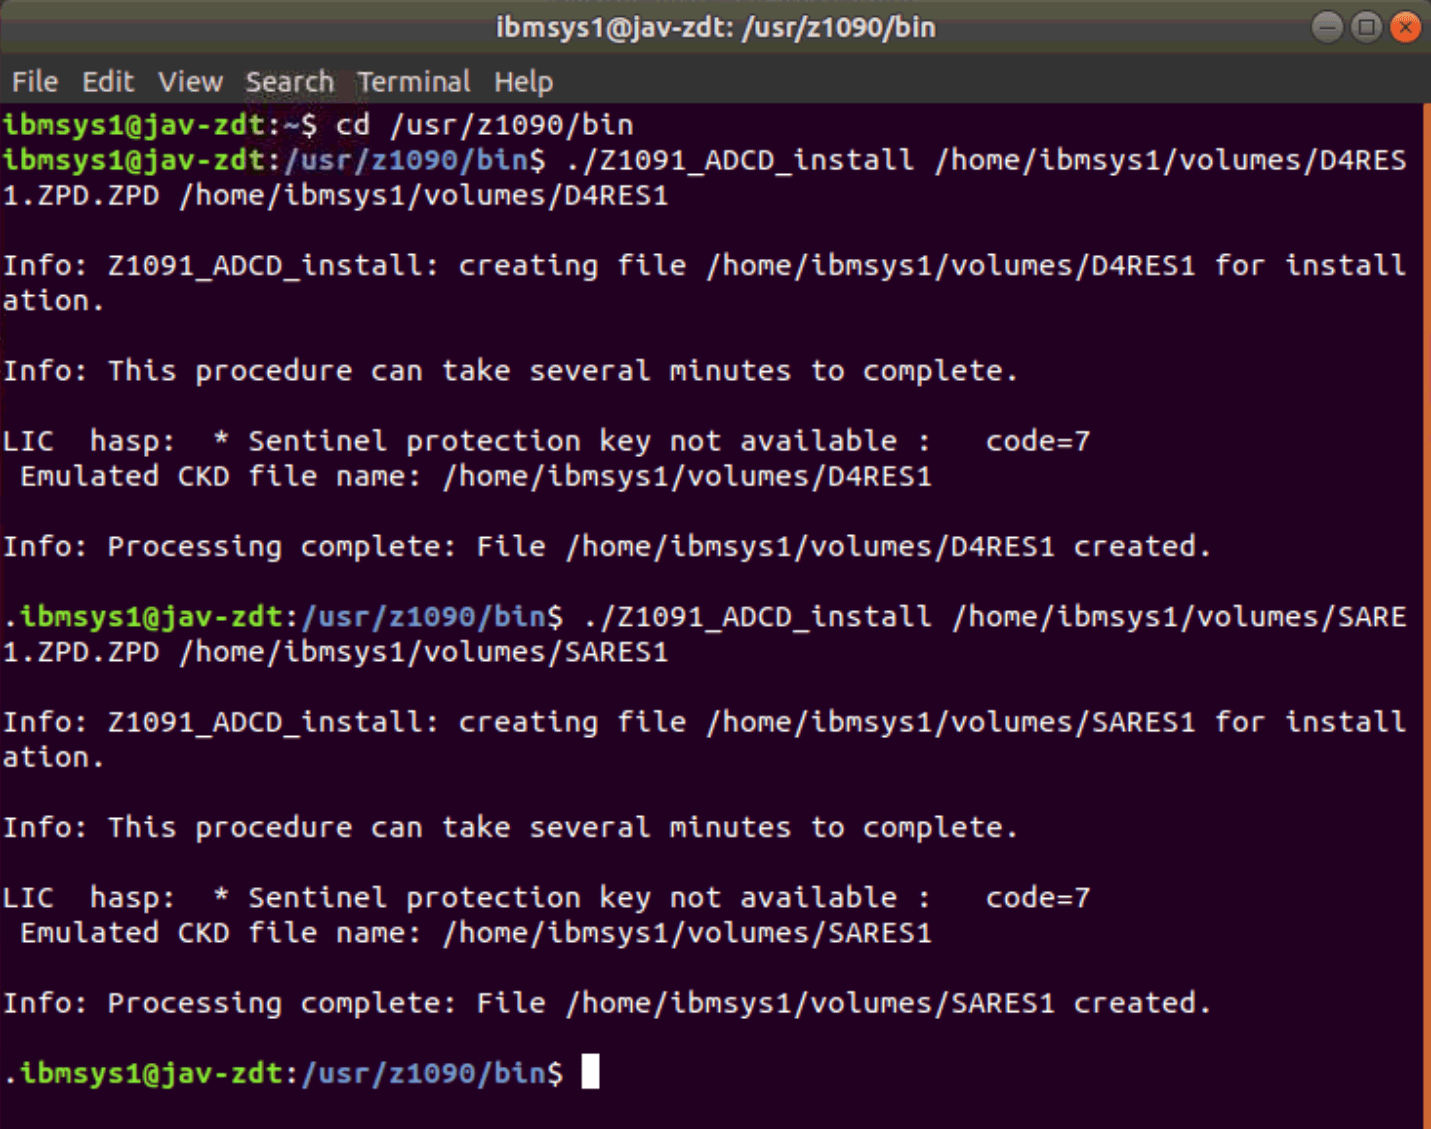
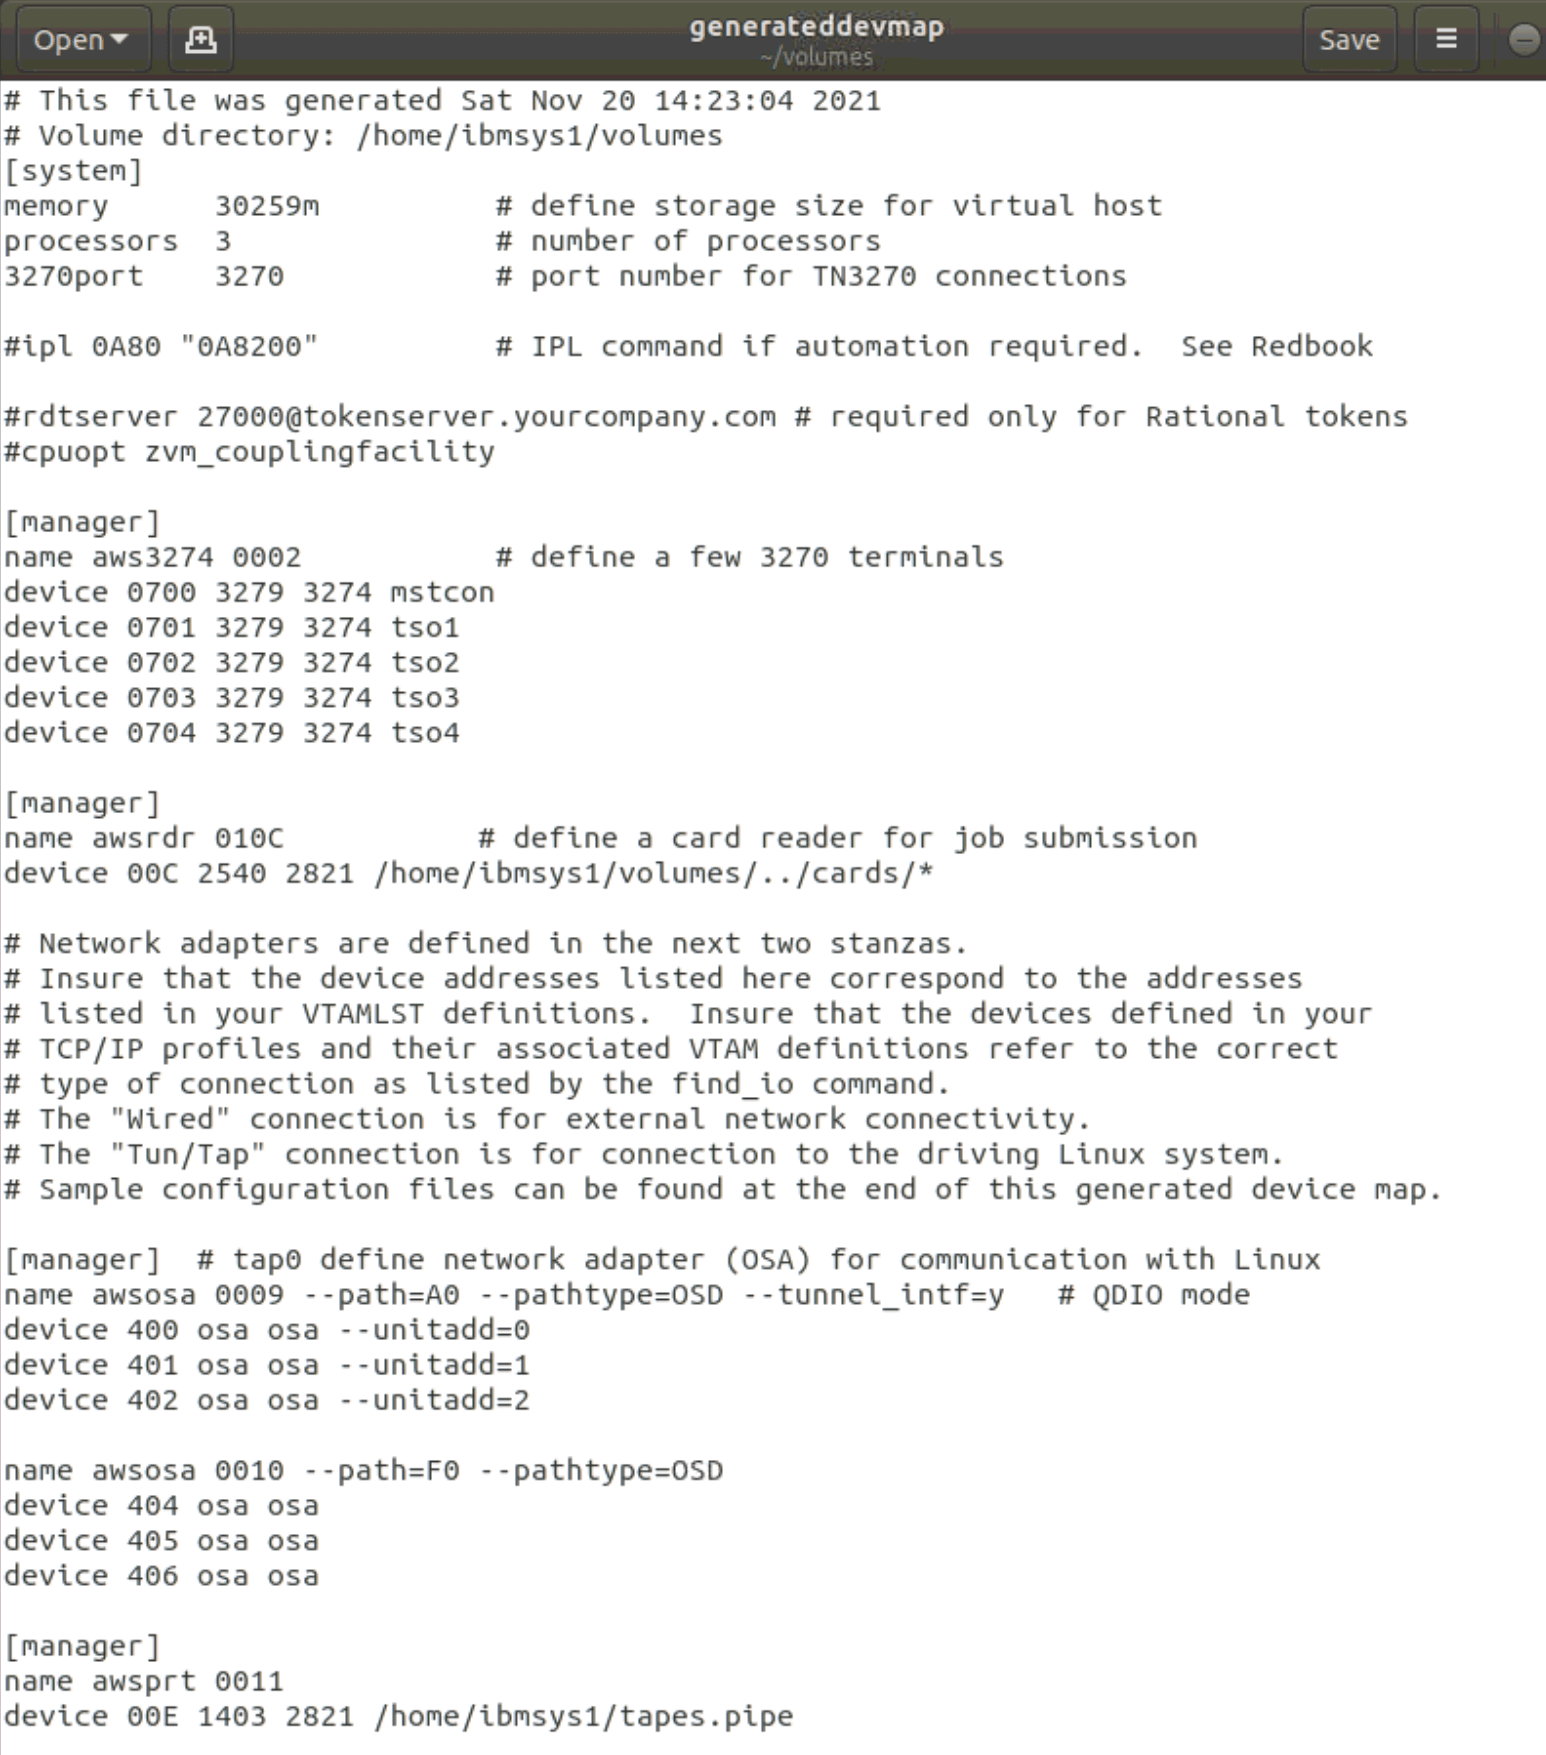
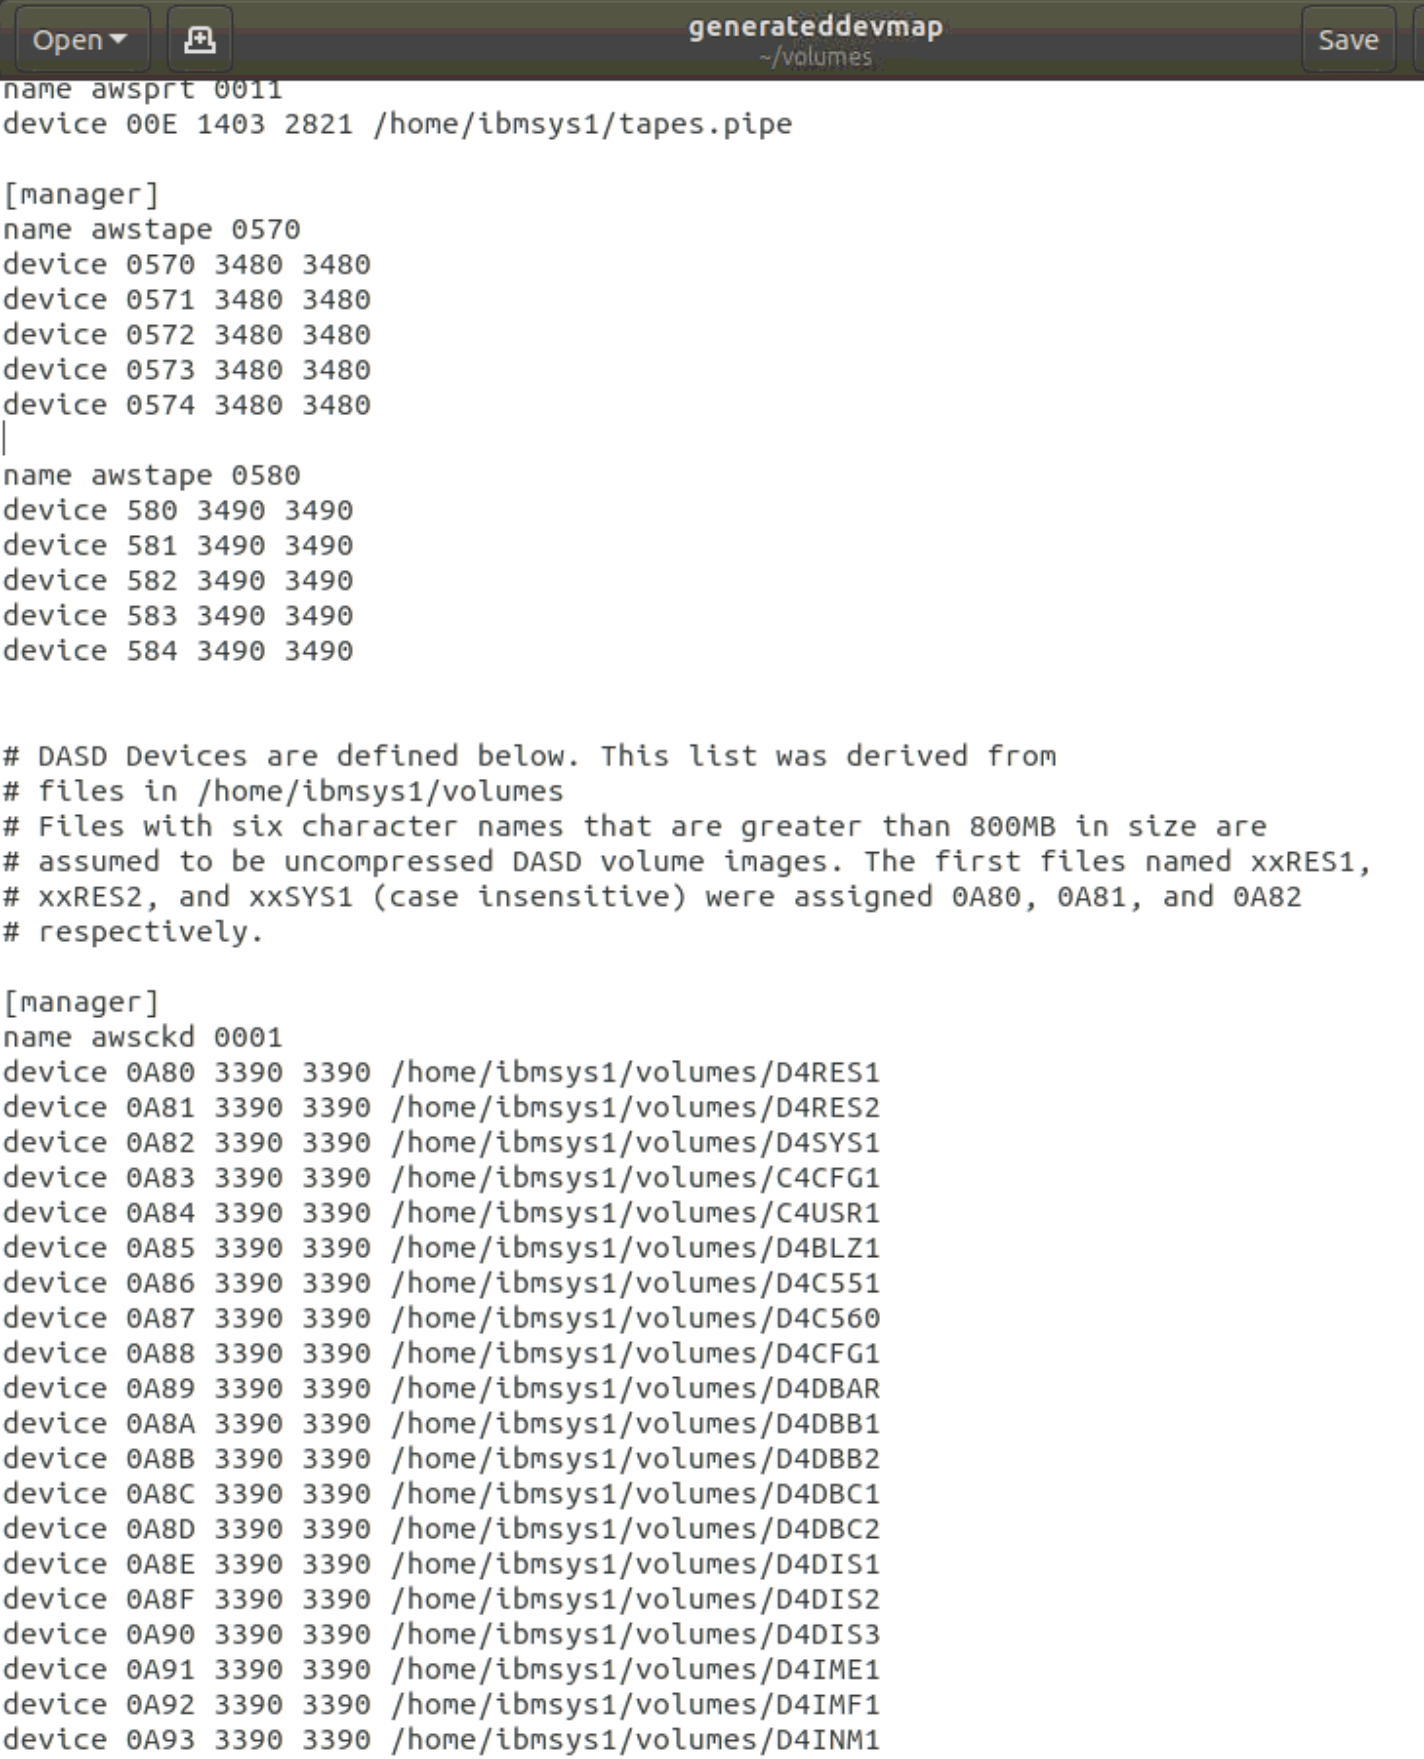
Now we are going to generate the configuration file with the devices, disks, etc. To do this, a script must be executed:
NOTE If it gives an error, you need to install the net-tools package. Command:
apt-get install net-toolscd /opt/ConfigGuideSample
perl create_devmap.pl volumes_path > generateddevmapFor example:
perl create_devmap.pl /home/ibmsys1/volumes > generateddevmap
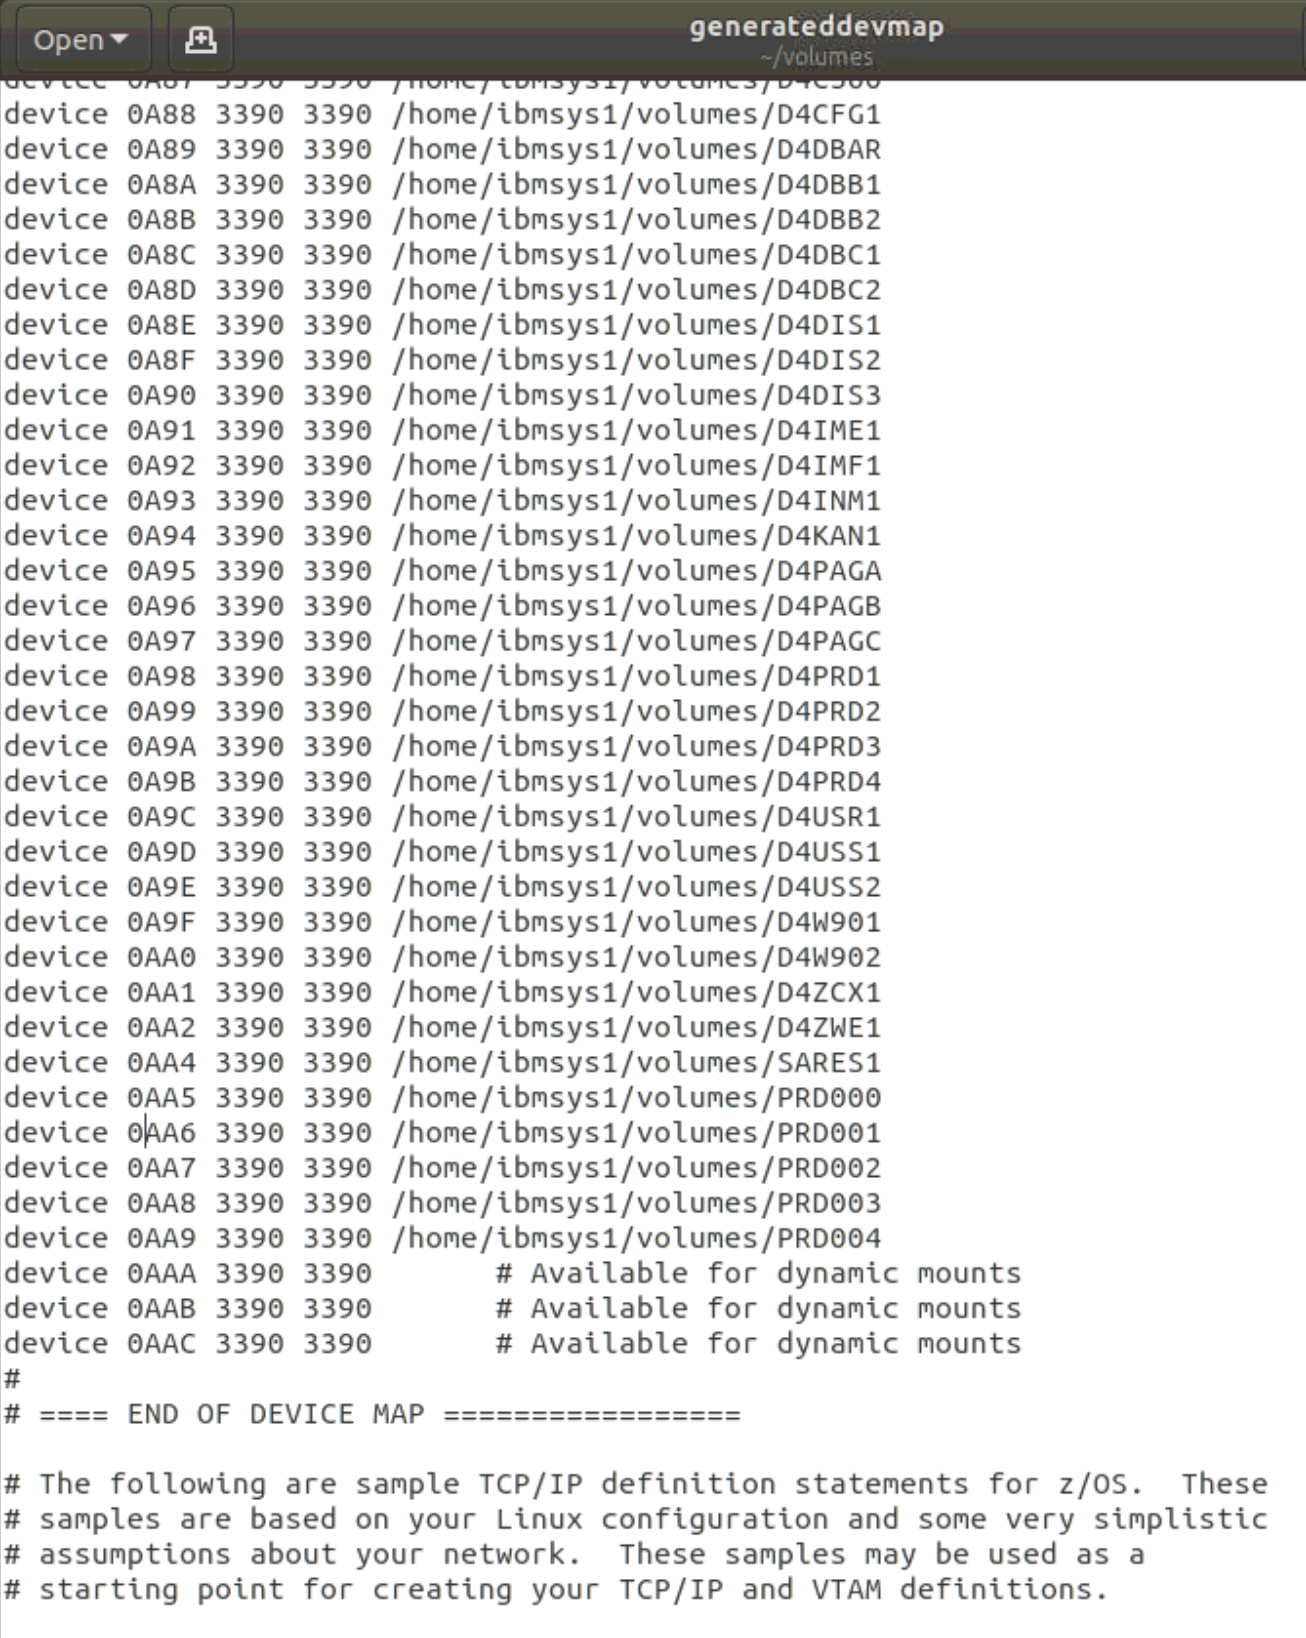
Now we will copy the generateddevmap and runzpdt files from the /opt/ConfigGuideSample directory to the directory where we have the volumes /home/ibmsys1/volumes.
In my case, I have adapted the generated file with the changes I had made in the previous version. Additionally, I’m going to include the C4CFG1 and C4USR1 disks, which are from the previous version, since there are things I can reuse for this one.

System Startup
From /home/ibmsys1/volumes, we start the emulator with the command:
cd /home/ibmsys1/volumes
./runzpdt -d <devmap name> -l <loadparm option>
For example:
./runzpdt -d generateddevmap -l cs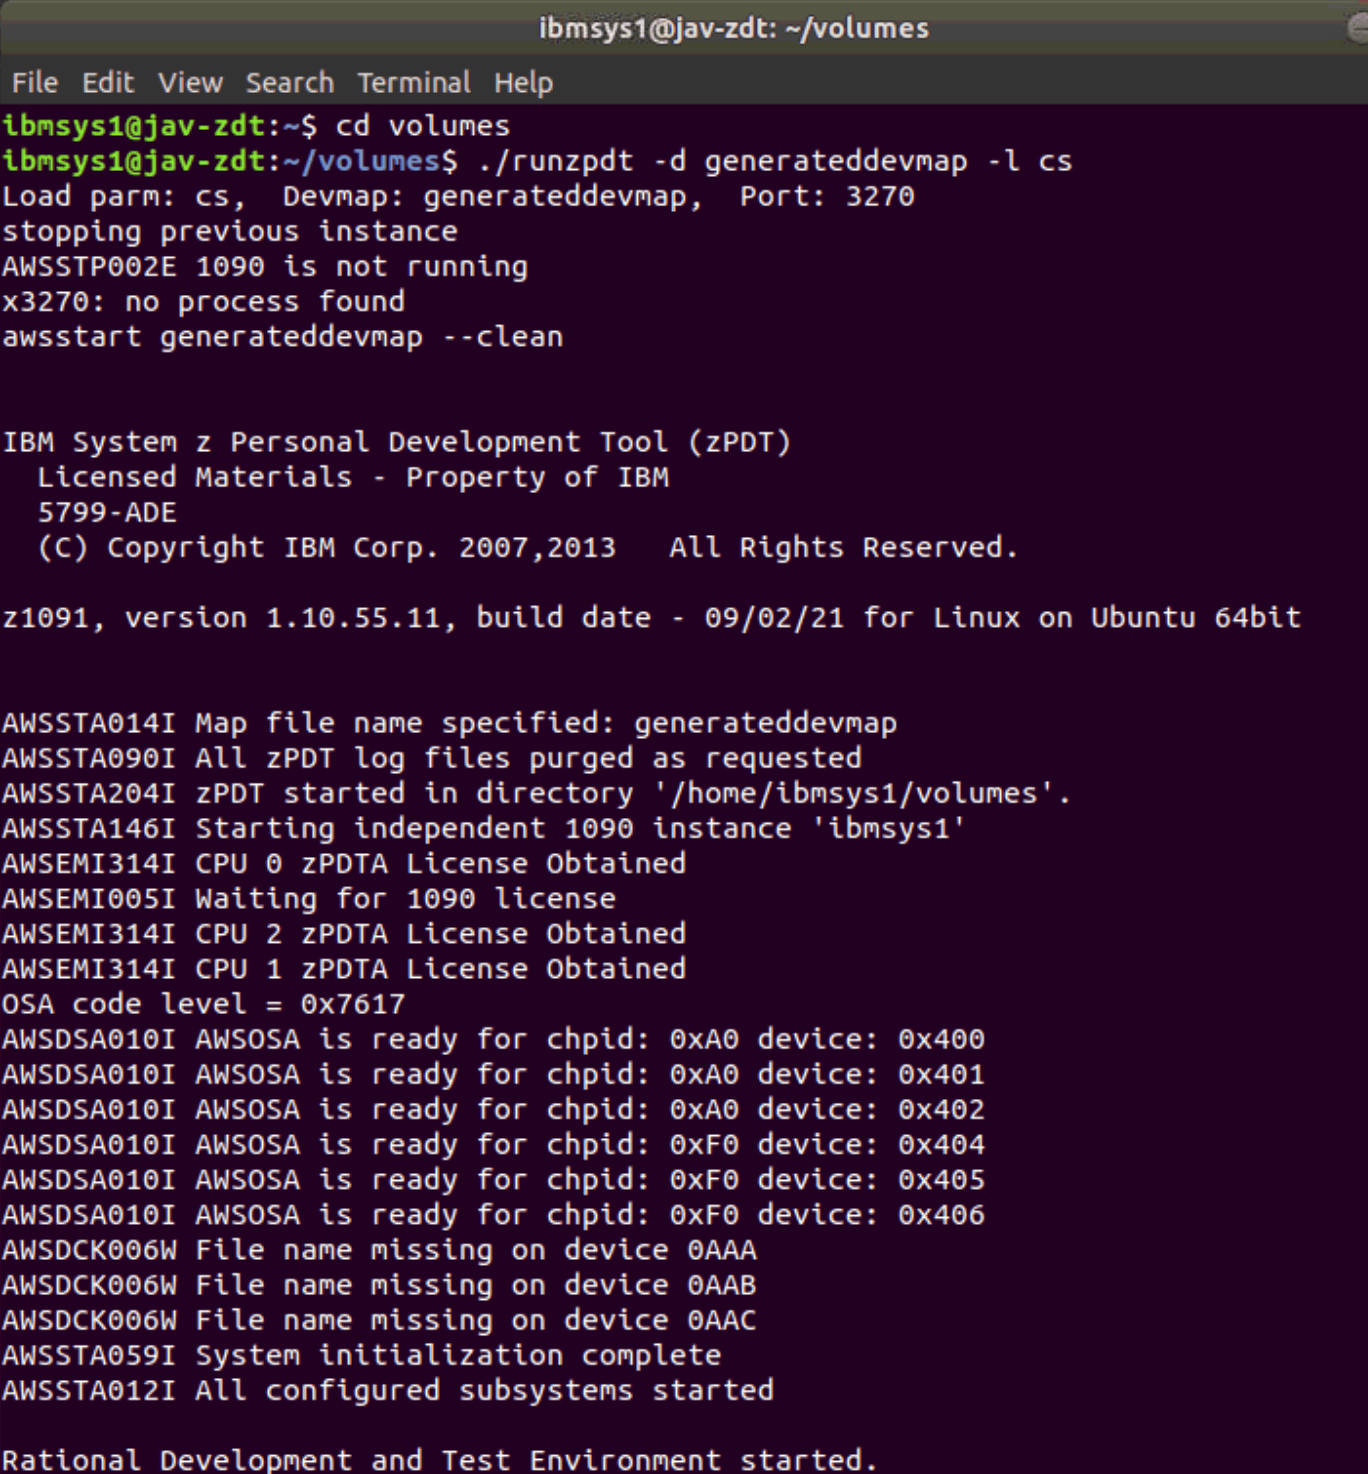
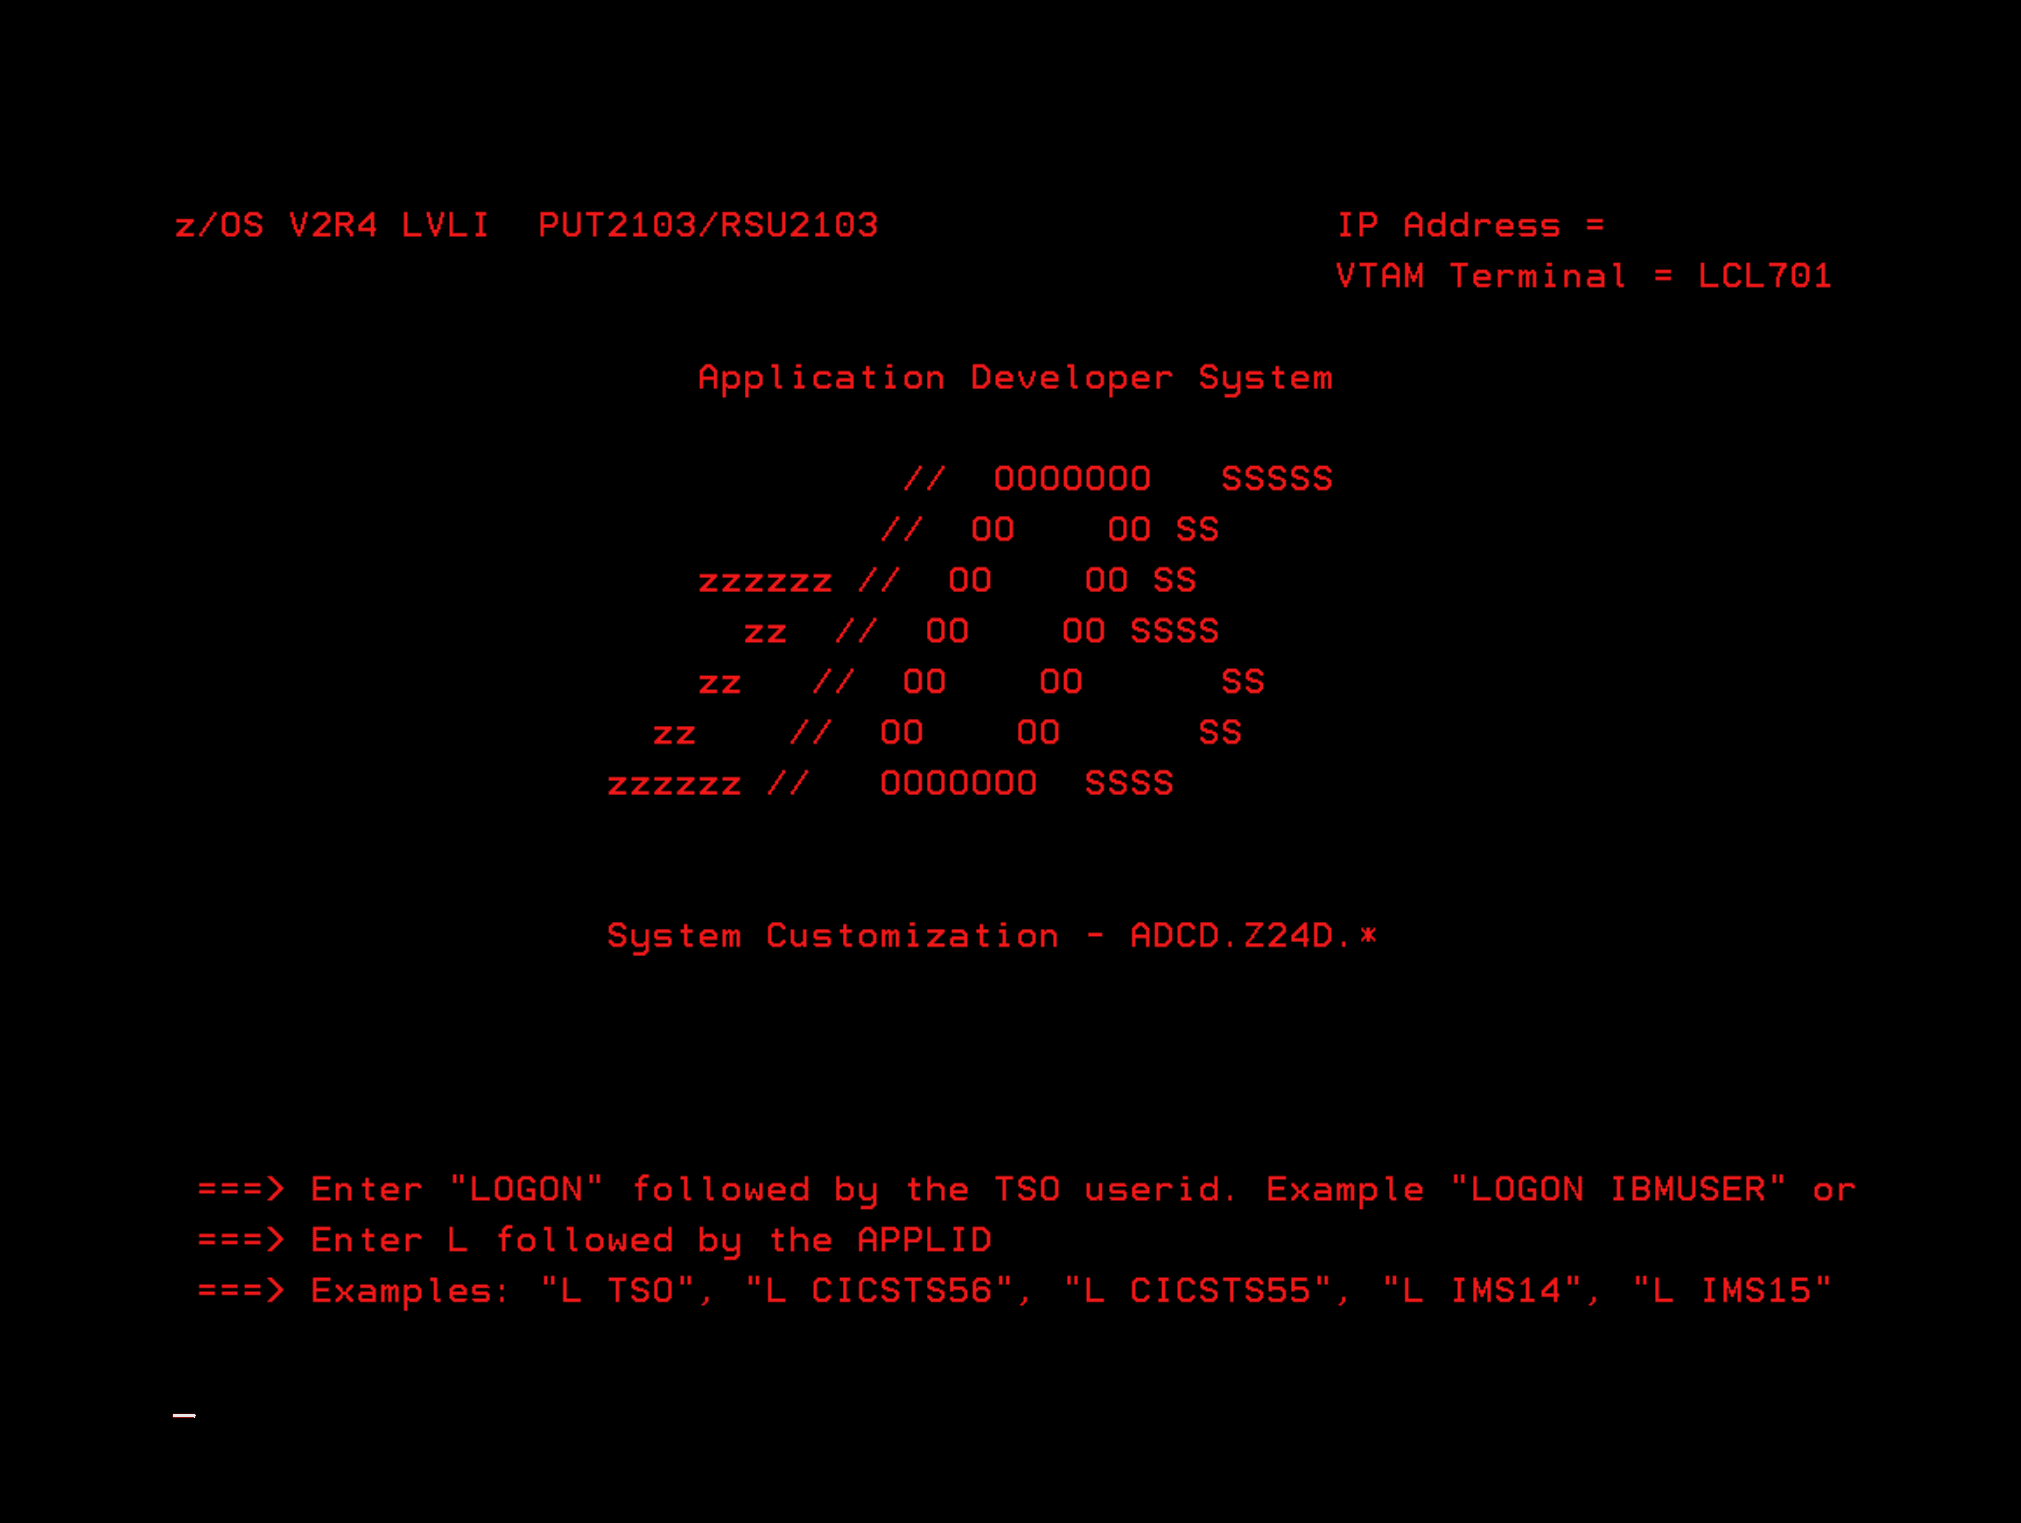
Once it finishes loading, we will be able to access it. Remember that the default password for the ibmuser user is ibmuser.
From here on, all that’s left is to adapt the system again with the configurations we had made in the previous version.